
8 Ways to Quickly Get your New iPhone Up to Speed
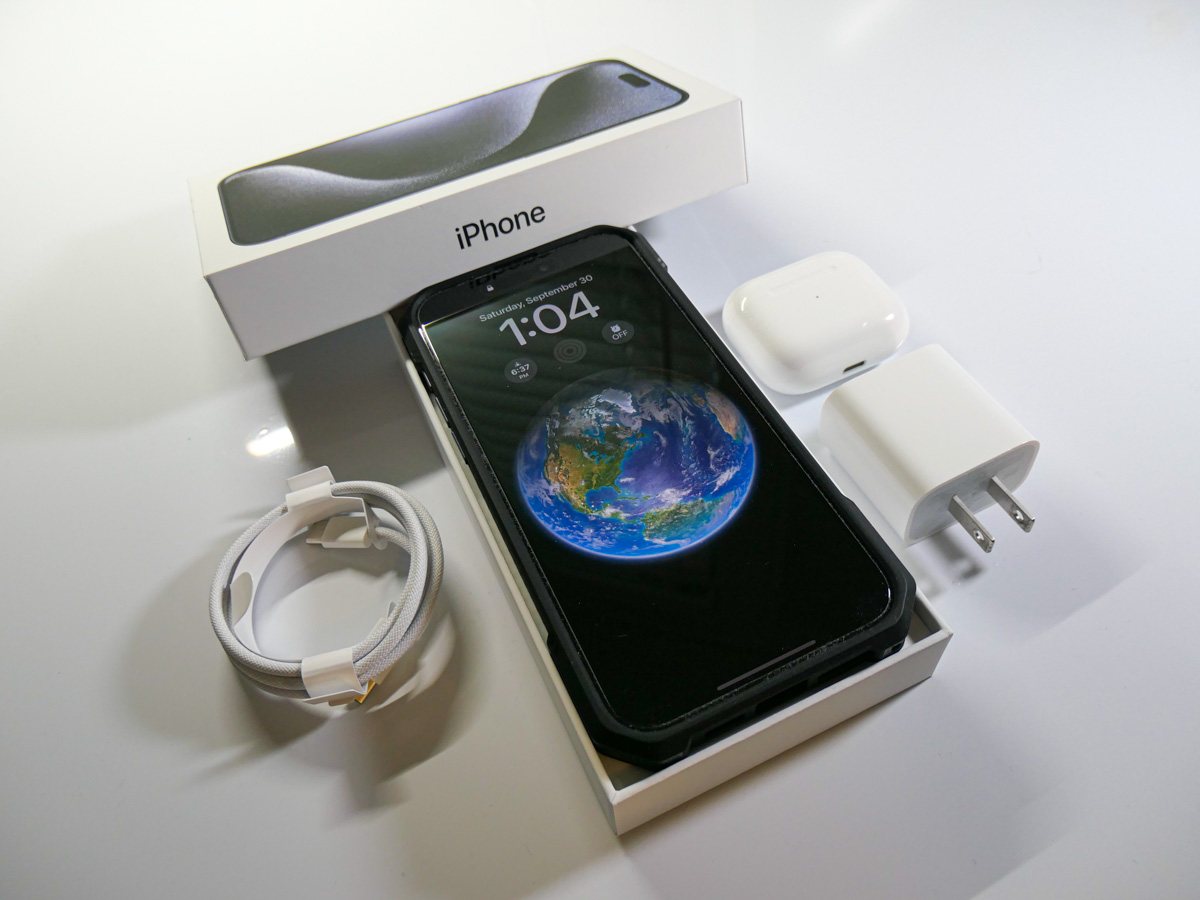
I’m the proud owner of my new iPhone 15 Pro Max. Beyond the basic set up, here are the next steps I took and extra purchases I made to quickly unlock my iPhone’s full potential.
Buying a new iPhone and setting it up is easy. But integrating it into the daily routines of your old device is not as simple as you might expect. Sure, migrating apps and data over is straight forward, but’s that’s not everything you need to think about. There are other steps to take and more decisions to make surrounding your core purchase.
It’s been five years since I bought my recently departed, beloved iPhone XS Max, and I found myself a bit rusty on remembering everything I needed to take care of surrounding my iPhone 15 Pro Max purchase.
Here’s my guide with eight tips to help speed the entire process and get you quickly up and running with your next iPhone.
#1
Be Sure to Join the Virtual Line Early on Launch Day
If it’s time to upgrade to your next iPhone, then it makes sense to buy one the day it’s released to maximize its twelve months of being the ‘latest and greatest.’ I bought my iPhone 15 Pro Max online at 8:20am the day of its launch. It arrived a week later, and I picked it up at the Apple Store. Sweet.
But that happy story first required 25 minutes of frustration, persistence and I think a dash of luck.
I sat down at 7:55am EDT in front of my Mac Studio on launch day and promptly waited for the Apple Store to open for business. (Yes, it’s usually down during the hours ahead of a new iPhone going on sale.) The Apple Store didn’t open (for me) until 8:05am. And then it took another fifteen minutes of multiple failed purchasing attempts (as I fought others around the world to be among the first new iPhone owners) before the transaction finally went through. (I’ve had the same challenge over the years when buying an iPhone on day 1.)
Apparently, I just squeaked through before the delivery times began to slip into October and November.
So, it clearly pays to be prompt and close to the front of your virtual line.
#2
Buy More Storage than You Think You’ll Need
Five years ago, I wrote my blog post, “Why Do You Need an iPhone with 512GB of Storage?” And while I recommended the idea of having what was at the time a ridiculous amount of storage, I ended up sticking to 256GB. This time, 512GB was a no brainer for the extra $200.
The choice was whether to spend another $200 on top of that for 1TB.
While I’m enamored with the idea of recording Pro Res video clips, I no longer feel the need to permanently house every piece of media I generate locally on my iPhone. With that strategy, even 1TB storage would eventually not be enough.
The truth is you can’t carry around every digital media file you’ve ever created. And I would also argue why would you? That would be a crippling number of videos and photos to manage.
Sure, I’m always impressed when a parent can pull out their iPhone and quickly flip through tens of thousands of photos to find that one cute photo of their kid from a decade ago. That’s a superpower I don’t have. And I’m willing to bet that no one will be able to retain that capability forever. You can only flip though so many files before your finger falls off.
#3
Buy the 20W USB-C Power Adapter
Apple’s 20W USB-C power adapter is the new norm. Goodbye tiny 5W adapter (though it will still work slowly in a pinch). Unfortunately, you don’t get a 20W adapter in your iPhone’s box (just a USB-C cable). So, you’ll need to buy one separately if you don’t already have one.
- Amazon has the Apple 20W Power Adapter for $16.99, which is a couple bucks off the standard price.
#4
Replace your Lighting Cables
I’m sure you know by now that the Lightning connector is out, and USB-C is in for the iPhone 15 line. Yes, you do get one USB-C cable in your iPhone’s box, but that’s not going to be enough, right?
You’ll have to replace your existing arsenal of Lightning cables to maintain your new iPhone’s power/charging stations.
And if you intend to continue using your old USB-A chargers, you’ll need to buy some USB-A to USB-C cables.
#5
Buy a Case with a Camera Cover
Choosing a protective case for a new iPhone can easily become a complex decision. Unless you take the path of least resistance and go with an Apple case, it could be weeks of research before you come to a decision (guilty).
I wanted a case ready to go for my iPhone 15 Pro Max (essentially as a temporary solution, if need be). So, I took a chance and ordered one on Amazon before my iPhone arrived. That’s way early, because case manufactures are still guessing a new iPhone’s physical specs at that point. But I did okay.
- I bought a SUPCASE UBMag XT Case (on Amazon for $26.99.)
The case fits really nicely, and its distinguishing feature is its little folding door cover for my iPhone’s three camera lenses.
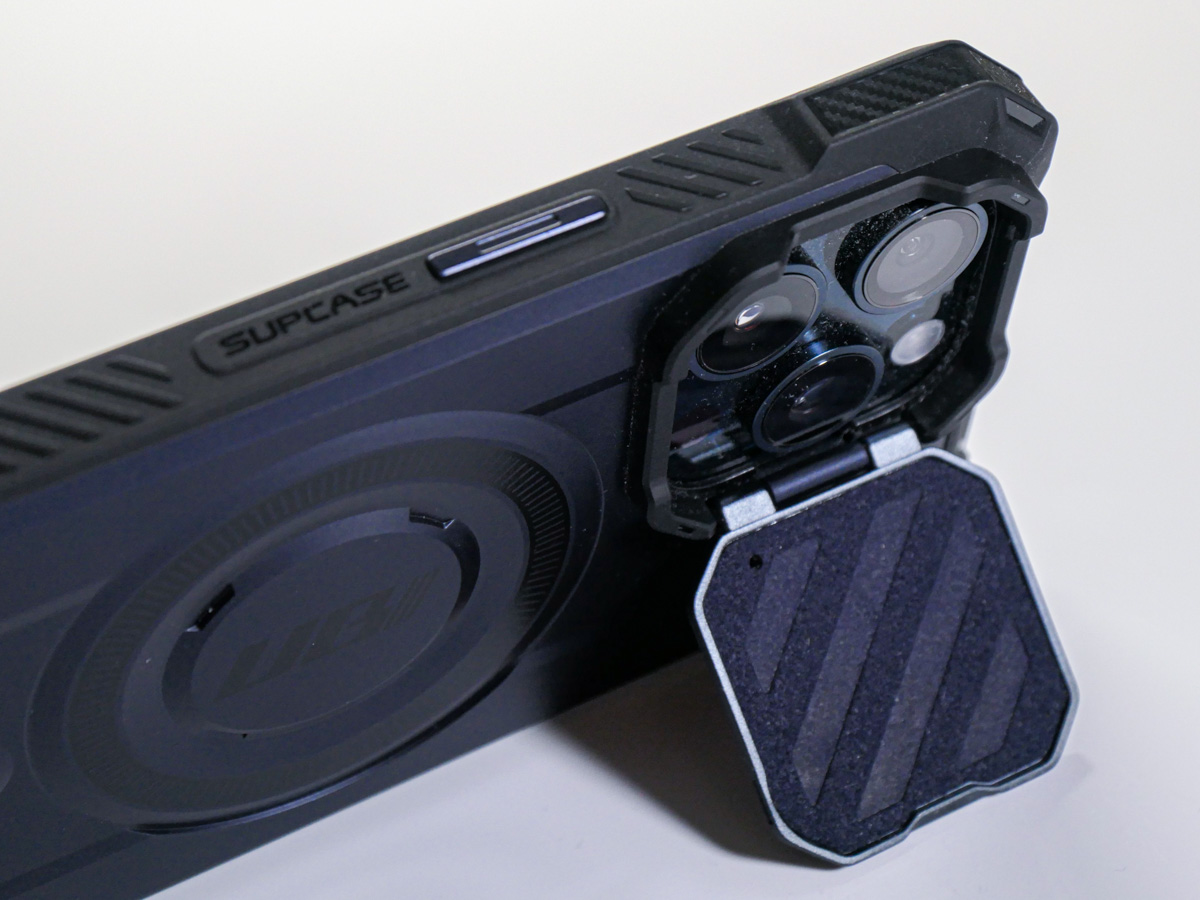 Protecting those little lenses was on my mind, and this quickly took care of that concern!
#6
Unpair and Pair your Apple Watch
Your Apple Watch is an intensely faithful device. It sticks to only one iPhone at a time. If you think that by simply cloning your old iPhone’s identify into your new iPhone, your Apple Watch will gleefully follow along, you’d be wrong.
Your Apple Watch needs to literally break up with your old iPhone and then marry your new iPhone. So that means first unpairing it. And then pairing it again.
It’s not an especially quick process. So, set aside a half hour or so for this.
#7
Sign Back into your non-Apple Apps
Yes, your iCloud apps will be ready to go. But for everything else… nope.
You’ll need a chunk of time to sign back into the rest of your apps.
#8
Add a MagSafe-Compatible Charger for your Car
And then there’s your iPhone’s car interface. No matter how you connect your iPhone in, you’ll want to consider how it’s positioned in your car (perhaps mounted to your dash). A MagSafe-compatible solution is a good idea for both positioning and charging.
I picked up Belkin’s Magnetic Wireless Car Charger that’s MagSafe-compatible and mounted it to one of the air vents on my dash.
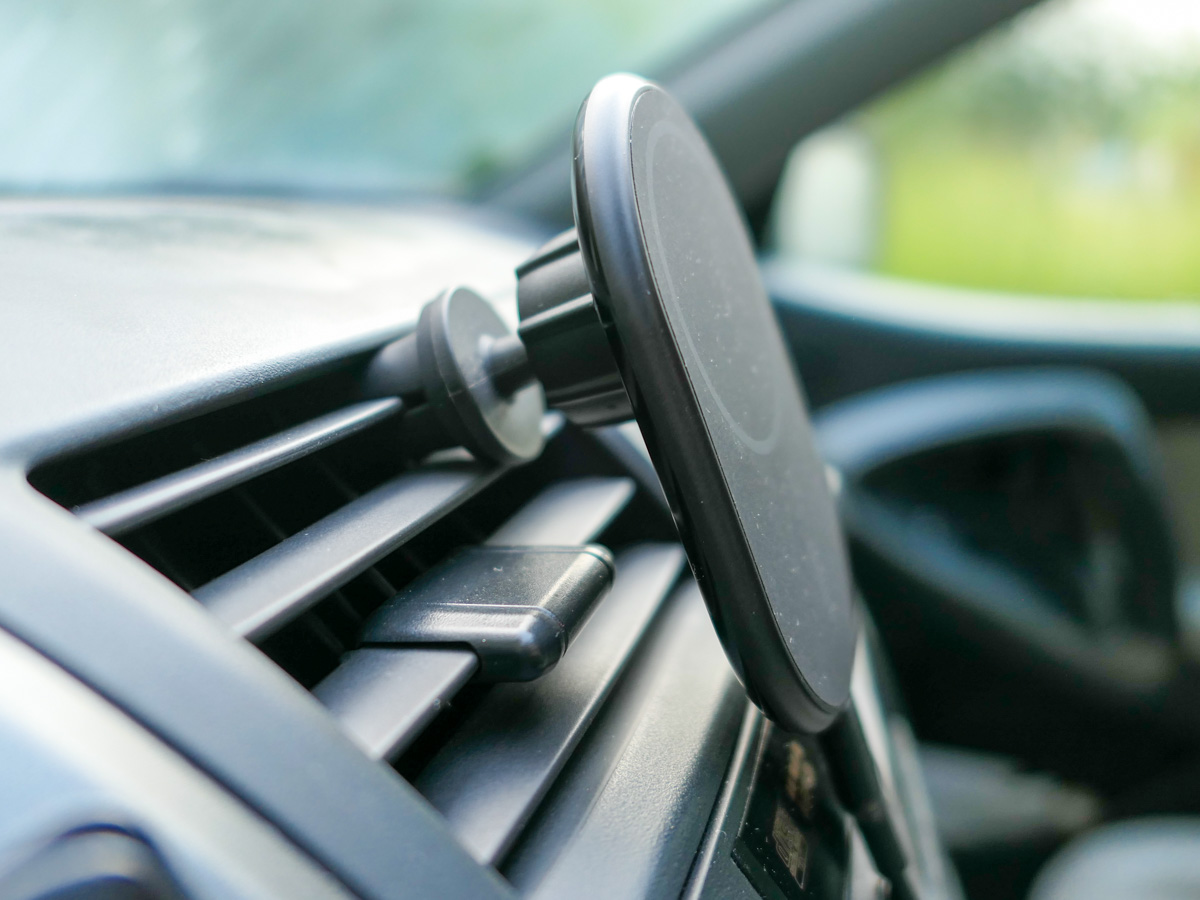 The magnetic grip is plenty strong. The vent mount slides in fine, though it does feel a bit ‘MacGyvery,’ (which in fact it is).
Technically, it’s not an official MagSafe mount and thus doesn’t charge as fast. (Belkin’s upgraded MagSafe model is the real deal, but it’s quite pricy at a hundred bucks!)
This one works just fine.
Click.
For the record, I also saved some money on my Belkin charging mount by buying a used one. I clicked on Amazon’s “Saved with Used – Like New” icon for $41 bucks (same model). It really was like new, and I saved almost twenty bucks. So, if you see that purchasing option, I think it’s a good idea for this type of support tech.
One other note… Some magnetic mounts are just that… magnetic. They don’t offer charging. So, check the fine print when reviewing your choices.
Doing the Work Pays Off
Getting your new iPhone back into the groove of your old device takes some planning and additional spend. Sure, you may have the latest and greatest in your pocket, but no smartphone is an island. It will also need its own accessories to be able to keep up in your orbit.
You’ve taken years to curate the experience you want from your iPhones. Only when everything is literally back in place and properly supported will your next iPhone really feel like… yours.
I recommend making this a weekend project. That’s what I did.
It’s time well spent, and let me tell you, there’s no better feeling than starting a Monday morning with your gleaming piece of new Apple tech operating at its full potential.
