At Home with Tech

Unlock the power of all your technology and learn how to master your photography, computers and smartphone.

Category: apple

My Biggest Discoveries I Blogged About over the Past Year

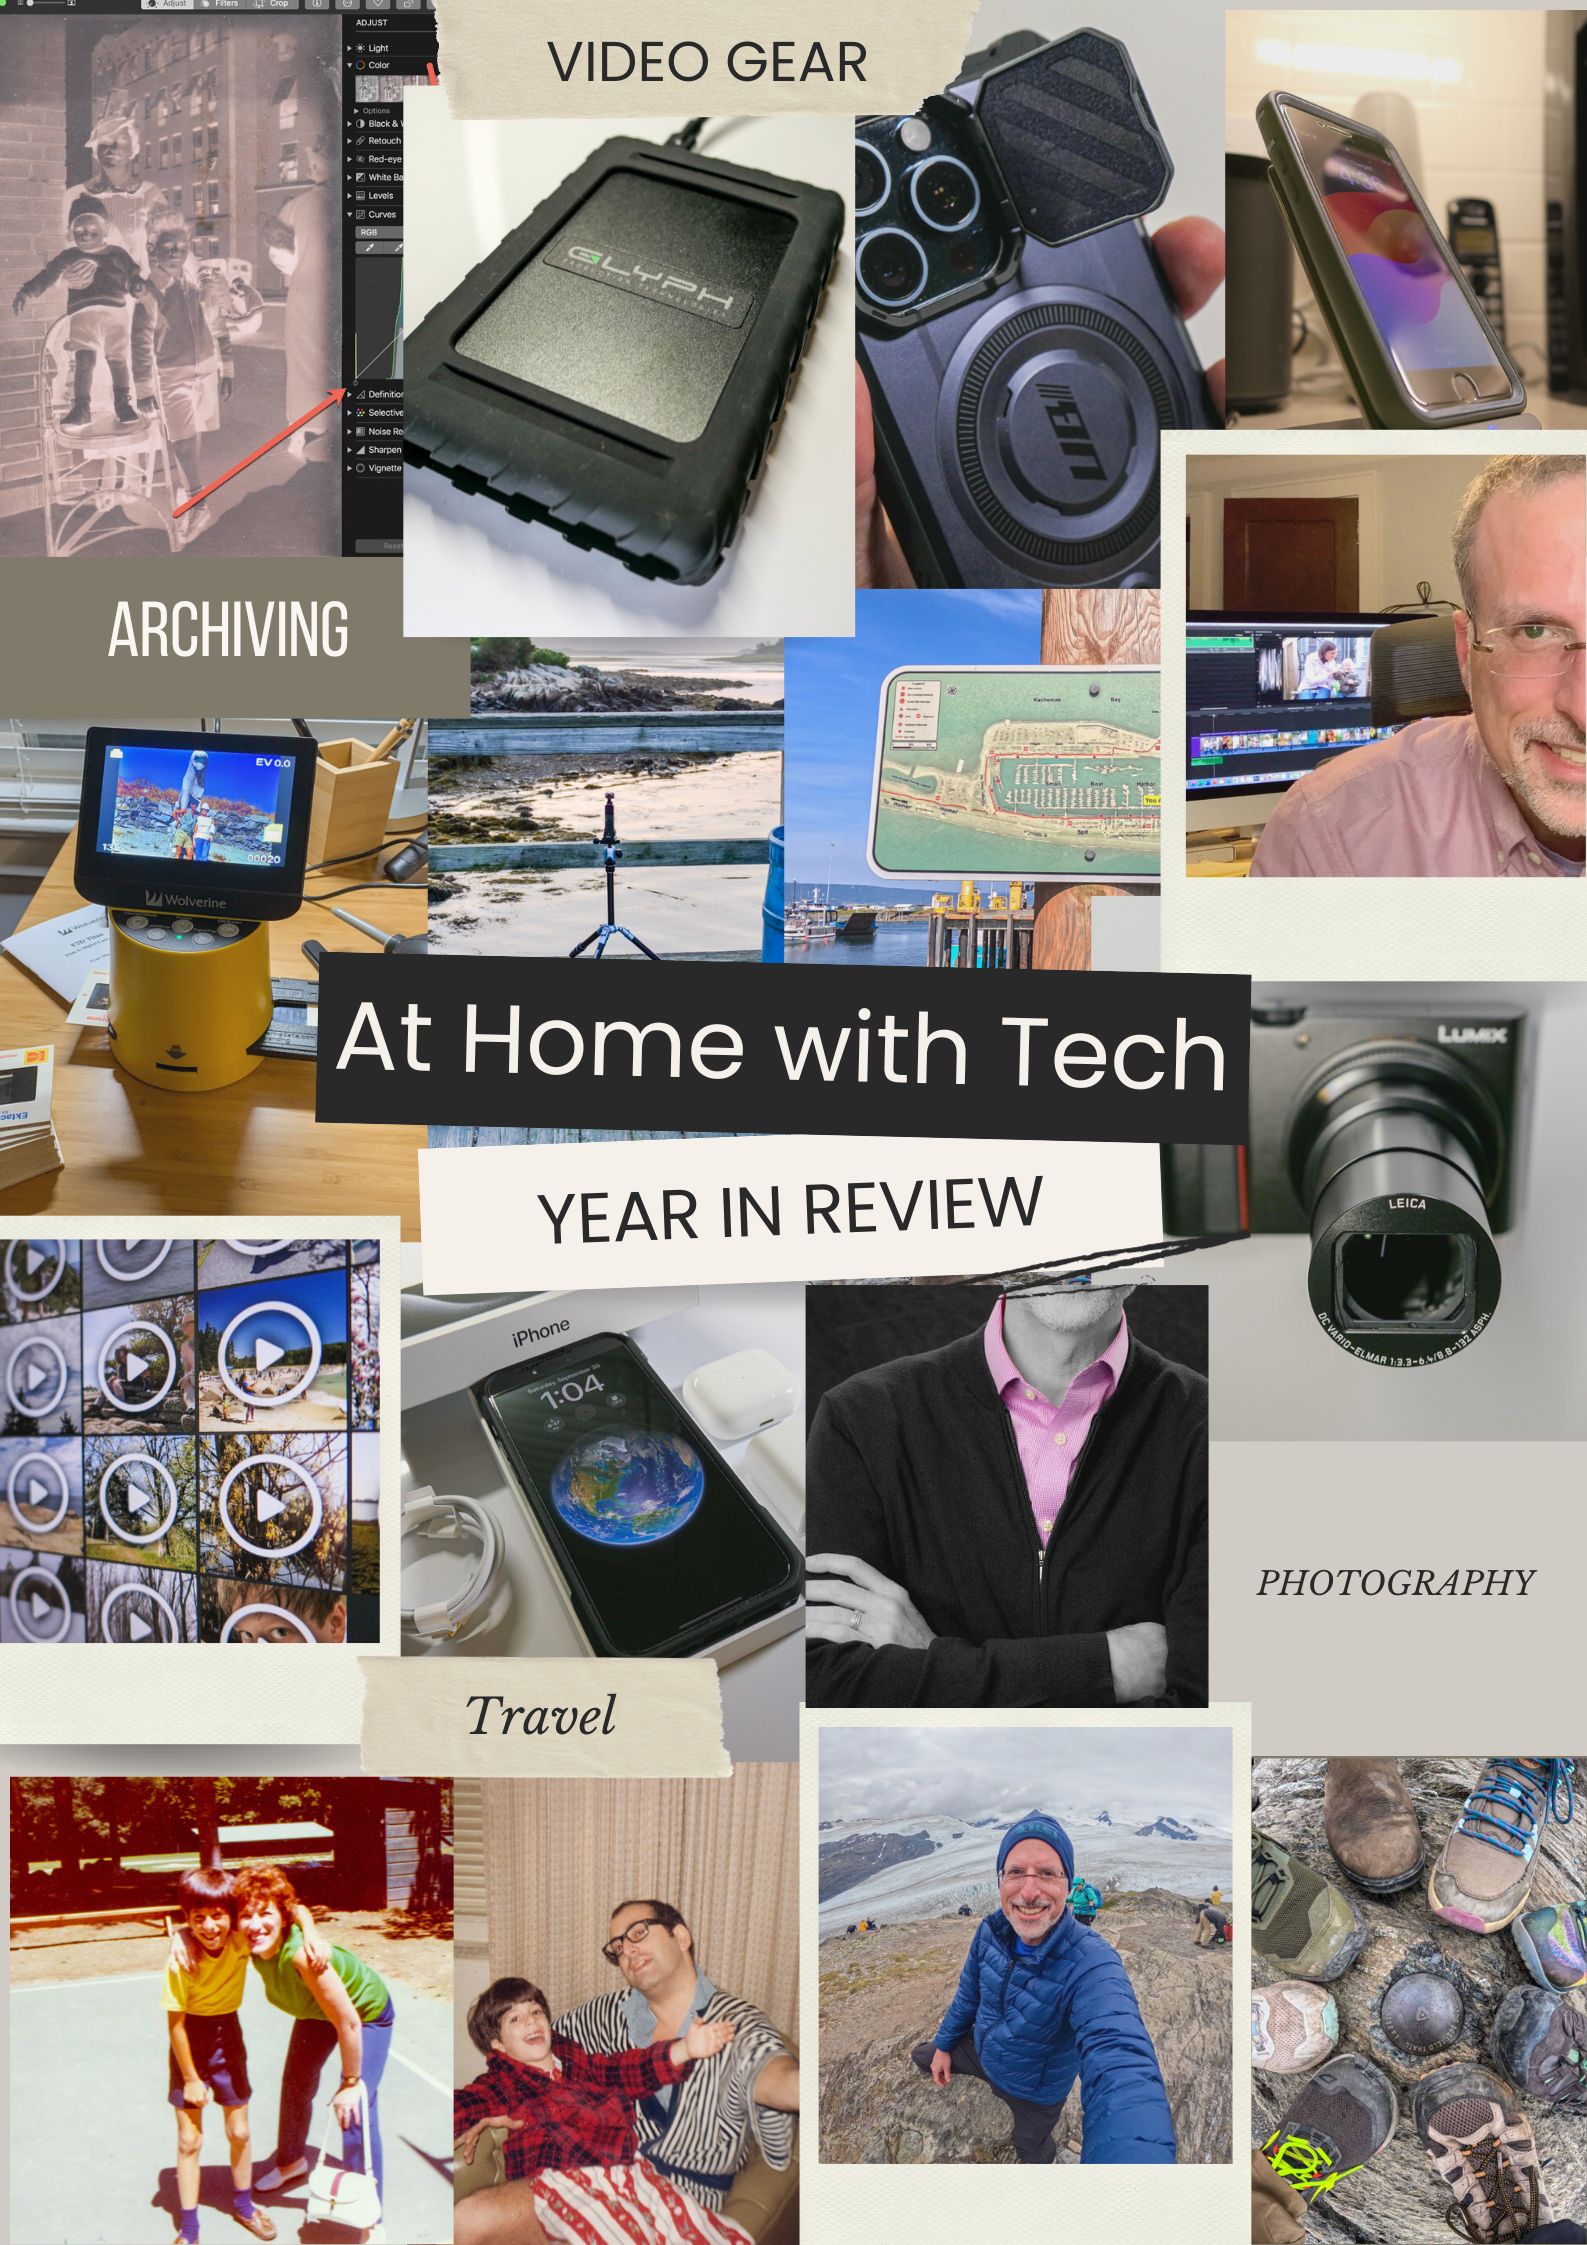
Here’s my At Home with Tech year in review. Below are the links to my key learnings and tech discoveries.

So yes, these next few weeks can all be about looking forward. The fresh start. The resolutions. The turning over a new leaf. But I like to think of this time of year as the next chapter that builds on the past. It’s not so much ‘the new’… as ‘the next.’

I try to carry it forward. That way, I can greet these annual cycles with the perspective of my past years’ experiences. Said another way, it’s important to look back as you look forward. Otherwise, a lot can get lost across the years.

That’s why I think it’s critical to package up the story of your past year in an organized photo collection (digital or book) or perhaps an edited video-clips overview.

You might also want to perform a mental review and acknowledgement of your other notable actions and learnings.

Take it in. Then lock it in, or let it go if need be.

At Home with Tech Year in Review

As you know, I document my thoughts on technology and family life each week. So, I’ll follow my own advice and offer this summary of my blog posts that reflect my big learnings across the past year. Please check out the links below that most interest you!

My Growth as a Parent
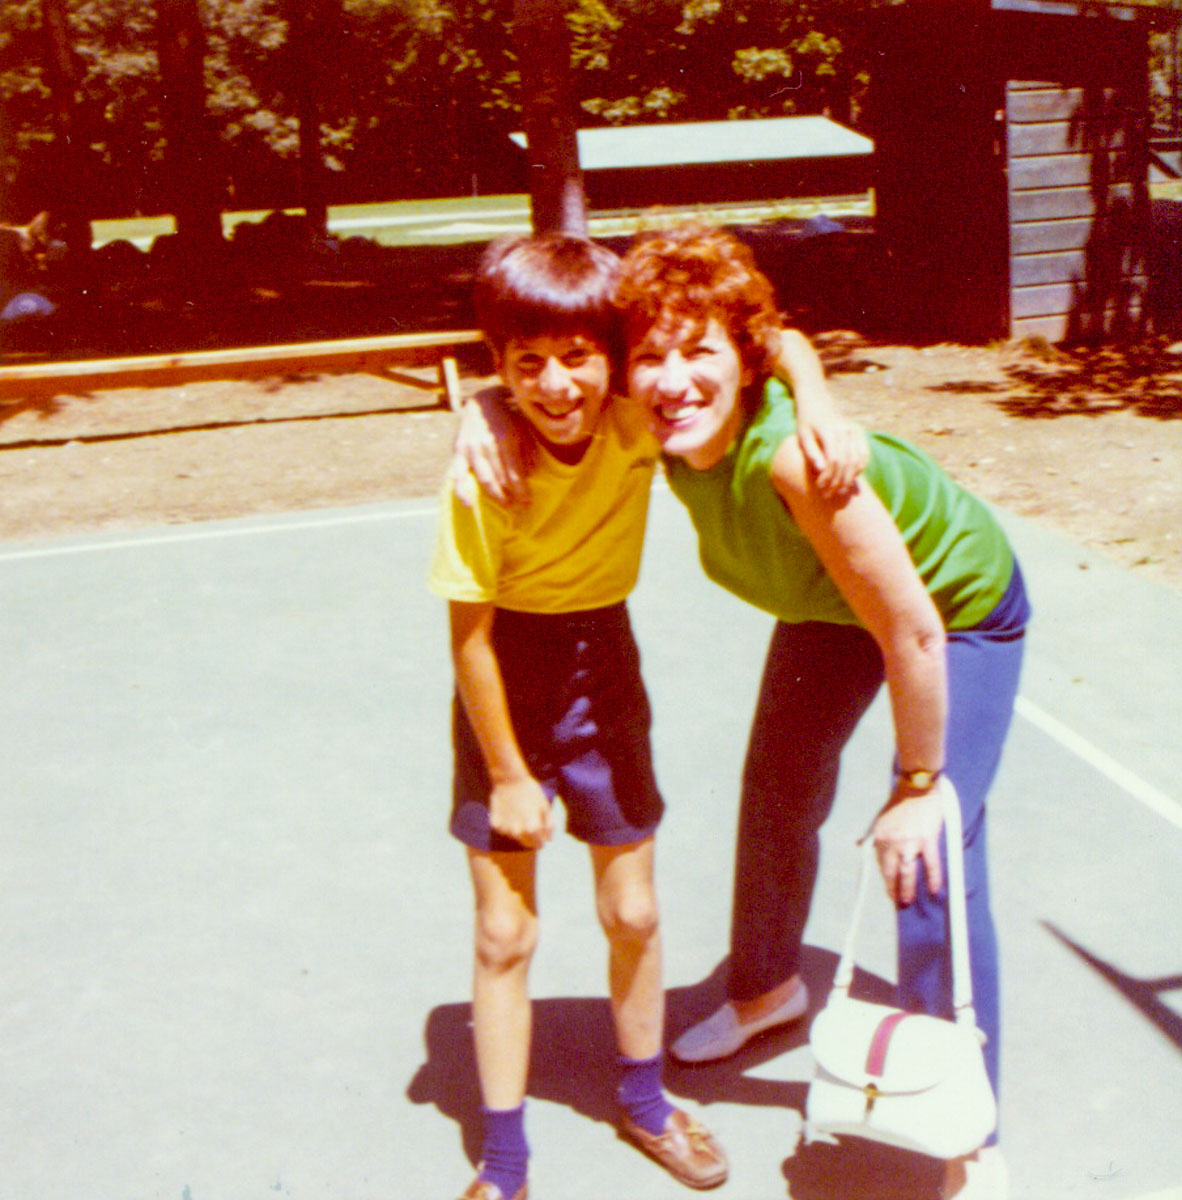
Working in our Post-Pandemic World

My Journey as the Family Photographer
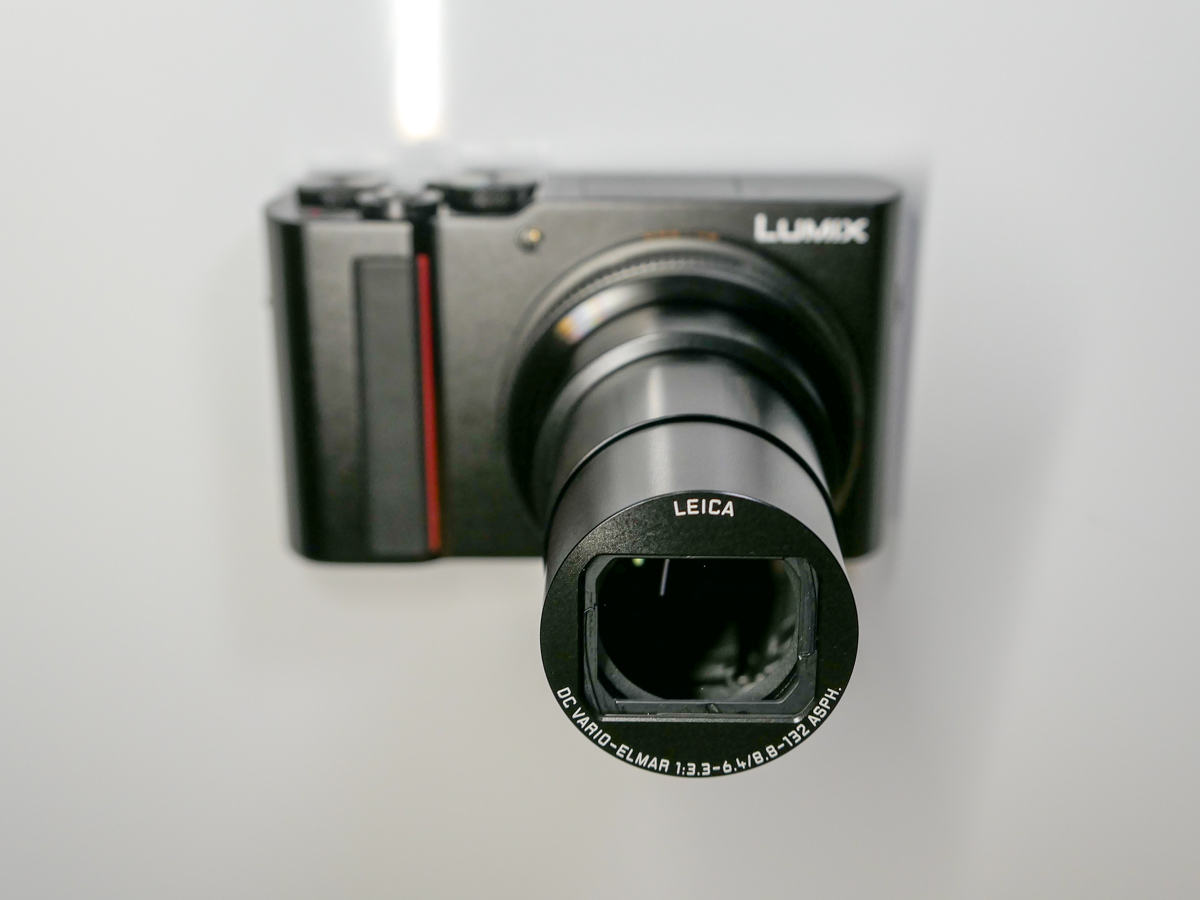
My Role as the Family Archivist

How a tiny film-to-digital converter brought new life to my father’s old analog slides
How to quickly turn a scanned negative into a positive image on a Mac
How to use SmugMug as a family photo archiving tool
How to prevent your family’s identity from being washed away by time

Maximizing your Family Video Clips
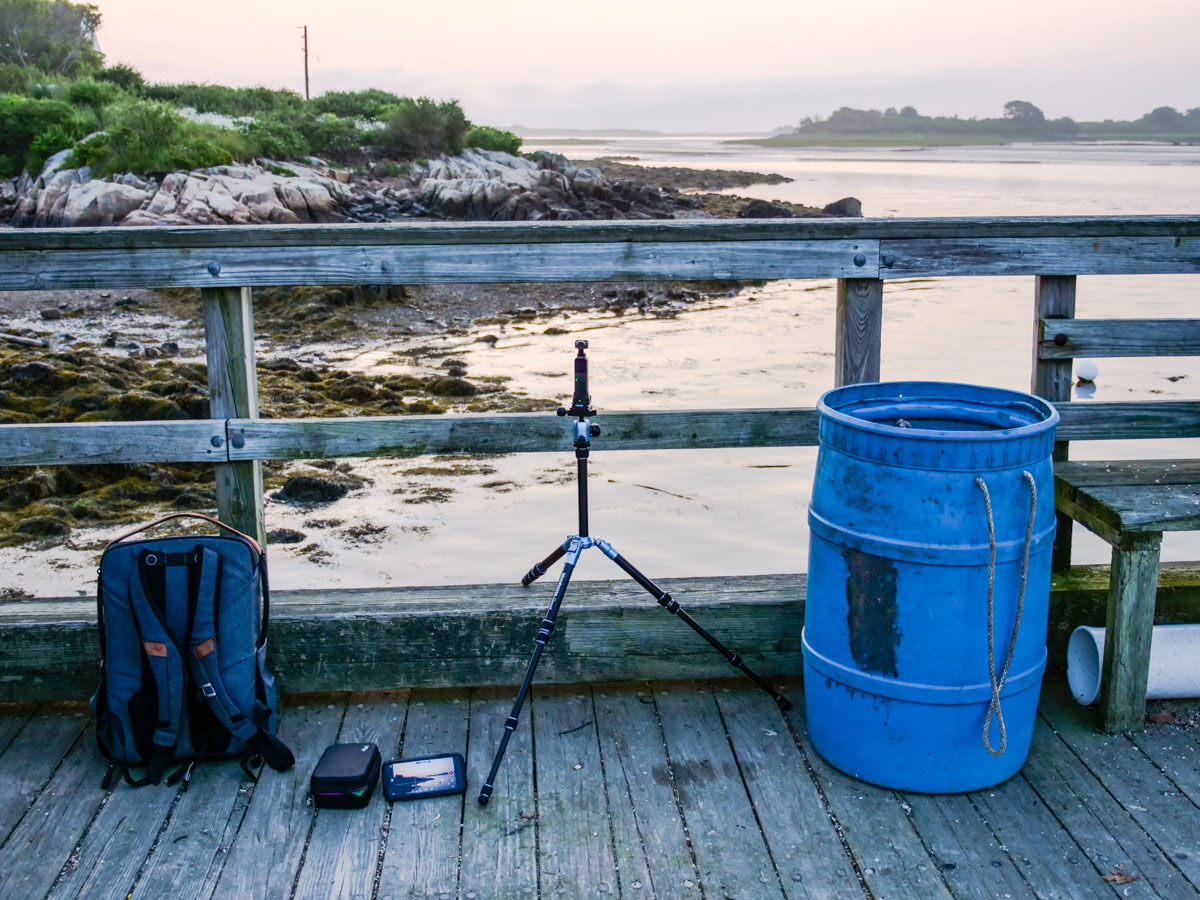
My Family Vacation Tips

Best Practices for your iPhone

My Evolving Understanding of Apple Computers

Here’s to a Prosperous 2024
As always, thank you for reading my blog. I’m looking forward to sharing more with you in the year to come.

Happy New Year!

Is There a Wireless Charging Stand for iPhone SE?

Even though iPhone SE isn’t built with MagSafe magnets, you can still charge it wirelessly. But it won’t stick to a charging pad. Thus begins my journey for a workable solution.

By now, it shouldn’t be this hard to figure out how to charge up all your gear. But if you’re like my family, you’ve got different versions of the same device (like iPhones) running simultaneously. So, over the years, I’ve collected various chargers that could keep powering newer tech. That’s good, right?

But the charging equation is complicated now that the tech industry sells much of its gear with the ‘bring your own charger’ sales strategy. Then, you’re forced to figure out how to power your new device. You need to immediately run through the compatibility equation with your existing power blocks.

Yesterday’s chargers may not be strong enough to handle today’s power-thirsty tech. And in a family where the kids are likely using older gear than the adults, every charger won’t work across the board.

And the complexity doesn’t stop there. There’s fast-charging technology and wireless-charging to also consider.

Wow. Do you also feel it’s hard keeping up?

Barrett’s Recent iPhone Purchases
Some months back, I had a little kayaking mishap, and my old iPhone XS Max drowned only weeks before iPhone 15s came out.

So, I decided to buy myself a new iPhone SE to hold me over with the plan to later gift it to our 13-year-old son.

For that period, I stuck with the standard Apple 20W USB-C Power Adapter and lightning cable. But when I ordered my new iPhone 15 Pro Max, of course I quickly upgraded to Apple’s MagSafe wireless circular charging pad.

No Click-and-Stick for the SE
When I had a moment to stop fixating on my new flagship iPhone, I turned my attention back to the scrappy but still totally capable new SE. I wondered whether it couldn’t also charge wirelessly. (Yes, I was totally enamored with the belated joy of wireless charging.)

Unfortunately, the basic iPhone SE doesn’t contain the magnets for MagSafe functionality. But yes, it actually can wirelessly charge if placed properly on top of a Qi charger.

That last detail didn’t thrill me. Without that magnetic ‘click-and-stick,’ you can easily miss the charging connection lock by a few millimeters and end up in the morning with a smartphone that’s not ready for the day.

Stand vs. Pad
But I figured if I could find a solution where the iPhone SE fit more snugly into place, like on a stand vs a pad, that could be a better system for charging success.

Unfortunately, Apple does not sell a wireless charging stand without a MagSafe connection requiring iPhone levitation. So, I had to turn to other manufacturers…

Fortunately, I found two brands I trust that offered what I needed.

Anker 313 PowerWave Wireless Charger Stand
Anker makes a Qi-certified, tilted stand that an iPhone SE can safely lean on without relying on MagSafe.

The stand is boxed with a Micro USB to USB-A cable that connects to a USB-A wall charger. But it doesn’t come with the charger. You’ve got to provide that separately.
Anker states that you can’t use one of your old Apple 5V/1A stock chargers (the original tiny white block). Not powerful enough. You need a minimum of 5V/2A output. An iPad charger will work if you believe in sharing one charger for different devices. (What could go wrong with that plan?)

So, I knew I also needed a new power block.

Anker PowerPort+ 1 with Quick Charge 3.0
I read the fine print on the Anker stand’s power requirements to maximize its capabilities. My mind started to melt.

I immediately searched for a shortcut and landed on Anker’s only small USB-A charger. (All of their other models are USB-C.)

With both stand and charger, the Anker price is $30.38.

Belkin Boost Charge Wireless Charging Stand
Belkin offers an all-in-one solution, which you may feel is more elegant that my MacGyvered Frankenstein Anker plan.

You don’t have to figure out which charger block to buy. A Belkin charger comes packaged with the stand (which is similar to the Anker model, though more rounded).

I Bought the Anker Wireless Charging Package
I think both the Anker and Belkin options are solid choices. That said, the Anker stand and charger is only 30 bucks vs $45 for the Belkin option.

Based on this pricing differential, I went with Anker.
Click.

Fast-Charging is Always Helpful
All I really wanted was an overnight wireless charging solution for our iPhone SE. And now we’ve got that.

But as it turned out, I’ve also put in place a fast-charging solution with the Anker 313 Stand and PowerPort Quick Charger for any number of our current and future devices.

As much as I prefer the overnight charging rule for our son, what could possibly go wrong with that rigid strategy combined with the complexities of busy family life?

We all sometimes need a little quick boost of power in the morning.

And so do our devices.

How to Turn your Digital Photo Frame into a Memory Portal with Motion

In the same way that an iPhone’s Live Photos functionality can add motion to a frozen photograph, digital photo frames can perform an even better trick if you load them up with short videos. Here’s how I do that.

I’ve never completely understood the value of the ‘Live Photos’ mode on iPhones. These moving photos are tiny videos that represent 1.5 seconds of action before and after you snap your ‘photo.’ So that expanded capture range gives you the flexibility to later select your perfect frame (Key Photo) during those 3 seconds.

Of course, I want to improve my iPhone’s pictures, but working through every Live Photo to identify that one ‘perfect frame’ takes some patience. By the time you do all that, the person next to you can snap the same picture the old-fashioned way by tapping their screen a couple times, quickly select the best (non-Live) one and then share it on social media. (And all this while you’re still carefully identifying your new Key Photo from the original Live Photo.)

The Live Photos feature is a nifty trick but working to maximize each one is not a speedy process.

The Limitation of 3 Seconds
If you just want to enjoy the magic of a Live Photo that contains some action, I suppose that’s fine. But I don’t think three seconds is necessarily long enough. It can be frustrating to only get three seconds to capture a moment. But of course, any longer would make it… a video… which it really is to begin with.

And after taking thousands of Live Photos, you’re going to inevitably eat into your iPhone’s memory reserves.

So, I generally try to leave the Live Photos feature turned off unless I really want to use it.

Still, I think Apple is onto something here.

Creating Extended Live Photos is Even Better
When the Live Photos feature was first introduced, it felt like magic… like the wizardry of the live paintings represented in the “Harry Potter” movies. The only real difference is these live-action framed images lasted for a bit longer… maybe five or six seconds.

These extra few seconds can be important, because they allow for enough time to let the story of a particular moment play out.

And if you didn’t know it, this little magic trick isn’t that fantastical anymore. You can do it today on digital photo frames which have the capability to play videos.

I’ve tried this feature on my home digital picture frames made by Nixplay. They allow for up to 15-second video clips. Their ‘Plus’ subscription plan lets you play up to 2-minute clips. But I think 15 seconds is more than enough.

I’ve purchased a few Nixplay digital frames across the years. I think their current Nixplay 10.1” Wi-Fi Photo Frame is a good place to start.

As for the audio part of the video files, I’m not interested in hearing the sound. (That turns the digital frame into a TV.) I just want to watch the action of a moving photo. And 5-10 seconds is usually plenty of time to properly capture the action of a scene.

I experimented with this extended Live Photo idea a few years back, and the results were eerily cool. That said, getting my short videos onto my Nixplay frames wasn’t exactly straight forward. It took a few steps and required Nixplay’s mobile app. I’ve documented the process in this blog post here.

A New Way to Capture the Moment
Recently, I expanded my practice of intentionally shooting short videos for my Nixplay frames to display alongside regular stills.

I’ve begun shooting 10-15 second videos during family events. These videos are designed to capture what you might think of as “B-Roll” in a documentary. During these moments, ideally no one will look at my camera. But if someone wants to playfully pose, that’s okay too.

And after trimming and adding these new short videos into my frame’s playlist, these clips have immediately transformed my digital photo frames into little time machines that seemingly allow you to peer back into more realistic reflections of the past.

It’s wild.

Turn your Digital Frames into True Memory Portals
In the same way that Apple has evolved the definition of a photo into a Live Photo, why can’t digital photo frames more fully evolve into memory portals that better connect you to the past through 5-10 second video clips?

I’m certainly going to maximize this opportunity on my own digital frames moving forward.

And I’m happy to offer this uncommon pictorial presentation strategy for your consideration.