I Made this “Holiday Ode to Mr. Tech” Video Using AI
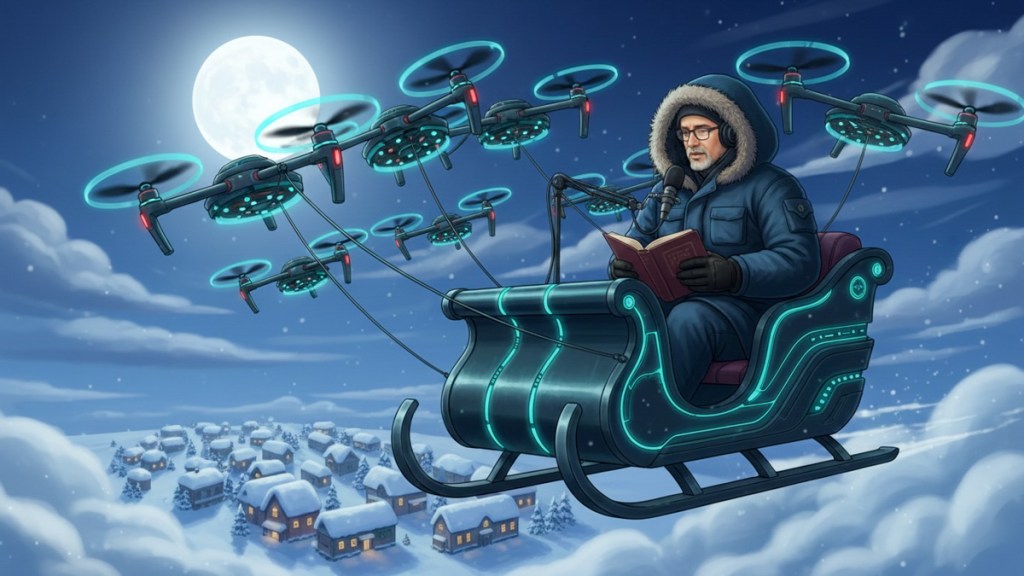
If I had a brother from another universe, and he somehow found a way to send me a fun holiday selfie video riffing on the famous poem, ‘Twas the Night Before Christmas, it might resemble an AI video creation exercise I just completed.
And the way I imagine it, my brother might look like this (thanks to Google Whisk).
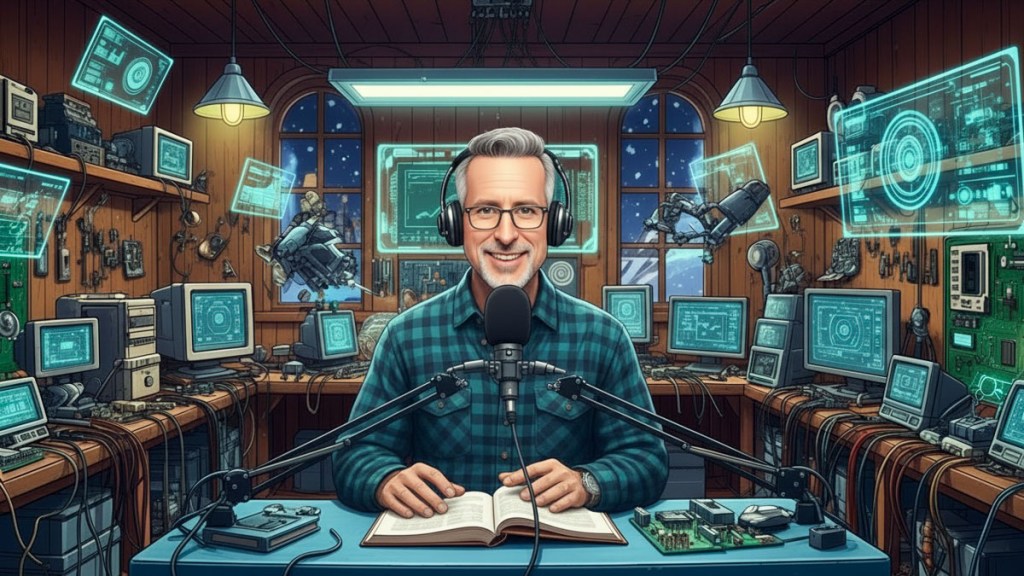
And of course, he would also be interested in blogging about tech and gadgets.
Here’s how I brought my geeky fantasy to ‘life.’
ChatGPT Wrote the Lines
To create a new poem for my brother to read, I put “A Visit from St. Nicholas” through ChatGPT and asked it to write new verses focusing on solving home tech problems. Almost instantly, I had several versions, which admittedly needed more work. So, I moved some lines around and polished it.
Google Whisk Generated the Environments
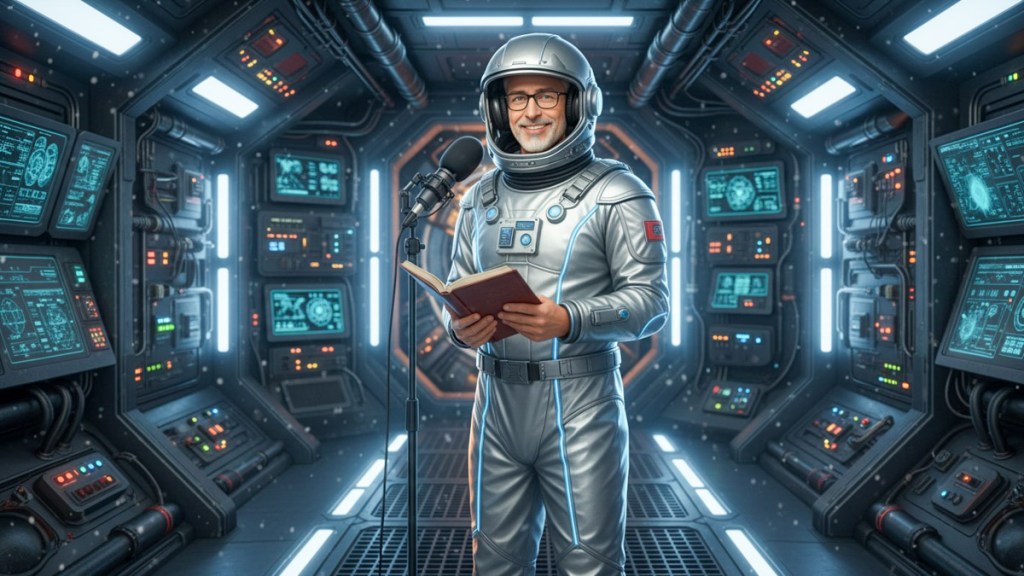
Then, I got to work creating the scene locations for my brother.
Again, I used Google Whisk’s text-to-photo functionality to place him in different environments throughout the poem. As you’ll see, this plays like a cartoon, and I leaned increasingly into the absurd.
Ingredients to Video
Once I had all my key-frame photos, I used them to guide the video scene creation process using Google Veo 3 and Adobe Firefly for Video.
The hardest part was maintaining the consistency of my brother’s voice. (Sometimes, the AI wanted to give my brother a deeper voice and a British accent.)
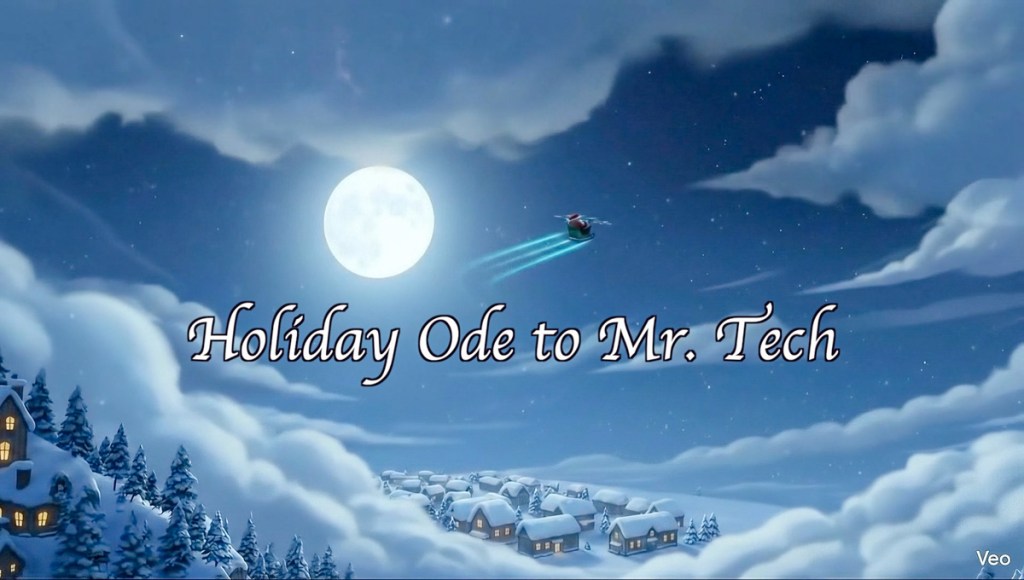
Here’s my finished creation, complete with its AI script, AI video generation, rough AI edges… and human-powered humor.
The Future has Arrived
With more time and additional money (yes, AI video creation consumes lots of ‘credits’), I could have created a more ‘perfect’ version by regenerating certain scenes multiple times to get better results.
But that wasn’t my goal here (perhaps for my next AI video project). For the record, I spent about twenty bucks to generate the clips. And then, I did the video editing myself.
AI video creation for the masses is remarkable, but it’s still far from perfect. That said, just the idea that I can ‘easily’ create this silly bit of nonsense from my keyboard forces me to update my entire view on video production and the need the skill up. (Why do you think I gave myself this assignment?)
‘Twas the Night before Fun-day
You may have noticed the reimagined poem in my video is shorter than the original. That’s because I didn’t feel the concept would hold together if the piece ran too long. (Remember, less is more.) So, I removed some of the lines.
If you’re interested in reading my entire tomfoolery, here it is. Enjoy!
Holiday Ode to Mr. Tech
‘Twas the night before Fun-day, when all through the house,
Not a gadget was syncing – not even the mouse.
The cables were laid with questionable care,
In hopes that the Wi-Fi would reach everywhere.
The tablets were charging beside every bed,
While buffering circles spun round in our heads.
And I, bathed in blue light, lay still for the night,
Dreading the thought there’d be no Wi-Fi tonight.
When out on the network there was such a clatter,
A chime from my phone said that something’s the matter.
Away from the bed I flew like a flash,
Past blinking red lights and a network crash.
The glow from the router on new-fallen snow,
Gave cold bluish shine to the yard down below.
When what to my wondering eyes should appear,
But a bright sleigh shape drawing steadily near.
With a happy driver, so steady and in check,
I knew in a moment it must be Mr. Tech.
More rapid than updates his drones now they came,
He tapped and he typed and he called them by name.
“Now, PING! Now, PIXEL! Now, BUFFER and BEACON!
On, COOKIE! On, CACHE! Let the signal awaken!
Go, REBOOT! Go, RESET! Make connections robust!
On, ROUTER and MODEM – Restore all our trust!”
To the top of the roof! To the peak – Hold it steady!
No dropped connections, no dead zones – Now we are ready!
Like data at full bars that zips through the air,
They landed atop with precision and care.
Quick as a reboot, I heard a low tone,
The soft little thump of each careful drone.
As I held my breath there and turned round just so,
Down the chimney came Mr. Tech with a glow.
He was dressed all in fleece from his head to his toe,
With a tool kit of dongles and cords in a row.
A satchel of gadgets hung low on his back,
A tech on a call who’d prepared for attack.
His eyes – how they twinkled! His grin – calm and bright,
Like someone who’s fixed this exact thing all night.
He glanced at the modem, the router, the node,
And nodded once softly – Yes, I know this code.
He spoke not a word, but went straight to his work,
And restarting each device, no need to smirk.
He reset the router, adjusted the mesh,
Labeled each cable with meticulous zest.
The tablets and laptops all hummed with new life,
And no more spinning wheels, no buffering strife.
He checked every signal, each access point near,
Then gave me a nod that all problems were clear.
He sprang to his sleigh, to his drones gave a beep,
And away they all flew, no glitch left to keep.
But I heard him exclaim as he vanished from sight,
“Happy Fun-day to all – And to all a strong Wi-Fi night!”