
Vacation Tech Tips for your Next Cruise

Here are a few easy ways you can maximize your tech and spend less while taking a cruise.
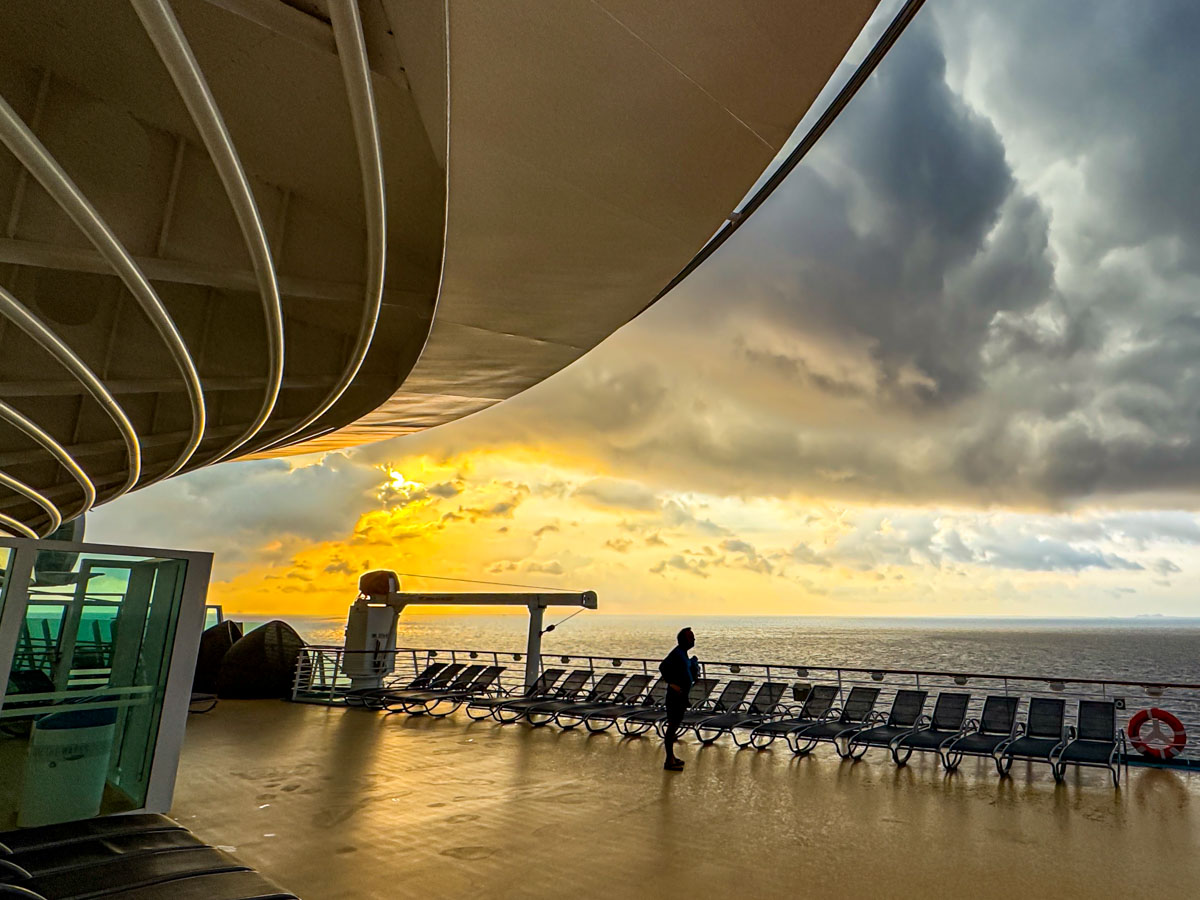
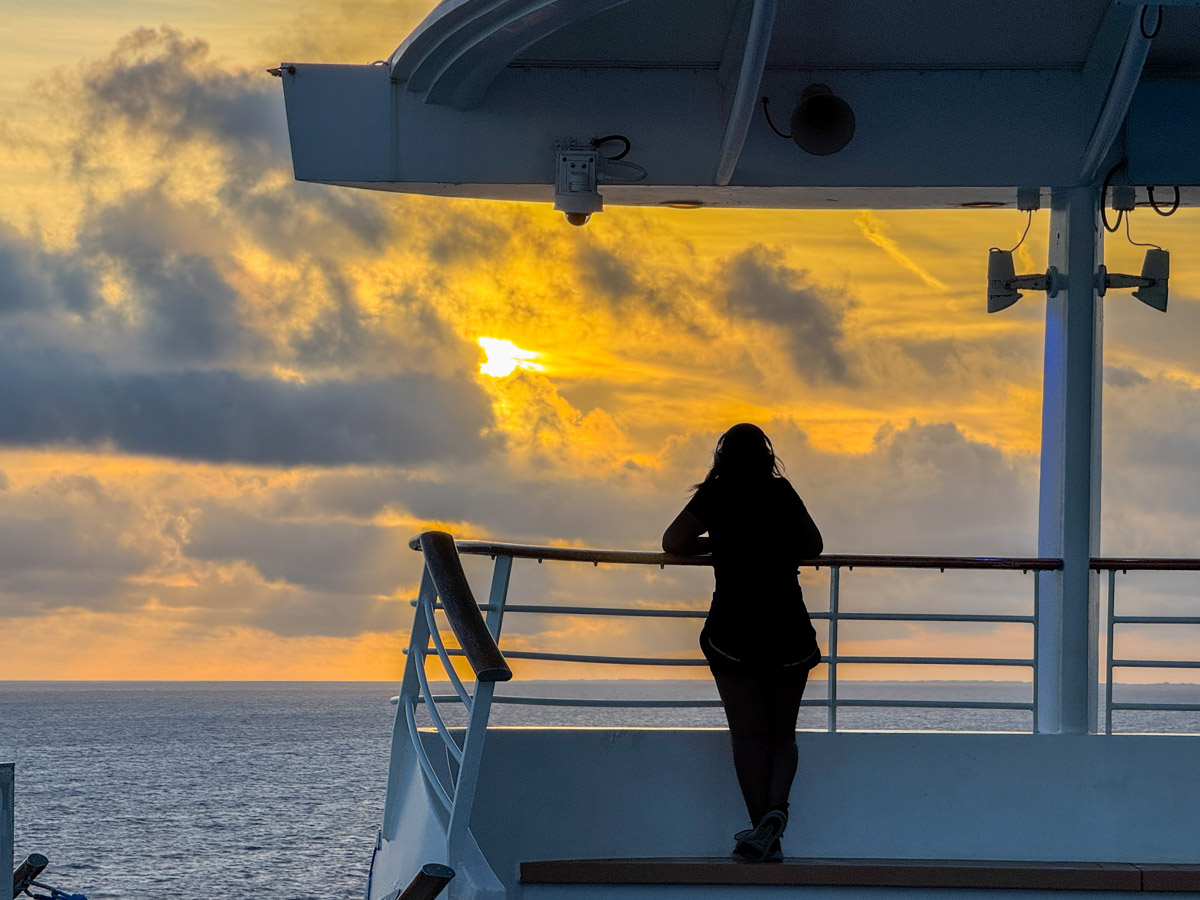
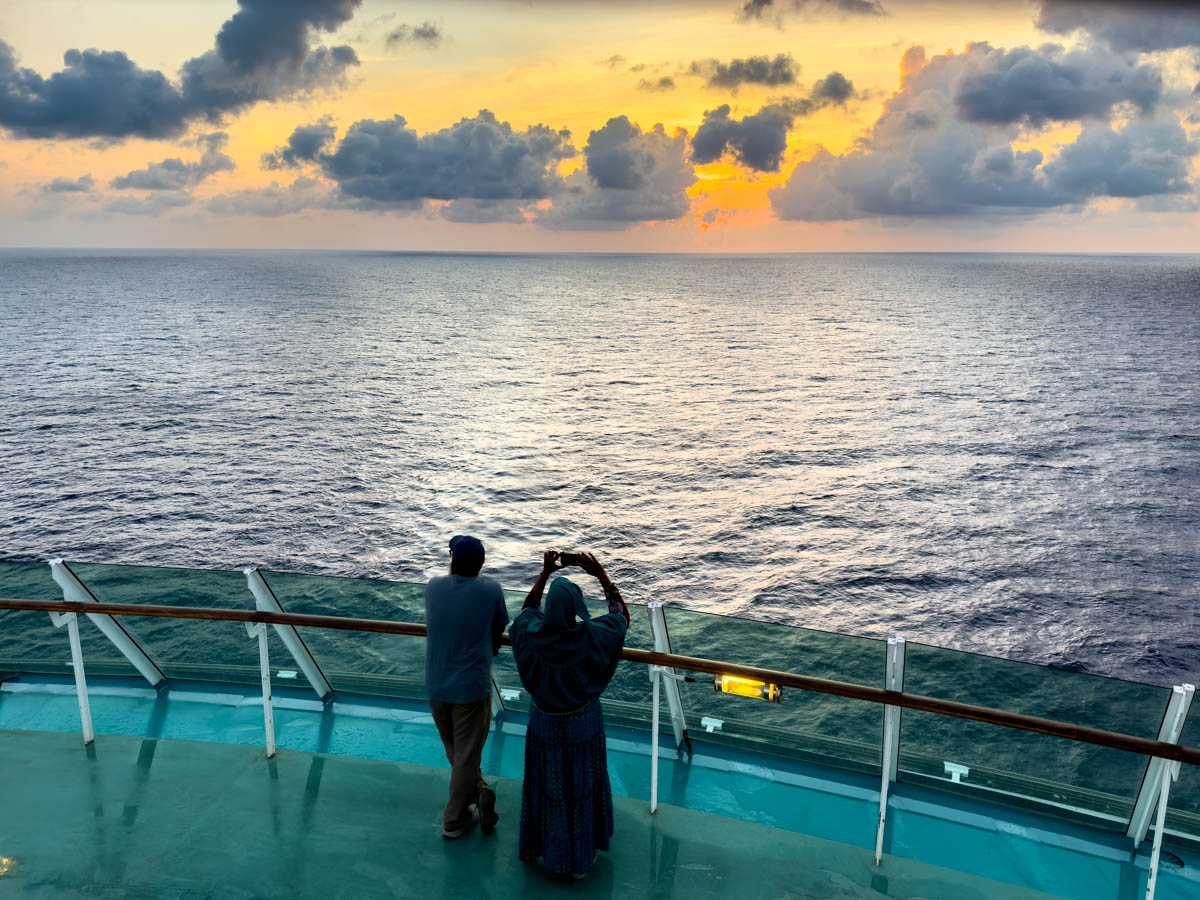
Everyone likes to kick back on a cruise. It’s a total mindset. During my family’s recent cruise from Miami to Nassau, I especially enjoyed practicing…
my early-morning photography and timelapse skills.
But before you can settle into your groove, you’ll probably want to figure out certain nuts and bolts about life on your ship (especially if it’s your first time).
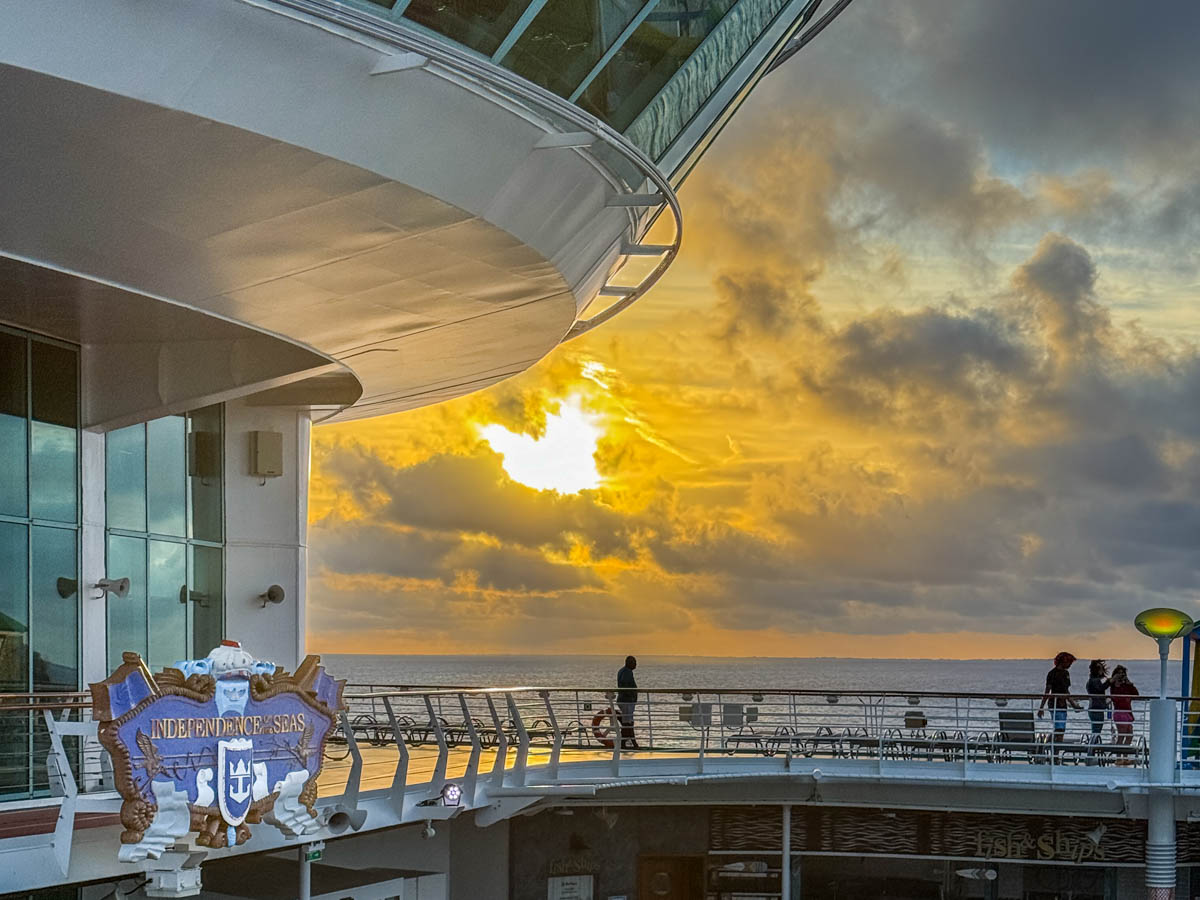
For me, that included a few questions regarding the tech I was bringing along. I’m sure different cruise lines address these topics a bit differently, but here’s what I discovered during our Royal Caribbean cruise on the Independence of the Seas.

Don’t Buy Separate Wi-Fi Packages for Each Family Member
No, I couldn’t survive without being connected to the world for five days. So, I decided to pay extra for the ship’s Wi-Fi plan. That strategy also covered a few Wi-Fi calls I needed to make along the way. And then I didn’t have to upgrade my AT&T cell phone plan to international coverage when we were in the Bahamas. (I just had to ensure our phones remained in Airplane mode.)
And yes, I ended up purchasing the ship’s Wi-Fi for all three of us. There were a few reasons, including cross-ship calls to our fourteen-year-old son, who would sometimes be doing his own thing.
The most cost-effective way to hook up all three of our iPhones was to buy just one Wi-Fi plan and then pay more to share it with our two additional devices. That strategy cost less than buying three separate Wi-Fi packages for each of our cell phones.
All I had to do is share a passcode with my wife and son via the Royal Caribbean app. And then their phones were instantly connected.
The Royal Caribbean app isn’t clear that all family members can tether to the one multi-device package. I think it’s primarily designed for just one person who may have a cell phone and laptop to connect. (Thus, the name.)
But buying this less-expensive option worked just fine for my family’s three phones.
Less Expensive Choices
Another way to save money is to purchase your Wi-Fi before your cruise begins using the Royal Caribbean app. (There’s a significant discount.) So, it’s best to figure this piece out ahead of time.
And for those who may not choose to pay extra for a Wi-Fi plan, the Royal Caribbean app (which is always connected to the ship’s Wi-Fi for free) offers free texting. So happily, that’s the way to reach your family members on the ship for no additional cost (but remember… it’s for texting only).
Bring Individual Chargers that Power Up Multiple Devices
Power usage is tightly controlled on a cruise ship. Packing plug bars and extension cords to help charge up all your tech in your room is forbidden. Allegedly, it will get confiscated… and then returned at the end of your voyage.
But I didn’t expect our cabin would have only two available plugs to work with. That’s certainly not enough for three people. So, we had to juggle the need to charge up our three iPhones and my Apple Watch (not to mention the battery chargers for my camera gear).
What I would bring instead is a single charger that can power up both my iPhone and Apple Watch simultaneously. (I don’t think that would break any rules.)
Upload your Photo for your SeaPass card.
When you first board, you receive a ‘SeaPass’ card. It looks like a credit card and acts like one on the ship. It’s also your official ID, which you’ll need to get off and back on the ship during your day trips.
During the pre-cruise online registration process, everyone must upload a photo of themselves for their SeaPass card. And it has to meet certain visual parameters, much like a passport photo.
Originally, I thought my photo would be printed on the card. But it wasn’t. My picture simply popped up on a monitor after my card was scanned at the ship’s security station when I was heading off ship in Nassau and CocoCay. This process ensures you are who you say you are.
So, if you’re worried about uploading a ‘bad’ photo of yourself, don’t worry. The only people who see it are security.
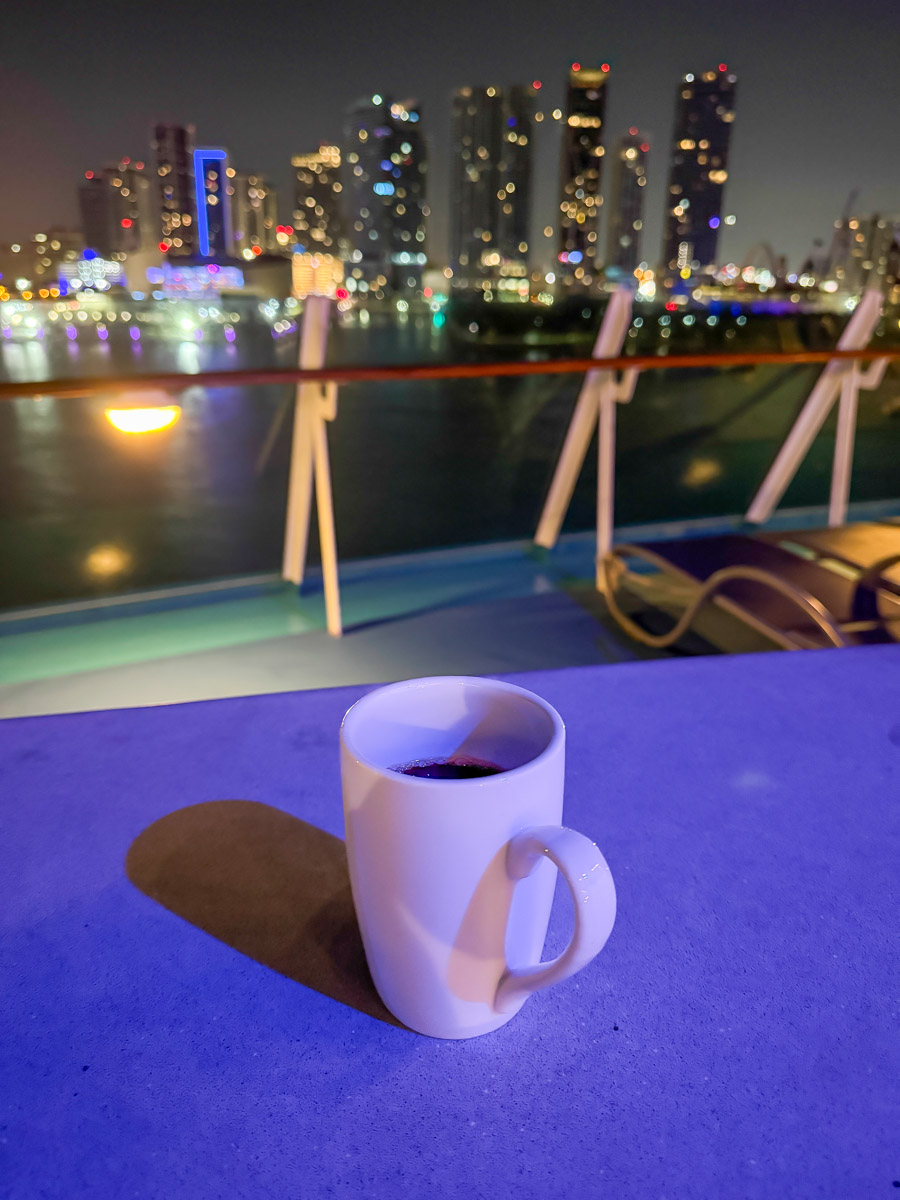
Find the Free Coffee
Cruises are often designed to be an all-in experience with the one-package price. But there are plenty of exceptions and upgrades you can choose to pay for. And it starts with your morning coffee. Sure, you can spend four bucks for a Starbucks Grande, but if you open your eyes and look about, you’ll notice a whole lot of people walking about with ceramic mugs of coffee.
That’s the free coffee!
 I didn’t realize that the free coffee station in the deck 5 coffee shop was set up directly to the left of me as I purchased my Starbucks at 6am on the first morning. For the remaining days, I hooked a hard left as I walked in.
(Okay, this is not technically a tech tip, but coffee has always been an honorary topic of discussion throughout my years of blogging.)
Try Not to Overpack
In general, the ‘less-is-more’ rule’ applies to packing for a cruise. Unless you need to handle multiple climates or pack for a more formal evening, a carry-on bag should really be large enough for all your clothes. (A bathing suit and t-shirt/shorts will cover much of your time.)
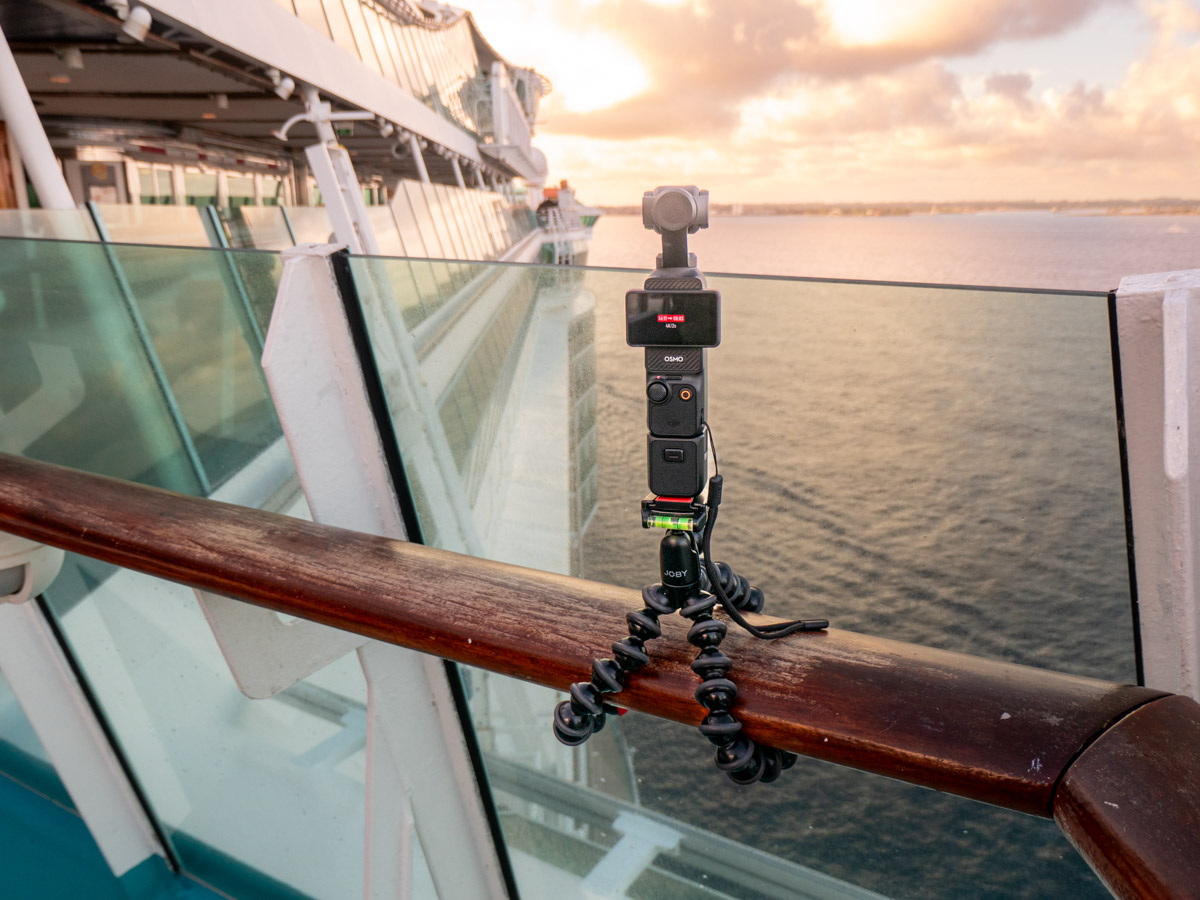
Of course, there are exceptions. You might spot someone not following the above guidance. He’d be in a sweatshirt, wearing a Havana Hat (made by Sunday Afternoon) and walking about deck 12 at sunrise. He’d have a small camera bag (Peak Design’s ‘Every Day Sling’) hanging off his shoulder, containing:
- His GoPro
- DJI Osmo Pocket 3
- Panasonic Lumix DC-ZS200D mega zoom
- and his iPhone in his pocket
Yes… and that would be me.
 I still have work to do on the less-is-more packing strategy.
That said, I still had a blast on our cruise.


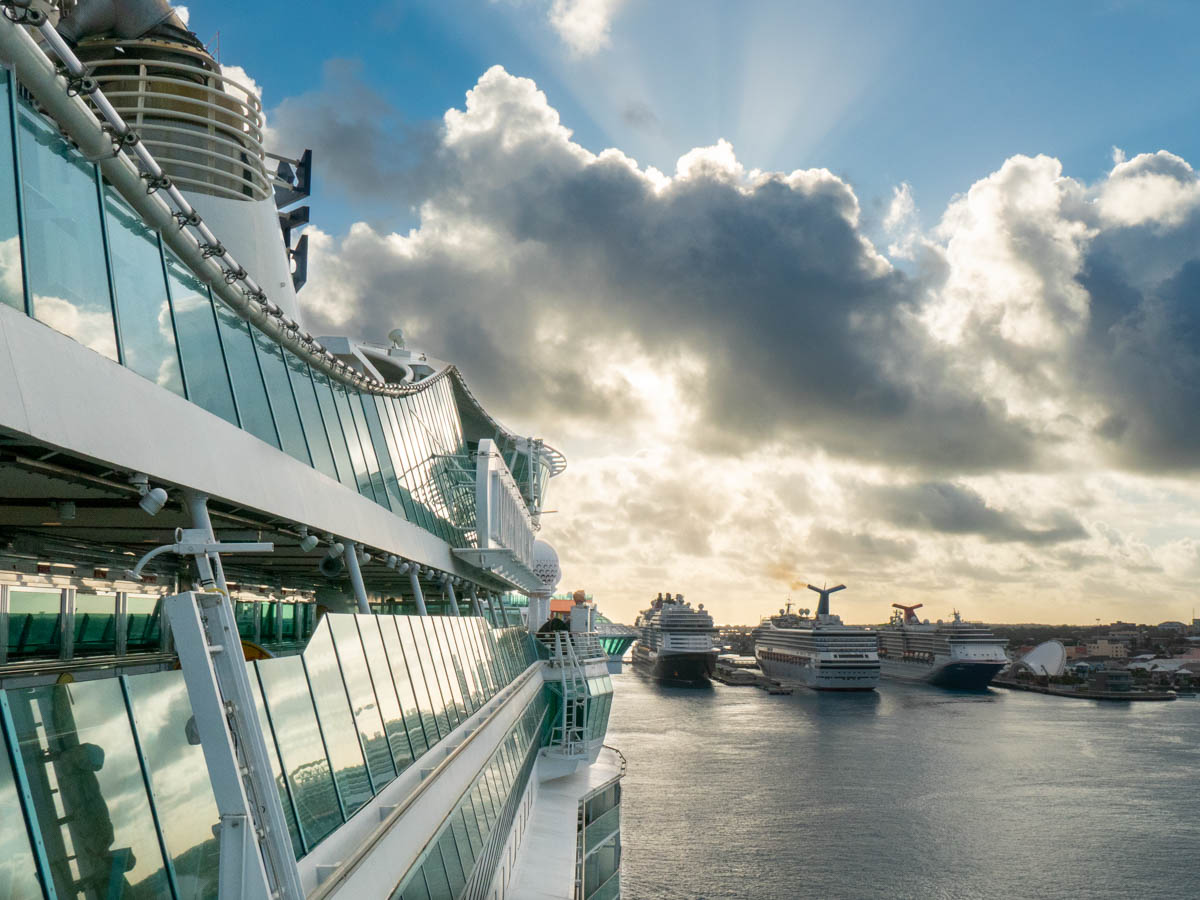


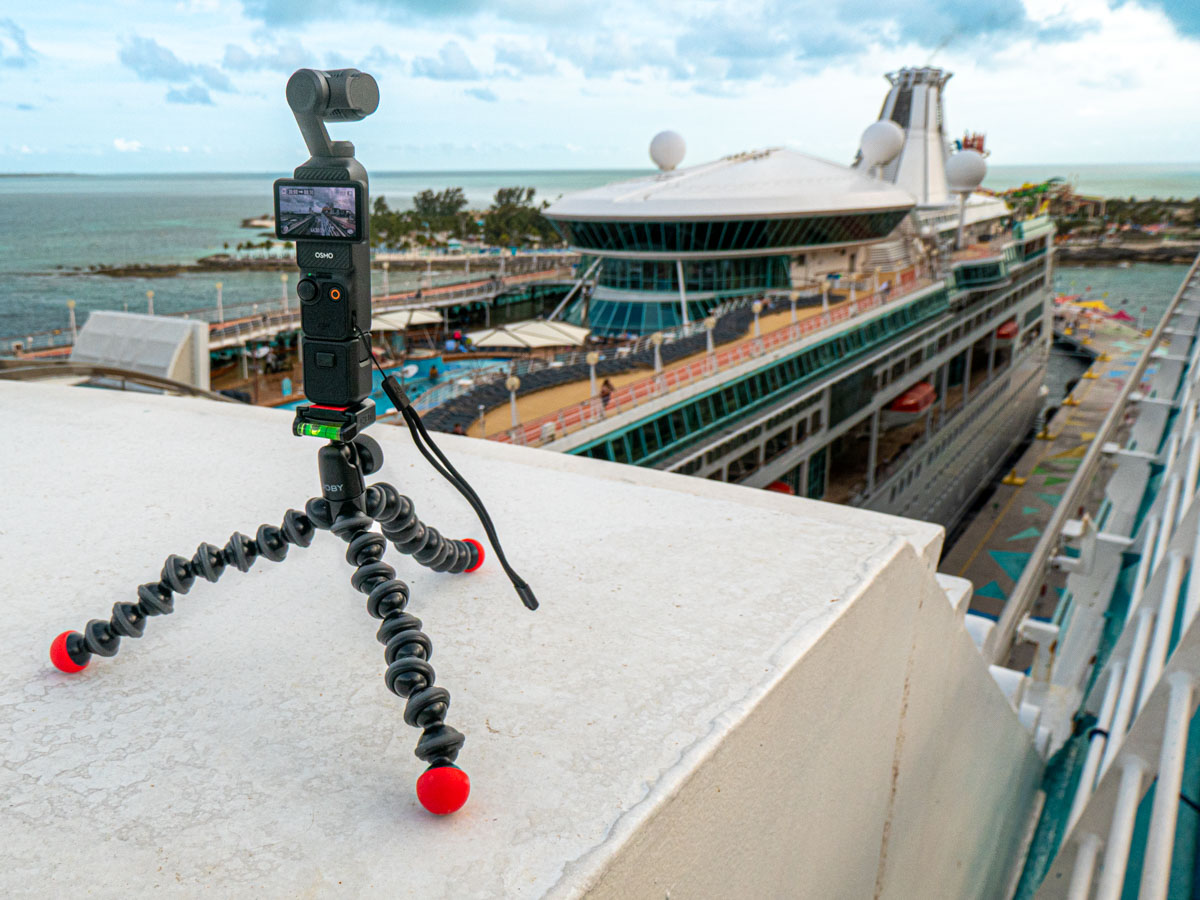
 It really helped having another ship (Royal Caribbean’s Vision of the Seas) docked there to provide additional visual context.
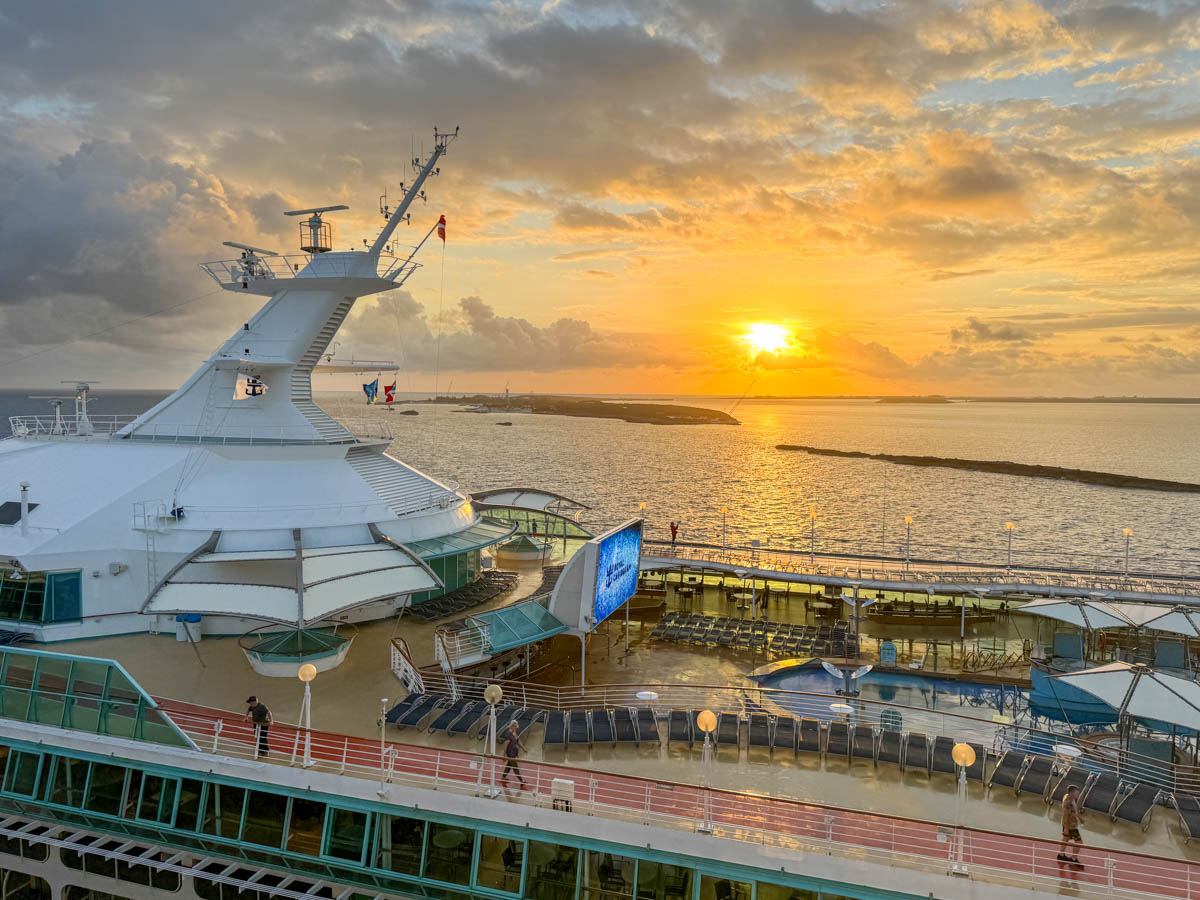
 (I added a ‘Gaussian Blur’ on the left section in post to mask a couple of travelers who unknowingly walked into my shot.)