How to Create Awesome Drone Footage with Amateur Flying Skills
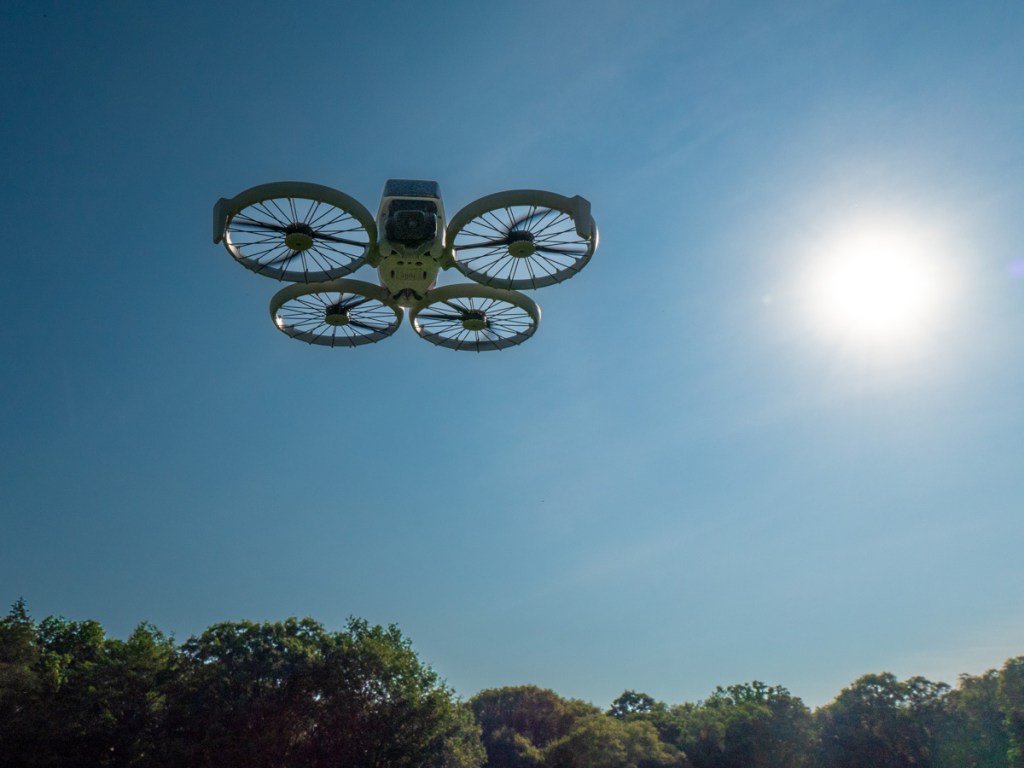
I finally bought a camera drone to start this new hobby I’ve long wanted to try. Then, I got to work studying how to fly it. I trusted my DJI Flip’s intelligent flying modes to protect my investment against disaster, because I didn’t have enough faith in my novice piloting skills. I was worried about crashing my little drone.
But my Flip survived its impact with that tree. So, I wiped the egg off my face and was determined to learn how to properly fly my little drone.
I continued slowly, and my patience finally paid off when I discovered a key aerial storytelling trick.
Fly Slow and Smooth
Generating cinematic videos with a drone is all about flying it ‘slow’ and ‘smooth.’ All those establishing shots you can think of from movies… yes, slow and smooth.
And that translates to easier and safer flying.
And if you’re looking to create more motion in your drone footage, that doesn’t necessarily mean you have to fly faster. Instead, just fly your drone lower. Moving over a landscape close to the ground produces more movement than from higher up.
Happily, these flying strategies are relatively easy to accomplish. And just as importantly, they don’t put your drone at significant risk.
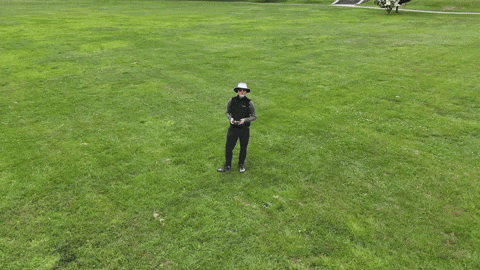
So, as I explored flying my drone manually, I intentionally followed the slow/smooth rule and practiced simplistic flying routines.
Up. Down. Forward. Back. Sideways.
The most aggressive maneuver I attempted was elevating my drone as it simultaneously moved forward.
Embrace your Inner Rookie
How fast can my drone go? I have no idea. I haven’t tried to find out. Could I always see my drone as I flew it? 100%.
Slow is smooth. Smooth is fast.
And as I flew in the dullest of ways, that’s when my adrenaline levels finally began to stabilize, and the tension melted away.
And guess what? I decided I’m just not going to fly my drone over water. I’m not going to fly it over a mountain ridge. I’m not going to fly between two objects and try to thread a needle. I’m never going to worry if my drone has enough battery power to make it back.
I’m just not going to push it. This isn’t a sport for me. It’s a new hobby with an expensive piece of gear I’d like to keep in one piece.
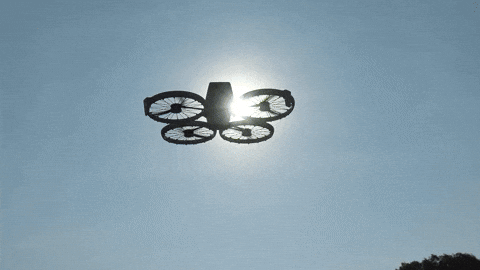
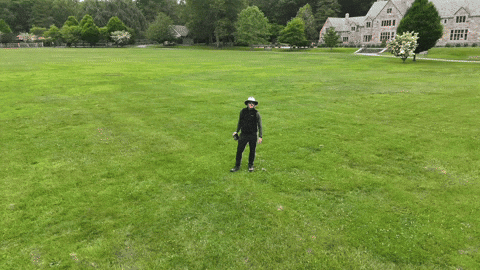
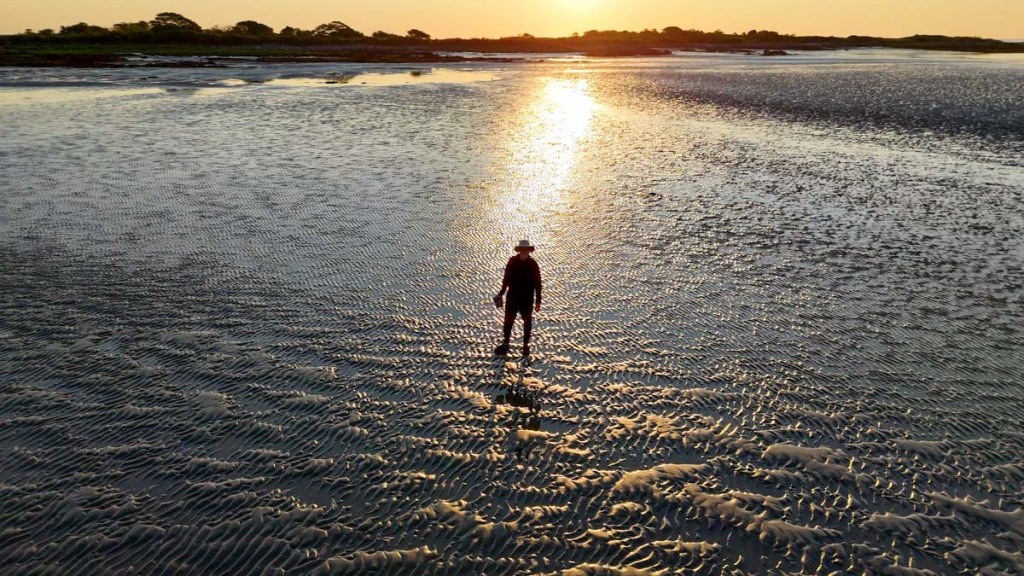
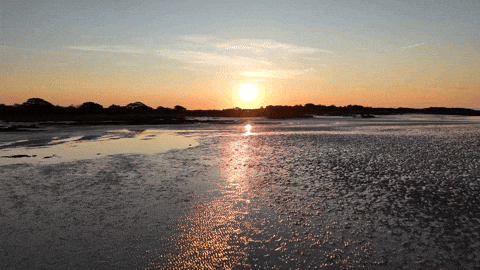
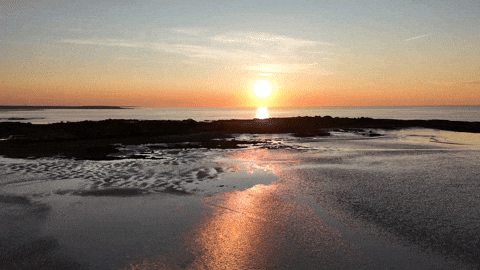
Barrett’s Drone Footage from the Mud Flats of Cape Porpoise, Maine
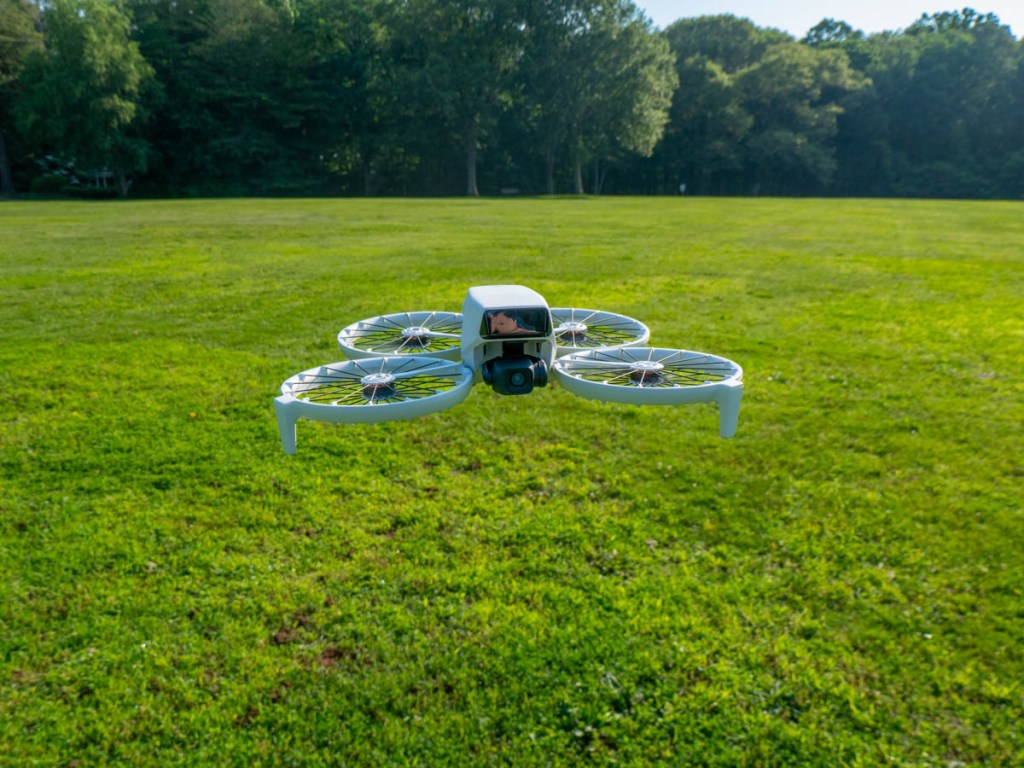
Even with my self-imposed training wheels in place, my conservative flying style still enabled my DJI Flip to capture the incredible beauty of our world with motion. Often, just getting your drone in the air to is enough to recording stunning clips.
And that’s exactly what I did… I think I captured some nifty footage during my training flights on the mud flats of Cape Porpoise, Maine.
Here’s a video compilation of my manual maneuvering along with a few auto QuickShots (courtesy of the drone’s built-in code).
(Yes, my flying style was boring, but my shots were not.)
How to Quickly Edit your Drone Clips
I put this edit together using a couple tools:
- The DJI Fly mobile app for basic video editing and music
- Final Cut Pro for precision edits and speed ramping
I should mention that you can quickly perform a punchy edit just using the DJI Fly app on your phone. There’s even a 1-click editing solution. It’s not perfect, but you can generate and share a dynamic video with your phone in just a couple minutes. Impressive. Most impressive.
When Less is More
A little drone can go a long way. I mean that both literally and figuratively.
You don’t have to fly your camera drone like it’s capturing a stunt shot for “Mission Impossible.” I say… keep it all entirely ‘possible.’
And while many pros out there may yawn at my stubbornness to avoid all risk, I’m entirely pleased with my creative results to date.
Others may like showing off their camera drone crashes to the world, I hope to never do that again.
Start slow. Keep it slow. Make it smooth.
Less is more.