Capturing Spring’s Early Flow with My Microscope Lens

That anything living can break through the barren, winter-scarred ground always seems like a miracle. Yet, of course as the fading winter releases its brutal grip and the temperatures begin to rise, early spring begins this annual rebirth.
I’m always delighted during these first days before spring really kicks in. That’s when you need to make an effort to spot the signs. Though tiny, they’re everywhere. The trees are still barren, but the first flower buds are already starting to make their move.
Look Closer
I think we’re likely a week or two away from ‘opening day’ here in southern Connecticut. (That’s when you look out the window and almost fall over from the impact of spring’s stunning return.)
I took my Panasonic Lumix mirrorless camera outside this week to take a few early-spring test shots but found my results underwhelming. Maybe it was too soon.
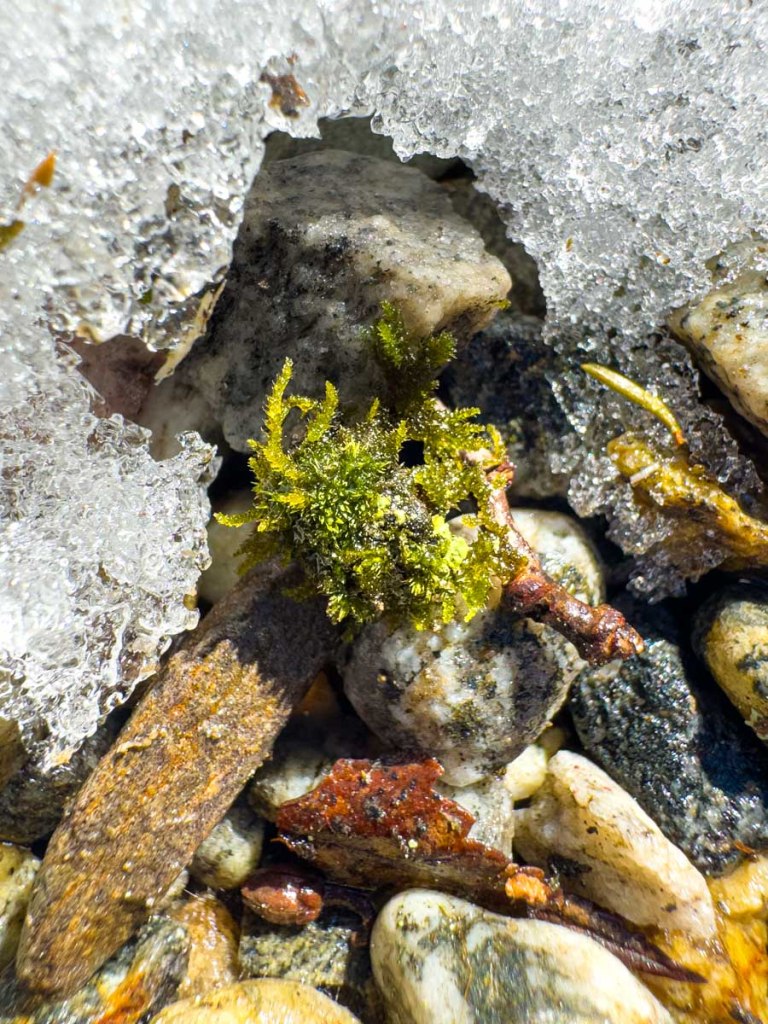
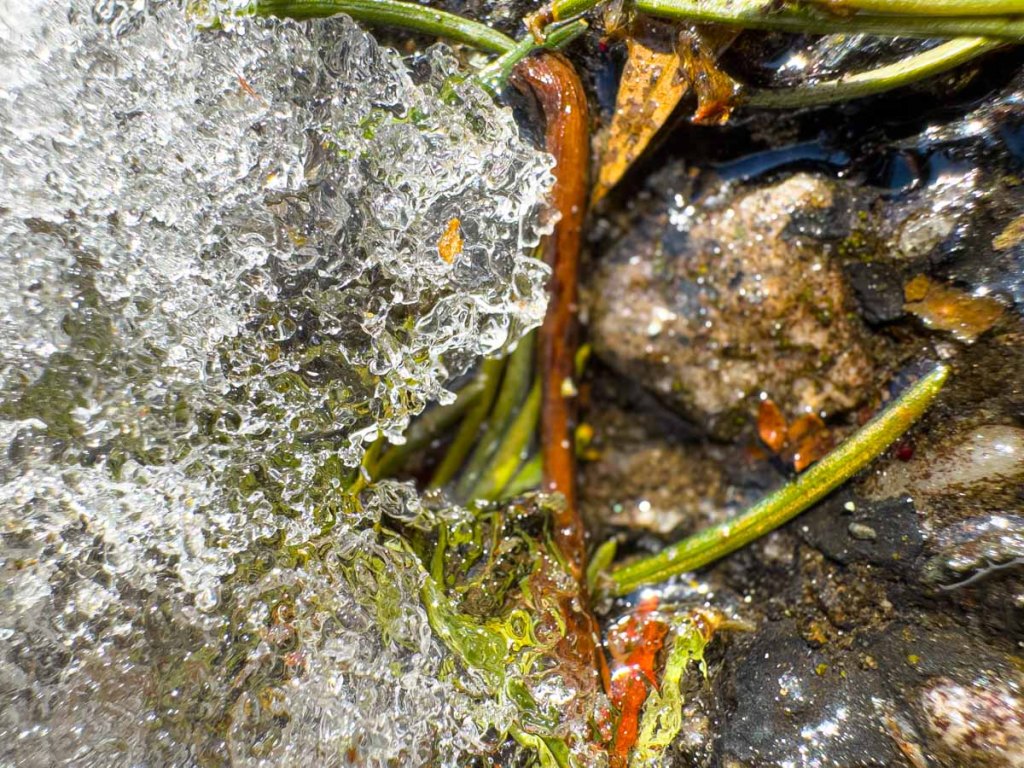
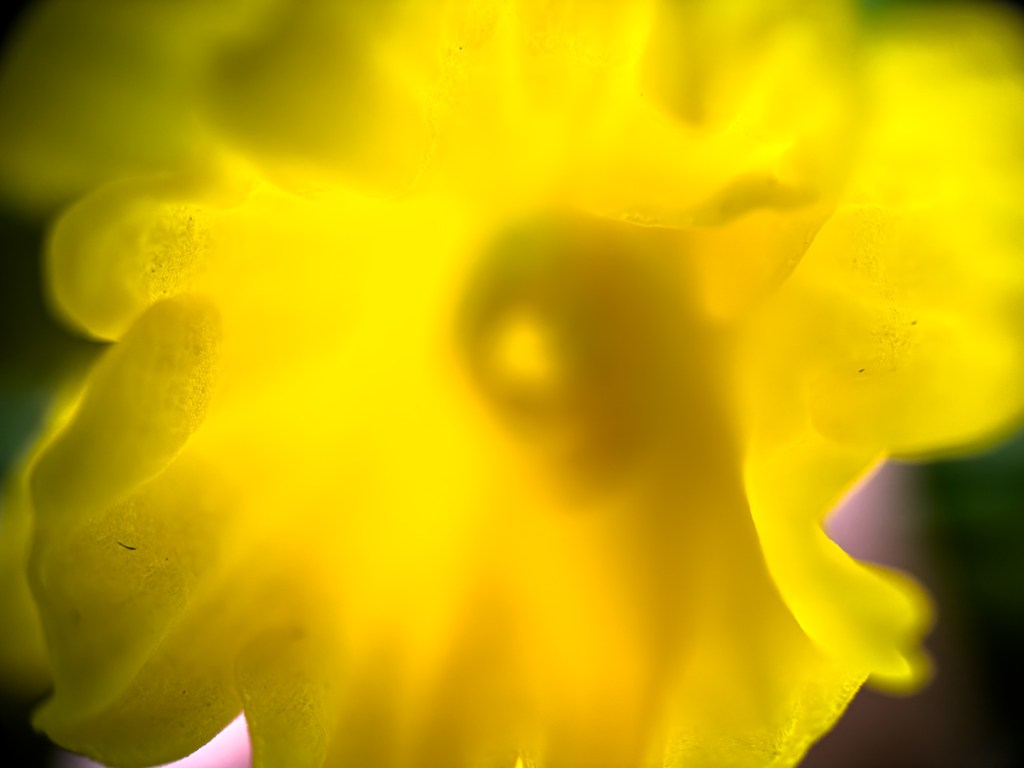
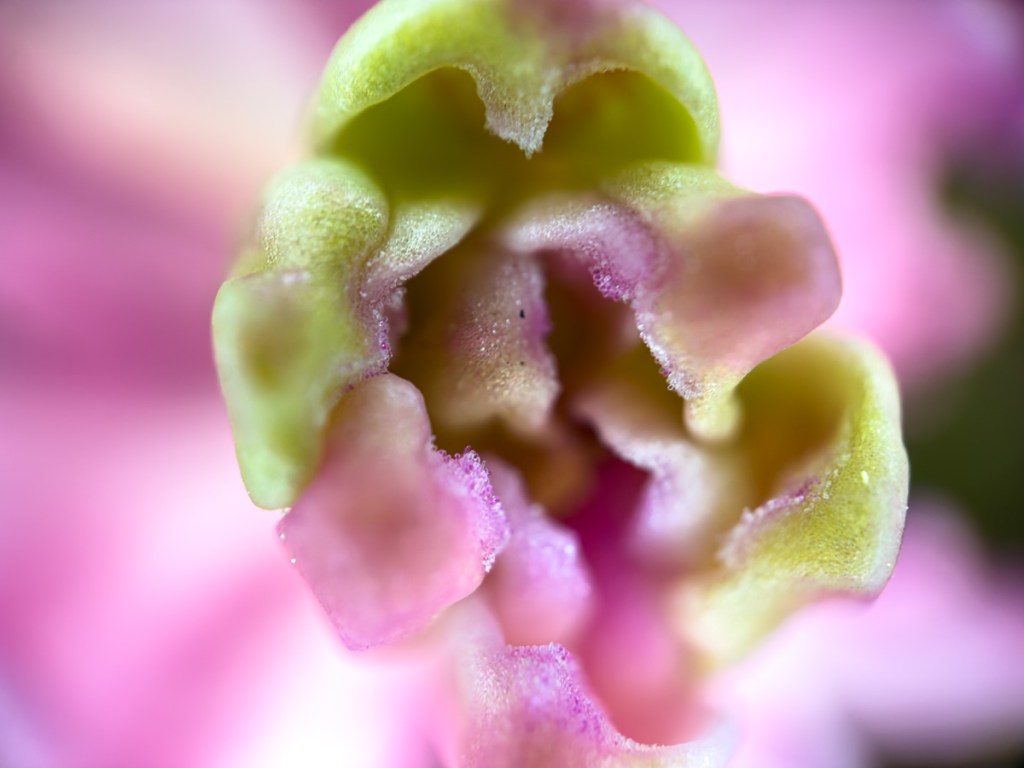
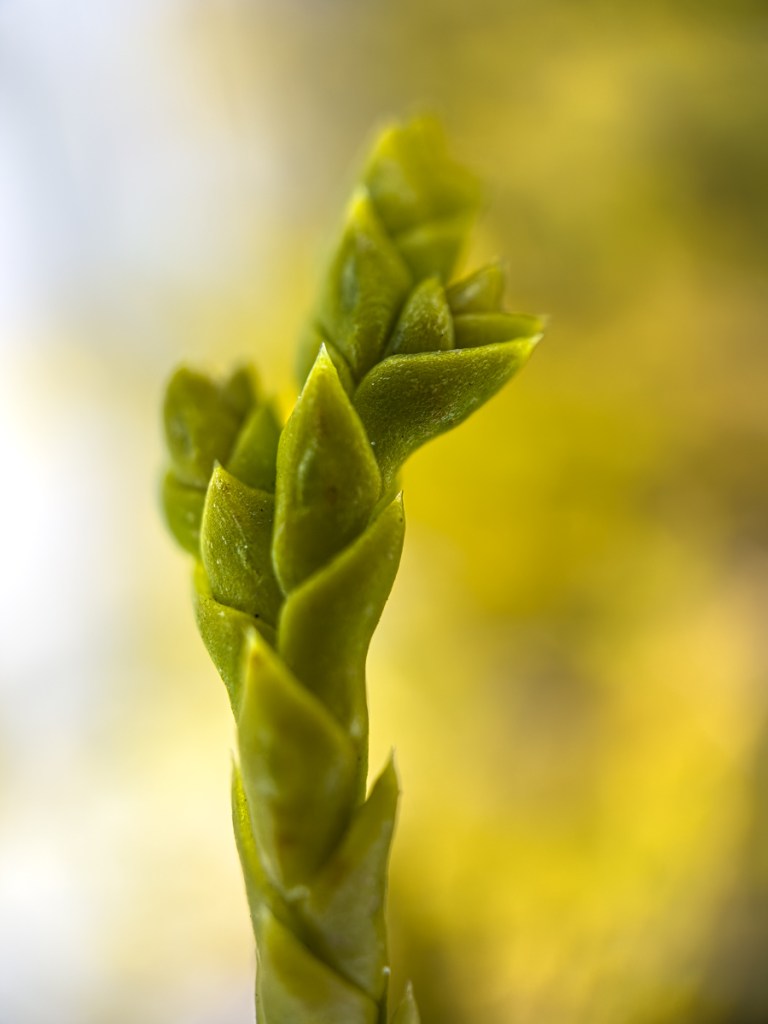
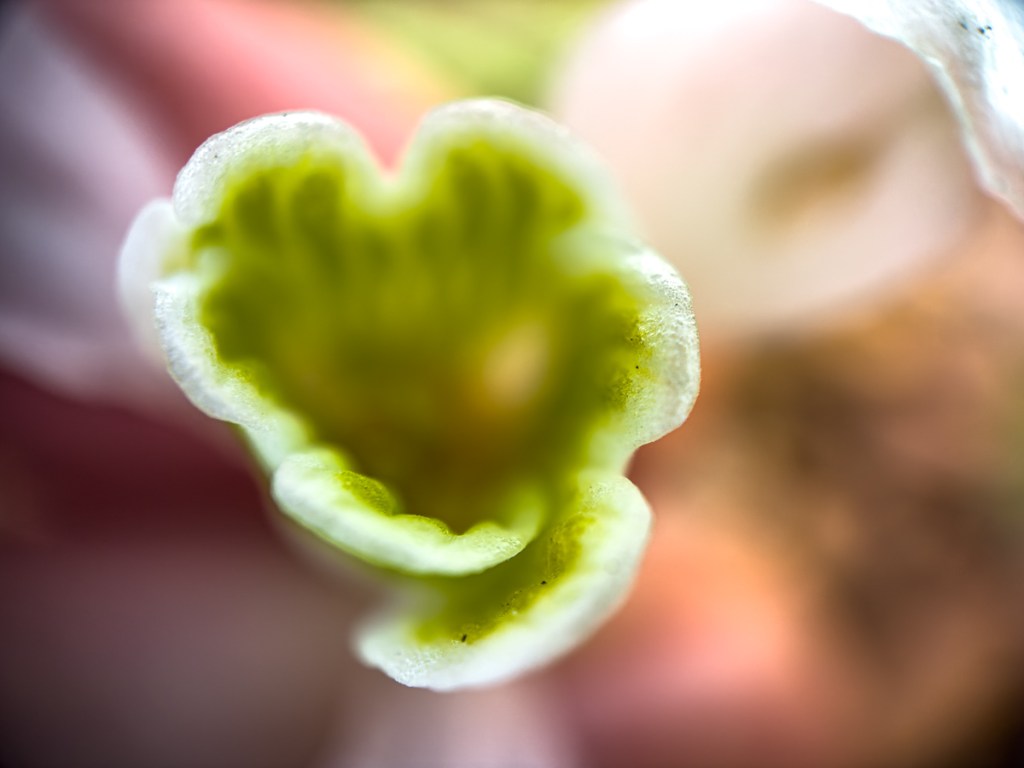
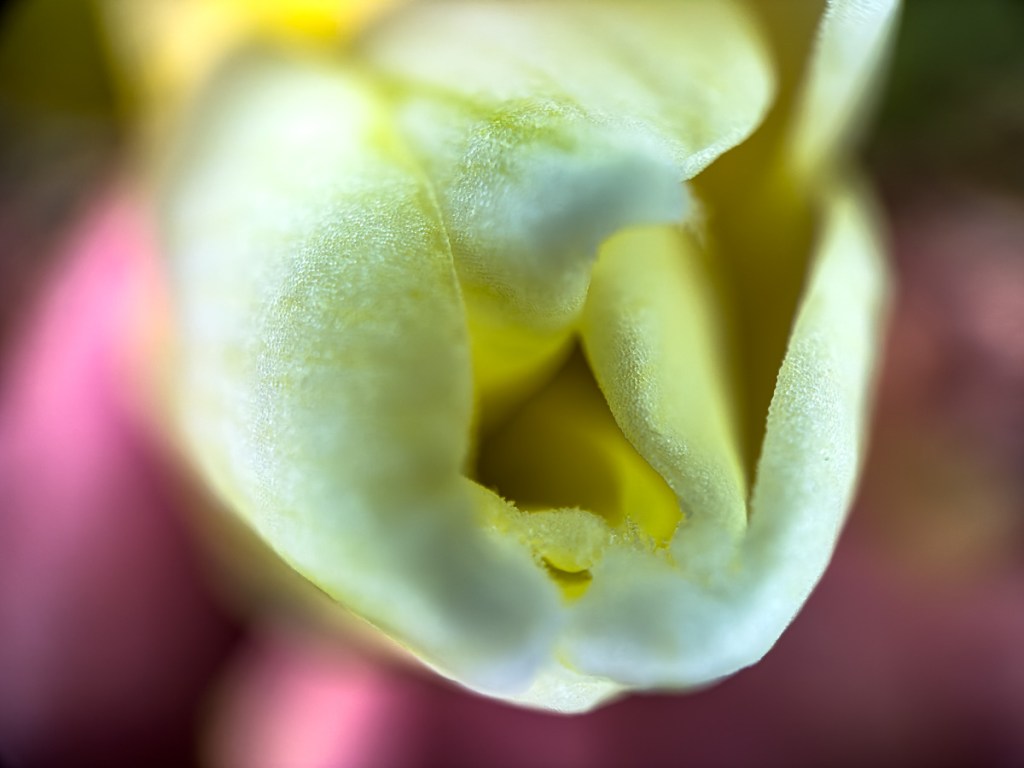
Then, I thought for a moment and realized I just needed to get a little closer to nature’s magic. So, I pulled out my SANDMARC microscope lens for my iPhone and screwed it onto my iPhone case (also made by SANDMARC).
When I bought this lens system last summer, I wasn’t sure how often I would use it. Well, this was clearly one of those moments.
So, I set out to try again.
Early Days
The images I captured were not your typical bright and colorful spring collection. The shots were necessarily darker with my microscope lens pressed close to the flower buds.
But this framing style also created a more intimate result, revealing a view of a young spring not yet fully formed.

Time to Expand the View
My microscope lens provides an especially narrow depth of field. Much of each image blurs away from the tight focal point. As a result, I think I’ve captured more of nature’s organic flow in action.
And this flow will soon burst onto the landscape. Then, it will be easy to expand the view.
I couldn’t be happier being able to see this preview.
Hello, spring!