Has AI Revolutionized or Shattered the Art of Photography?

I believe the answer to this question is both. And that’s not necessarily a bad thing. Here’s why.
In the not-too-distant past, being a great photographer meant you needed foundational technical skills, a great eye and a little luck. And it didn’t hurt if you had a higher-end camera with a fast lens that could properly freeze the moment and soften the background with some nice bokeh.
It was all about getting ‘the shot.’ And you knew it when you snapped it.
Today, software, AI and some nifty tech tricks have changed the entire equation. Now everyone can be a ‘great’ photographer.
The iPhone’s Powerful Camera Skills
If you’ve got a recent smartphone in your pocket, you’re off to a solid start. Today’s iPhones are amazing cameras.
- The camera lenses on the back give you enough zoom flexibility for most framing needs.
- The ‘live photo’ setting gives you a full 3-second moment instead of a fraction of a second. Then you can later choose the best frame from those 3 seconds.
- The software in ‘portrait mode’ automatically blurs the background for you, and you can adjust the level of blur after the fact.
If you’re just pointing your iPhone in the right direction, you’re probably going to capture a pretty good photo. It brings a new clarity to ‘point and shoot’ photography.
Fix It in Post
Then there’s the art of editing your photos. People have been polishing and adjusting digital photos for years with tools like Adobe Photoshop. But that takes a fair amount of training and practice.
Of course, today there are a host of one-click photo-enhancement solutions and filters that you can use with your computer or smartphone.
Easy.
So, what you originally shoot is only the beginning of your photos’ journey.
AI to the Rescue
Now, AI can help us do even more by removing objects from a photo in one click.
I’ve begun to do that using Adobe Lightroom. It’s amazing with its ability to instantly backfill the environment behind a removed item.
It’s not perfect for every scenario (at least not yet), but I would have thought of it as science fiction not so long ago.
Prompt Generation
And then there’s AI’s new “text to photo” superpower. You don’t even need to pick up a camera anymore. Just type in the photo detail you want to generate.
I’ve been practicing this with Adobe Firefly, and you may have noticed that some of my recent blog headline photos are Firefly-generated (as is the photo for this blog post).
Again, it’s not a perfect technology… not yet. But you can already generate amazing imagery using a variety of software and web tools by just… typing it in.
This is indeed progress. In fact, it’s startling. It’s amazing. It’s already revolutionized the entire art of photography. I am a better photographer thanks to all this innovation.
Or am I?
New Rules
I’m certainly creating better photos (some of which never even came out of a camera).
I don’t think my on-the-ground photography skills have specifically improved (well, perhaps a little).
I’ve simply learned how to use the new tools that make my photos look better after I snap a shot. I’m building a new photography skillset that focuses more on photo enhancement and manipulation.
I’m sure a purist would call that breaking all the rules of what photography is supposed to be.
Yes, the rules are clearly being rewritten by AI. And I suppose the question is whether the dramatic disruption of this art form is such a bad thing.
It’s a Revolution
I think the answer is mostly… “No.”
Bokeh is bokeh. It doesn’t matter how you get it. If you think someone’s cheating by creating bokeh in one click instead of relying on years of practice with the right camera lenses… get over it.
Sure, maybe your skillset has just been replaced by a piece of software. That’s life. That’s evolution. You need to stay ahead of the curve. This is not a new way to live.
Fact vs. Fiction
But as we all become experts in photo manipulation, of course, we need to be careful not to cross the line of misrepresenting reality.
Maybe it’s not such a big deal whether you choose to erase someone in one of your photos. But I would say we all have a responsibility not to flagrantly warp reality. We all increasingly have access to the tools that can do exactly that.
So, I would say we should keep it real. Fact. Not fiction.
And of course, we all know that famous quote from “Spider-Man.”
“With great power comes great responsibility.”
Yes.


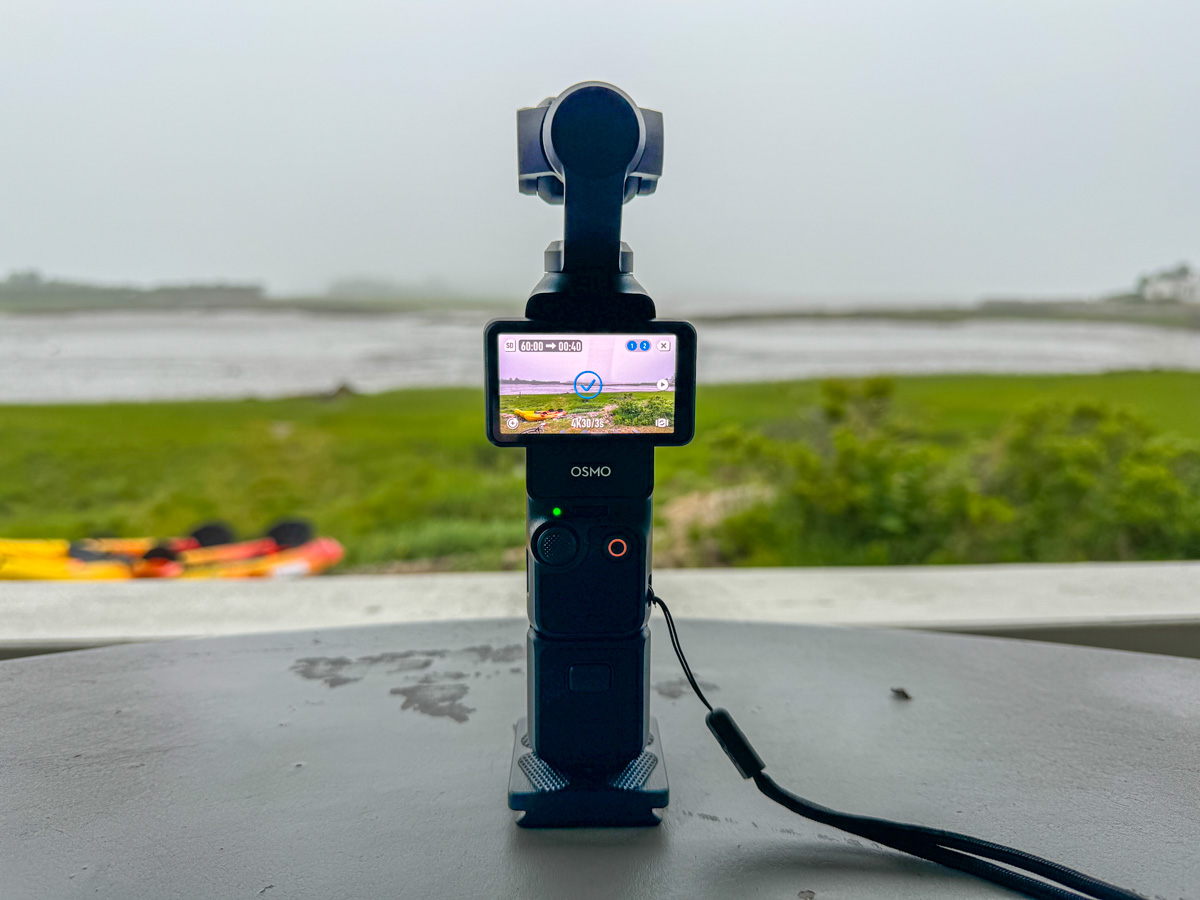
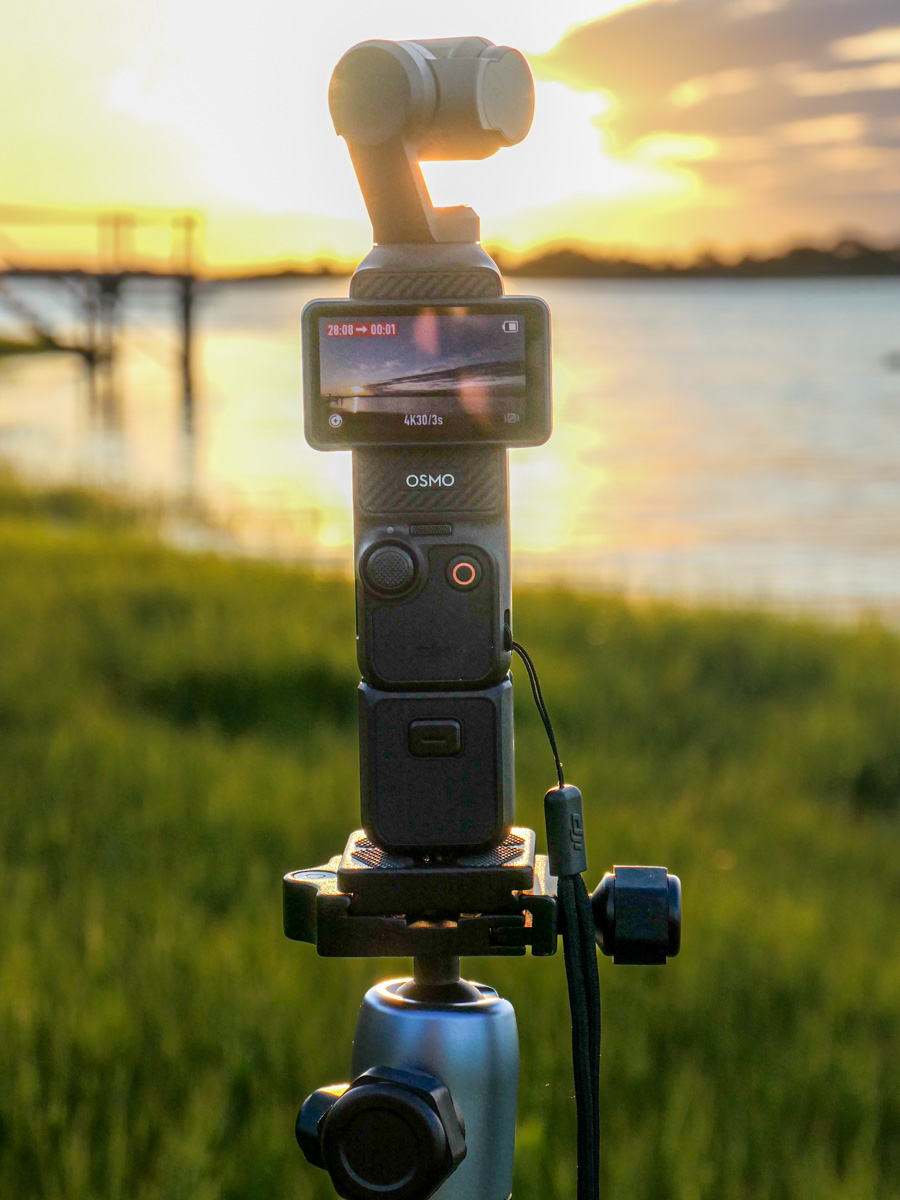
 My Magic Hour
 This cloudy morning on day 2 of our Maine vacation obscured the sunrise, but my resulting timelapse still did not disappoint.