At Home with Tech

Unlock the power of all your technology and learn how to master your photography, computers and smartphone.

Category: smart home

Do You Know Where the Red Reset Button Is Located?

My home’s furnace quietly stopped working last week. I didn’t notice the specific moment, but it was shortly after dinner. I thought I felt a bit cold, and I stopped what I was doing. My ‘Spidey Sense’ told me something was wrong. 

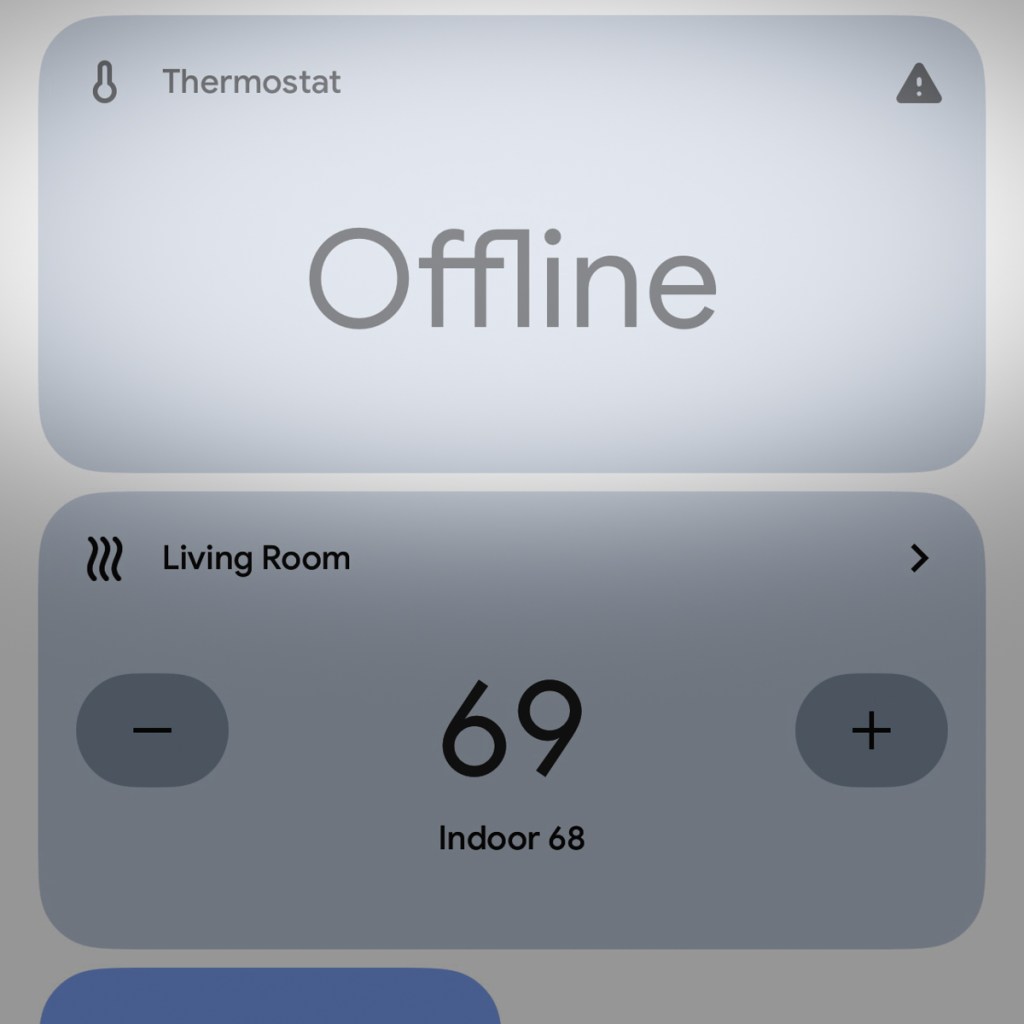
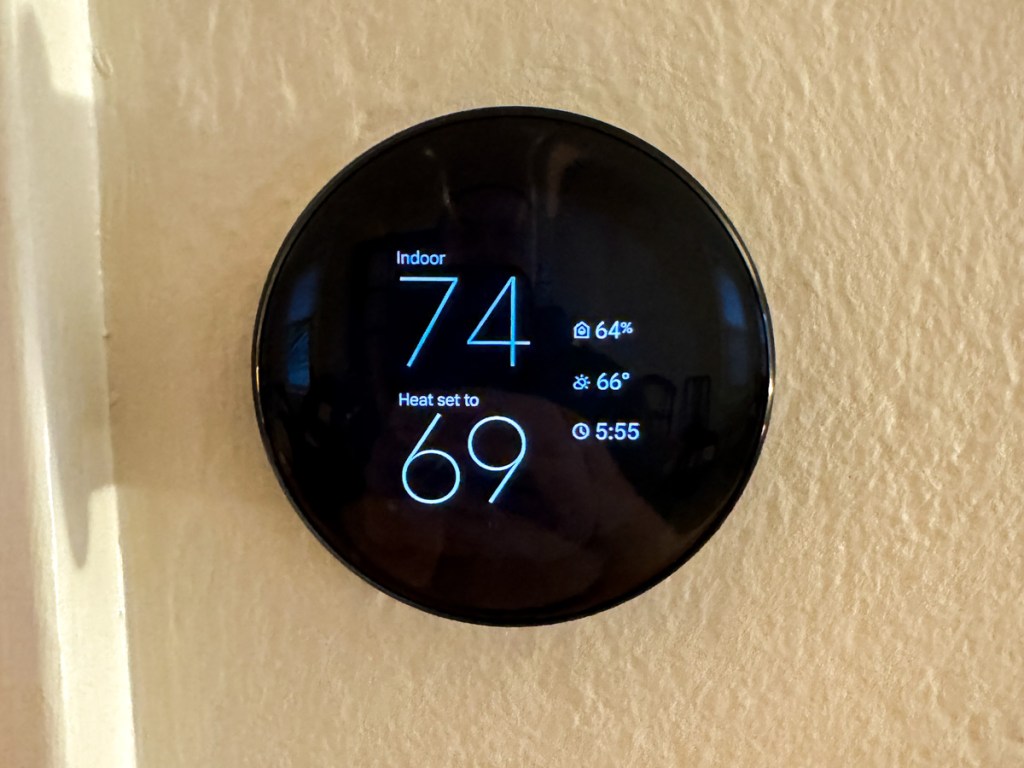
I turned to glance at a little digital thermostat I keep near my home office desk. The temperature was four degrees cooler than it should have been. 

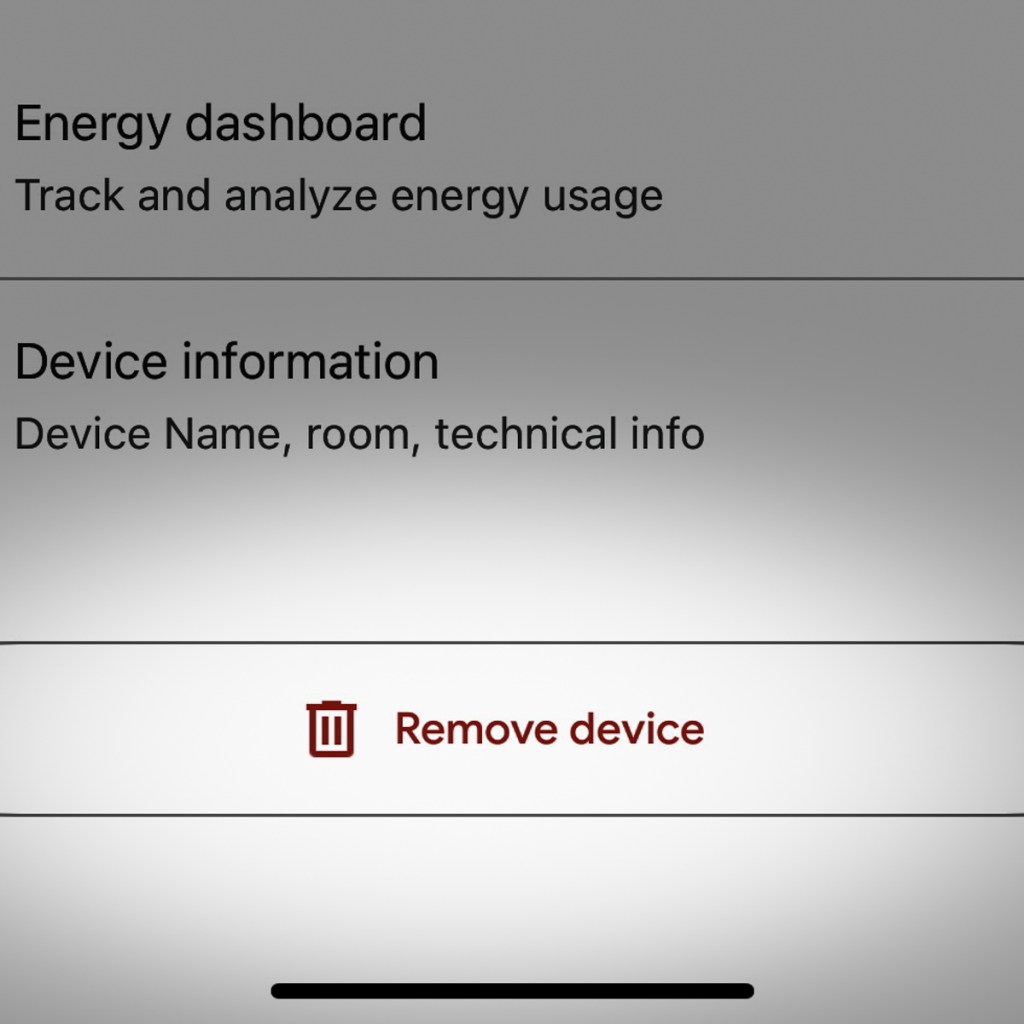
My new Google Nest Learning Thermostat runs a tight ship. So, I knew something was off. (If I were starring a science fiction movie on a spaceship, the next scene would show a pinhole leak in the hull as oxygen vented out.)

My Furnace Wouldn’t Fire Up
I listened for the normal background hum of our heating system. Nothing (no comforting purr of my warp engines). I hurried down to our basement to check the circuit breakers. All good there.

I rushed backed up to check out my gleaming Nest Learning Thermostat. It knew that it was too cold but reported that my furnace was actually running, and my house would reach its desired temperature in 45 minutes.

Houston, we have a problem. 

My furnace just wasn’t firing up, and it was 38°F out. My family didn’t know the situation yet. But the clock was ticking.

There was only thing I could do. So, I made the call…
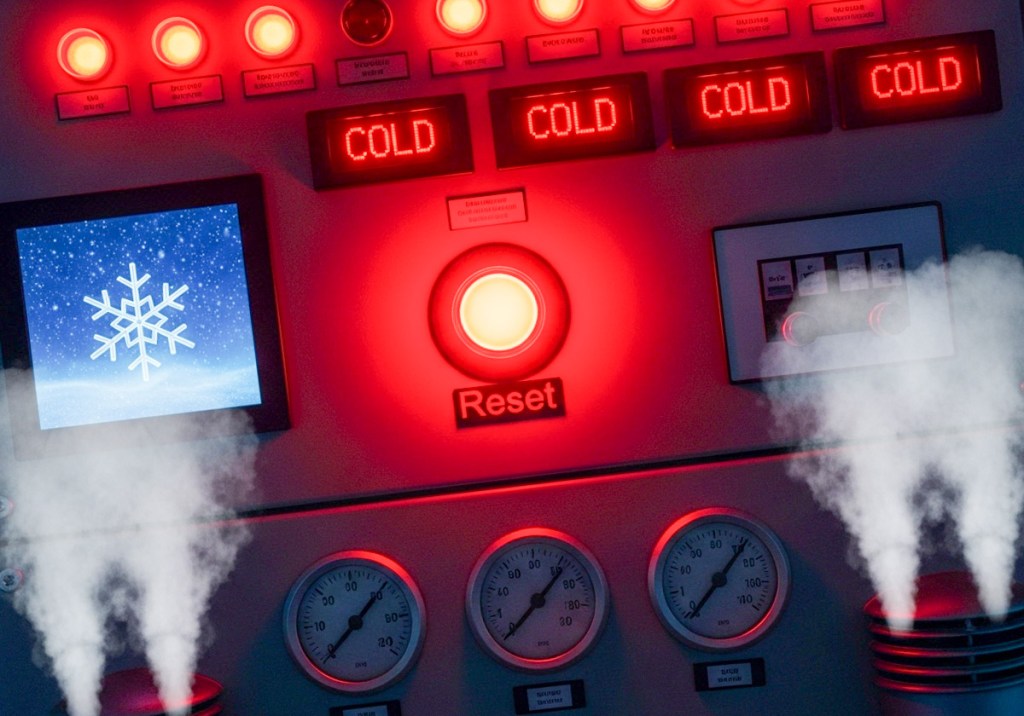
The Big Red Button
I called for an emergency repair. Yes, I pay for an annual plan to protect against this specific moment.

Ninety minutes later, the technician showed up.

The first thing he asked me was whether I had pressed the red button.

“The red button?”

“Yes, the big red reset button. Do you know where that is?”

I did not.

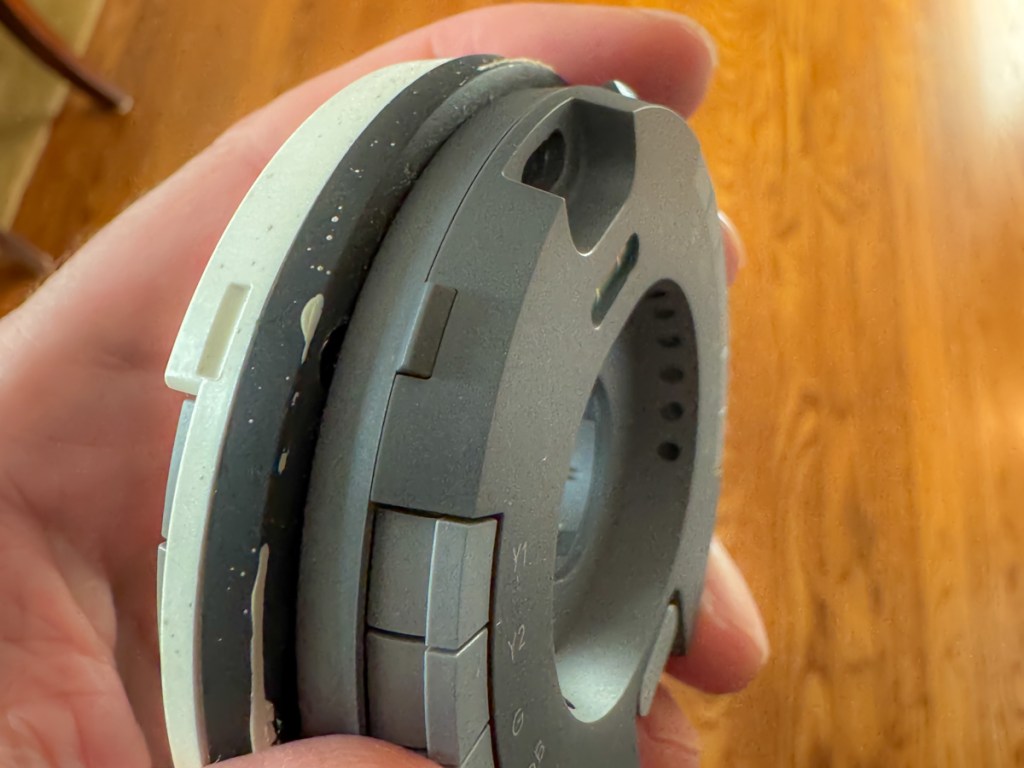
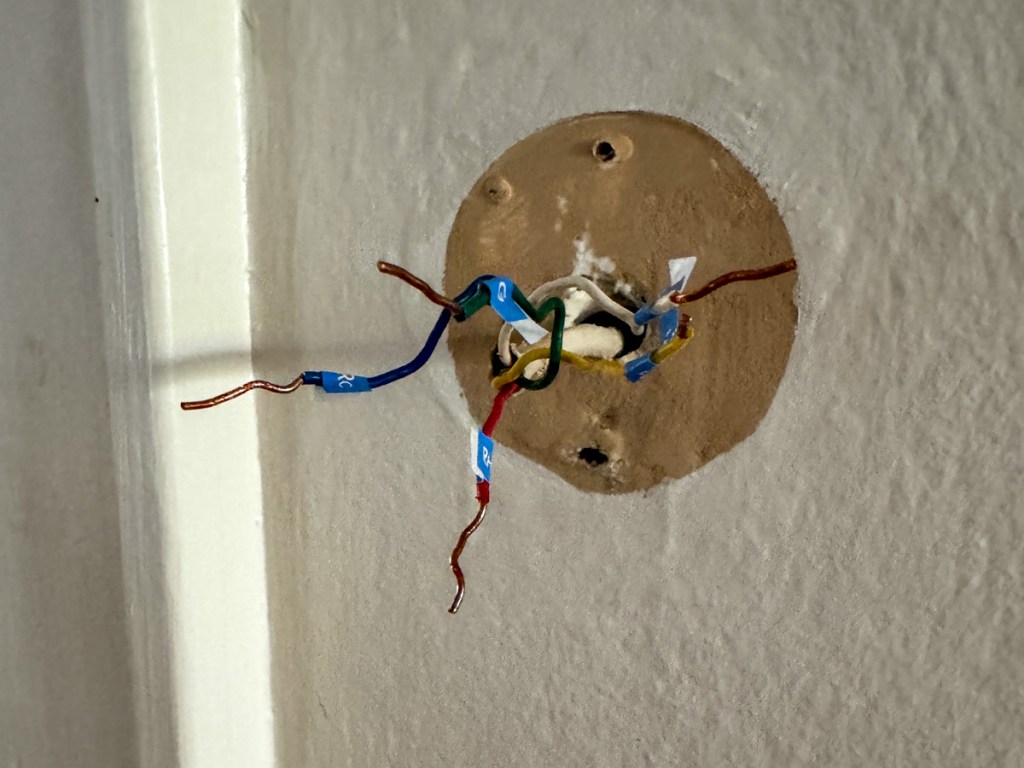
The technician opened up the side of my furnace and pointed. I had to look closely. It wasn’t exactly a bright red button, but there it was, red enough to see… if you were looking for it.

Red Alert
I’m not sure how I didn’t know about the red reset button after all these years. There have been plenty of opportunities during the annual maintenance checks of my heating system. But clearly, I wasn’t paying attention. (Or perhaps no one ever told me.)

The technician reached forward and pressed it. The system started to chug to life.
(Really? How embarrassing if this was the simple fix.)

And then my furnace coughed and conked out.

I felt a sigh of relief. At least it wasn’t the red button. (I dodged that reputational bullet.) 

The problem clearly ran deeper.

Warp Power Restored
The good news is twenty minutes later, my Scotty had my warp engines running again. Something about nozzle misalignment and carbon build up. (I processed his explanation as my “dilithium crystals” were out of alignment in their chamber. My Star Trek brain would understand that.)

He was on his way, and my family had heat again.

I walked back into my home office, sat down at my desk and thought about my experience…

Hello, HAL
I felt a bit giddy. I was so happy this little emergency wasn’t somehow my fault. My furnace actually required a repair technician’s attention. Yes, I knew I had been oblivious to the red button fix, but I was worried I had missed another obvious sign, like a circuit breaker. (I hadn’t.)

Plus, as my story demonstrates, pressing the reset button doesn’t always work.

Ultimately, I think this all points to a larger issue. Don’t we all want some mastery over the various technologies that impact our daily lives?

Time to Upskill
Of course we do. But it’s becoming easier every day to allow that equation of control to drift further away from us.

And this certainly extends beyond running the electronics and systems in your own home.

It’s about how you interface with technology in just about every part of your life.

On most days, it’s simply a remarkable partnership. And to maximize that potential, we’ve all got to upskill and learn to use the new, revolutionary AI-fueled interfaces.

But sometimes systems break down, and you’d better know where that red reset button is located.

It’s equally important to remember that the red reset button isn’t always the fix.

Remember Your Backup Plan
So where does that leave us exactly?

Well, life is complicated. Always has been. 

Things don’t always work the way you expect. User error is no excuse. So don’t abdicate your responsibility to understand the basics.

Have a plan. Then, have a back-up plan. The buck always stops with you.

And yes… it never hurts to know where that red button is located.

How to Delete a Retired Nest Device from Your Google Home App

I really had no choice but to retire my old Nest Learning Thermostat. It’s an aging 2nd generation model, and Google finally stopped supporting it. So, I recently upgraded to the current gen 4 model and successfully installed that one. Problem solved, right? 

Well, not entirely.

The final step was to delete the old unit from my Google Home App on my iPhone. (Who wants to see a deactivated device lingering on your app’s interface as ‘Offline?’) 

According to an email I received from Google, the gen 2 model was supposed to automatically evaporate from the app. But it defied that directive and remained in place… stubbornly so.

When I tried to remove it manually, there was no obvious way to do that. So, I had to dig deeper. 

If you’ve been trying to crack the same code, here’s how to delete your decommissioned Google Nest Learning Thermostat from your Google Home app:

4 Steps to Remove a Device from the Google Home App


#1 – First, tap on the circular icon with your initial on the top right of the Google Home app.

#2 – Then, tap on “Home settings.”

#3 – Under “Device, groups & rooms,” find and tap on your old device.

#4 – At the very bottom of the next page, tap “Remove device.”

So Simple…
That should do the trick! It’s super simple for any of your Nest devices, but you need to know where to look in the app.

After this tweak, you’re back to where you started… with remote and clutter-free access to a sleek Google Nest Learning Thermostat at the center of your smart home experience.

Avoid this Surprise When Installing Your Google Nest Learning Thermostat Gen 4

Getting 12 years out of any piece of tech is more than anyone should expect. That said, if it’s still working and doing the job, why would you want to replace it? (Unless you simply need the latest and greatest.) 

Well, you’d pull the plug when the manufacturer forces you to. If the old unit’s tech is so obsolete, it can’t be maintained by the manufacturer’s current standards. And that’s what’s happened to my trusty Nest Learning Thermostat (2nd gen) from 2013.

Goodbye Nest Learning Thermostat Gen 2
In tech years, it’s like a century old. A lot’s happened, including Google buying Nest to enter the smart home market. 

So yes, Google has walked away from its older Nest Learning Thermostat population. The official Google language is “end of support.” What that means is 1st and 2nd-generation models can no longer be reached remotely via the app on your phone as of October 25, 2025. (They’ve been “unpaired and removed” from the Nest app or Home app.) 

Poof.

It’s Time to Buy Gen 4
Yes, you can still operate these ‘relics’ manually, but I’ve always spent more time interfacing with my Nest Learning Thermostat through the app on my iPhone.

Most significantly, these units are no longer supported, which according to Google “may lead to decreased performance with continued use.” So that’s code for… it’s just a matter of time till they stop working altogether.

Look, I get it. No web-connected piece of tech is going to last forever.

So, if you want your Google Nest Learning Thermostat ecosystem to remain reliable and fully operational, you have no choice but to upgrade to the current 4th generation model, which costs $279.99.

Ouch!

Fortunately, Google has softened the blow by offering a $130 discount for current 1st and 2nd gen owners. So that effectively drops the price point to $149.99 plus tax. (Shipping is free.)

Registered owners should have received an emailed discount code towards the purchase of the current 4th gen model.

Three Color Choices
So Barrett went ahead and bought himself an early holiday present with his discount code. (Thank you, Google.) 

My hardest decision was deciding which color to get. I decided on Obsidian with a black base. (I felt it would present a cleaner, unified aesthetic in our living room. (The other choices are silver and gold with a white base.)

My Installation Surprise
Happily, installing my new 4th gen unit was the essentially the same as my old 2nd gen model. 

The only relevant difference was the size of the circular base plate, which you screw onto the wall. (The thermostat clicks onto the base plate.)

Here’s the problem: 

The new base plate is slightly smaller than the old one. And that tiny footprint difference can be a really big deal.

Why? Well, the new base plate will reveal a little more of your wall… 
that might be unpainted!

Surprise!

Yes, that’s exactly what happened to me. I realized there would be dark, thin paint ring behind my new, gleaming Google Nest Learning Thermostat that revealed our living room’s paint color from years ago.

Granted, the 4th gen thermostat’s beautiful face is bigger than my gen 2’s screen. It’s plenty big to effectively block the view where the thermostat’s smaller circular ‘neck’ touches the wall.

But I would know, and if you looked from an angle, you’d definitely see the old paint. Ugh! 

Sure, Google has thought of this and provided a white trim plate to use that would cover up this kind of problem.

But I didn’t want to use the trim plate. I liked the clean look of the black, circular orb perfectly protruding from my wall like a futuristic Cylon interface.

I just need to get rid of that thin ring of old paint.

I Had to Put on My Painter’s Hat
So, I hurried downstairs and rummaged through my basement to see if I still had a little bit of our living room’s current paint in a can somewhere. I eventually found it, picked up a brush and performed the paint fix.

This of course delayed my installation process, as I had to wait for the paint to dry before continuing. But it was clearly a step worth taking.

So just remember that you might need to bake that extra time into your own installation plan. 

Cool New Sensor Pucks
If you’ve been living with a 1st or 2nd generation model, you may not know about Google’s little wireless ‘satellite’ temperature-sensing pucks to pair with your main thermostat. (I didn’t.)

These “Nest Temperature Sensors” (now 2nd generation) can be placed throughout your home to help create a more even temperature throughout your rooms (effectively simulating some of the benefits of a multi-zone HVAC system).

When you buy a 4th gen Google Nest Learning Thermostat, it also comes with one Nest Temperature Sensor. (You can purchase more separately.)

With multiple sensors, you can schedule which sensor controls your thermostat at different times of the day. You can always default to the sensor in your base unit. And you can also average between your sensors.

I placed my temperature sensor in our sunroom, which tends to be cooler during the winter months than the rest of our house. Hopefully, the sensor will convince my base unit (in our living room) to keep providing a little more warmth in the early evening when my family tends to hang out in our sunroom. (That’s how I programmed it.)

Upgrade Complete!
I’ve always enjoyed my old Nest Learning Thermostat as the center of my smart home experience. And now that I’ve upgraded, I’m pleased that I’ve refreshed my relationship with Google’s gen 4 model.

I hope it takes me all the way to 2037. But with the pace of change these days, something tells me we may be discussing this again a tad sooner…