Star Trek: Picard has Finally Made It So
It’s taken 3 seasons for this “Star Trek” series to fully embrace the heritage of “The Next Generation.” Here’s why I couldn’t be happier.
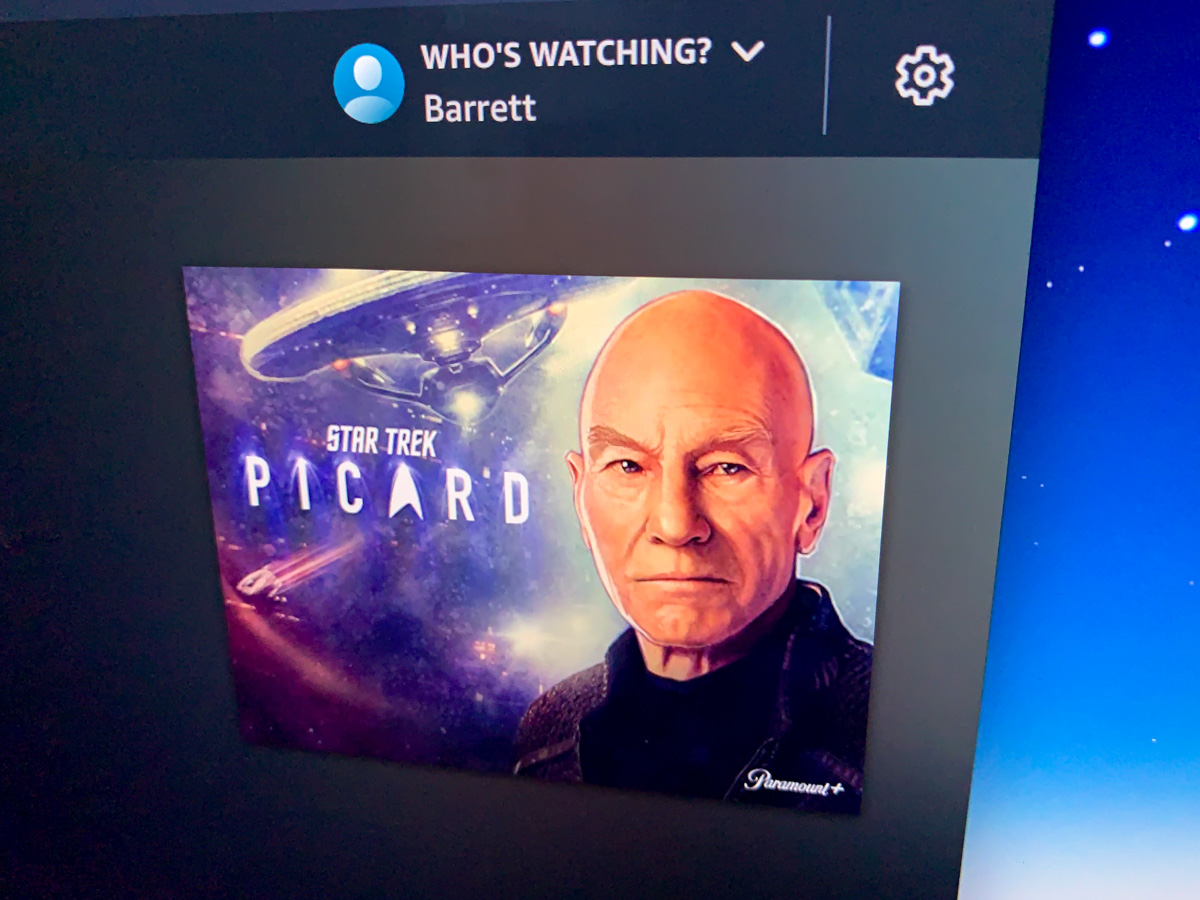
In the same way that the MCU and “Star Wars” have expanded their own universes on Disney+, “Star Trek” has been successfully extending itself on Paramount+ over these past few years. “Star Trek” has three active live-action (plus two animated) series going right now with “Star Trek: Picard” just premiering its third season.
While I should immediately point out my excitement with the freshman of the group, “Star Trek: Strange New Worlds” as a must watch, “Picard” has significantly benefited from its own legacy. Watching it has always felt like sitting down with a cozy cup of Earl Grey tea.
That said, “Picard” was not originally supposed to be an updated “Star Trek: The Next Generation.” It centers around the later life and new adventures of our famous Captain (Admiral) Jean-Luc Picard played by the great Sir Patrick Stewart. Picard is officially retired, but he’s still out there traveling the stars with a new set of supporting characters.
But who are we really kidding?
A Return to the Federation We Know and Love
Slowly, the writers have been bringing the band back together. And those episodes with classic Trek characters have clearly been the best moments of this new “Star Trek.”
And so now we’ve got the third season, which is clearly being constructed as “The Next Generation: 20 Years Later.”
Finally.
Why wouldn’t Trekkies want to see this? You’ve got so many famous characters from the starship Enterprise to revisit beyond Picard.
As my twelve-year-old son would say, “Let’s go!”
The Reunion Tour Begins
I’ve just watched the first episode of season 3, titled “The Next Generation,” and from the opening animated starship flourish (now with the starship Titan) to the final reveal of the villain’s massive ship, I found myself feeling like a giddy teenage geek again. (I streamed it on my iPhone while taking my Metro North train to work in New York City. No, I couldn’t wait to watch it ‘properly’ at home on a respectable TV.)
This season is clearly going to be a massively enjoyable road trip down memory lane.
We already have Picard, Riker, Beverly Crusher and Seven of Nine. And this was just the season premiere. I know Geordi, Worf and Deana aren’t far away. And though we can’t have Data, the promos tease that Brent Spiner will be showing up as Lore.
Easter eggs are everywhere.
All of my brain’s nerdy nostalgia centers have been fully activated.
Computer… Open Spacedock Doors
The story starts with a distress call to Picard from Beverly Crusher, played by Gates McFadden, who is hiding in an abandoned ship under attack at the edge of Federation space. “No Starfleet,” she warns.
Well, that’s all we really need to again bring Picard out of retirement. And of course, his first move is to recruit his old Number One, played by Jonathan Frakes. And they quickly run into a well-positioned Seven of Nine, played by Jeri Ryan. (Both actors have already reprised their roles in “Picard.”)
The remaining reunions will follow on this final adventure for Picard. I’m not especially focused on the story. For me, it’s all about my favorite Trek characters and the opportunity to see them again.
Enjoy the Journey
My only concern is how the writers stick the landing at the end of episode 10.
Wrapping up “Star Trek” series has always been something of a challenge. Sisko’s plunge at the end of “Deep Space Nine” was strange. The reunion at the end of “Voyager” was rushed. Of course the original “Star Trek” series ended abruptly, although 1991’s “Star Trek VI: The Undiscovered Country” did offer a proper goodbye for that crew.
I’ve got to say that The Next Generation’s “All Good Things” leads the way in best last Trek episode.
Can lightning strike twice?
Well, I don’t have to worry about that right now. I’ve got nine more episodes of “Picard” to first relish across these next couple of months.
The third and final season of “Star Trek: Picard” is a wonderful gift to life-long Trekkies like me.
Thank you!