At Home with Tech

Unlock the power of all your technology and learn how to master your photography, computers and smartphone.

Category: Tech Diary

Can You Hear the Song of the Sirens in this Waterfall Video?

If you should come upon a waterfall during a hike and feel drawn to it, you’re not alone. Here’s what happened to me.

My wife, son and I regularly go on hikes in Connecticut with two other families. I’ve found this group weekend activity to be particularly stabilizing during the pandemic. Plus, we really enjoy hiking.

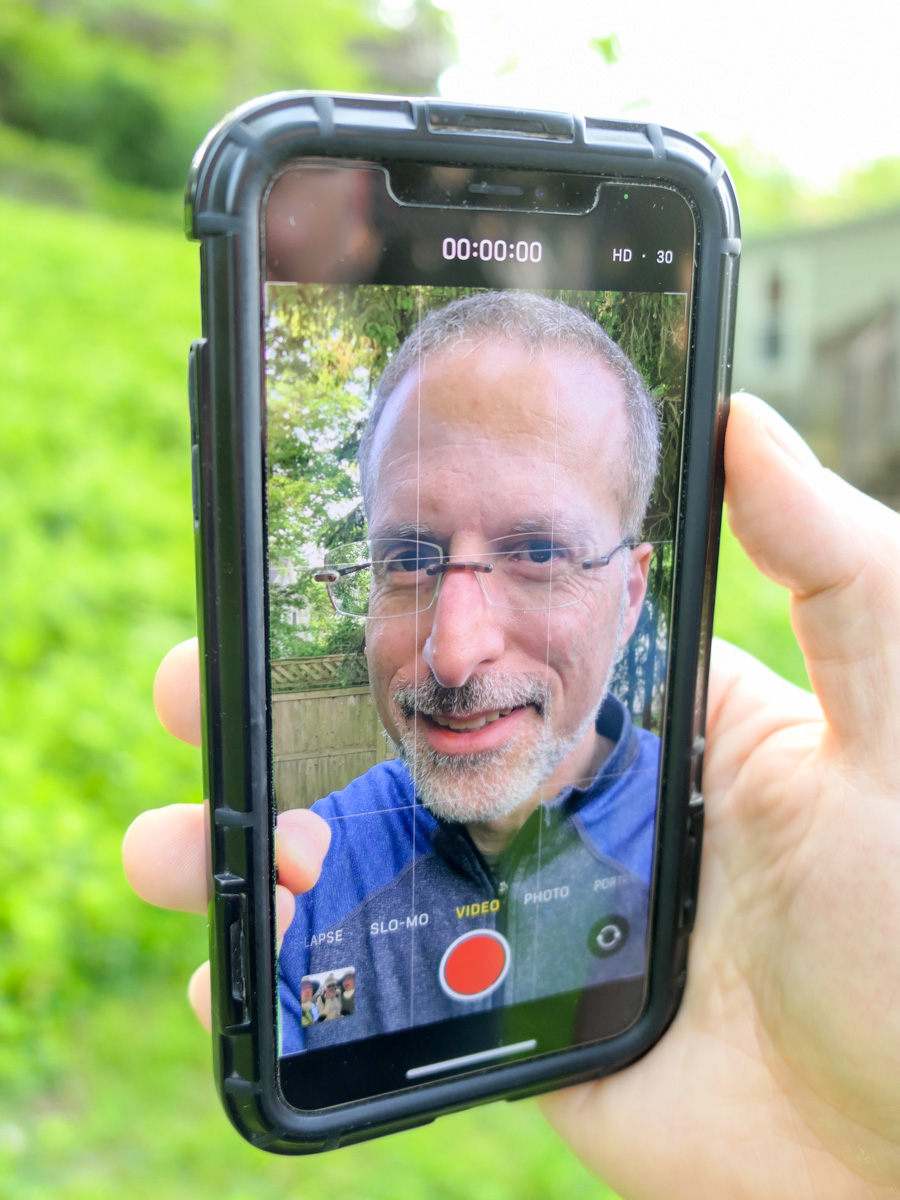
I always take a camera if just to capture a group selfie in the forest. I originally relied on my GoPro with its wide angle lens, but more recently I’ve simply been using my iPhone along with my Apple Watch’s ‘Camera Remote’ app.

This pairing allows me to walk away from my iPhone that I’ve mounted on my little Joby tripod. I can then join the group shot and look at the frame from my wrist. Finally, I remotely snap the photo by simply tapping my Apple Watch (with a 3 second countdown).

Of course, there are any number of other forest photos to capture, ranging from the macro to the panoramic. Nature is always there for you. So if you miss a shot, you’ll get another chance the next time.

The Lure of a Waterfall
That said, there are not that many waterfalls. So if you pass one, you probably should spend some time with it. And yes, that includes framing a few shots or video clips. Not that you’ll need to force yourself to do this. Waterfalls have a magical quality. I find it hard to look away.

  • The movement of the water
  • The power of its flow
  • That mesmerizing sound
    (There must be invisible creatures singing within the water streams.)

Usually, I see people taking shots of the complete vista. But for me, that’s not enough. Waterfalls are sirens. They call to me…

“Come closer… closer. Step on that slippery, wet rock. Stretch your camera next to my mist. Forget the danger.”

And so I do. It’s intoxicating. I want to touch that magic and somehow capture it all with my camera.

But I can’t. Not really.

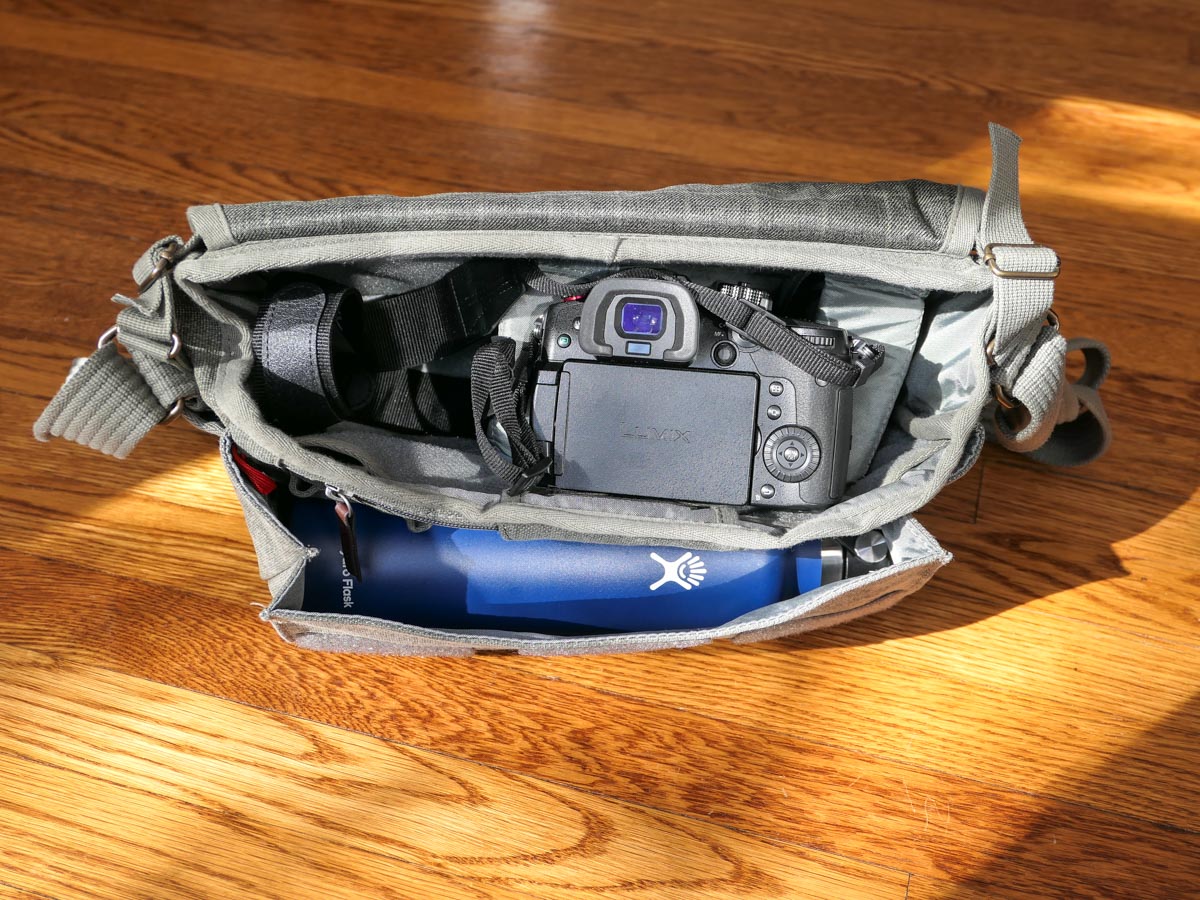
To do the job right, you need to really take your time. (That can extend beyond the patience of your hiking mates.) And if you’re going to put your gear in harm’s way, you should have some waterproofing to protect against the spray.

My Encounter with the Prydden Brook Falls
Recently, our little hiking pod was back on the Zoar Trail in the Paugussett State Forest in Newtown, Connecticut.

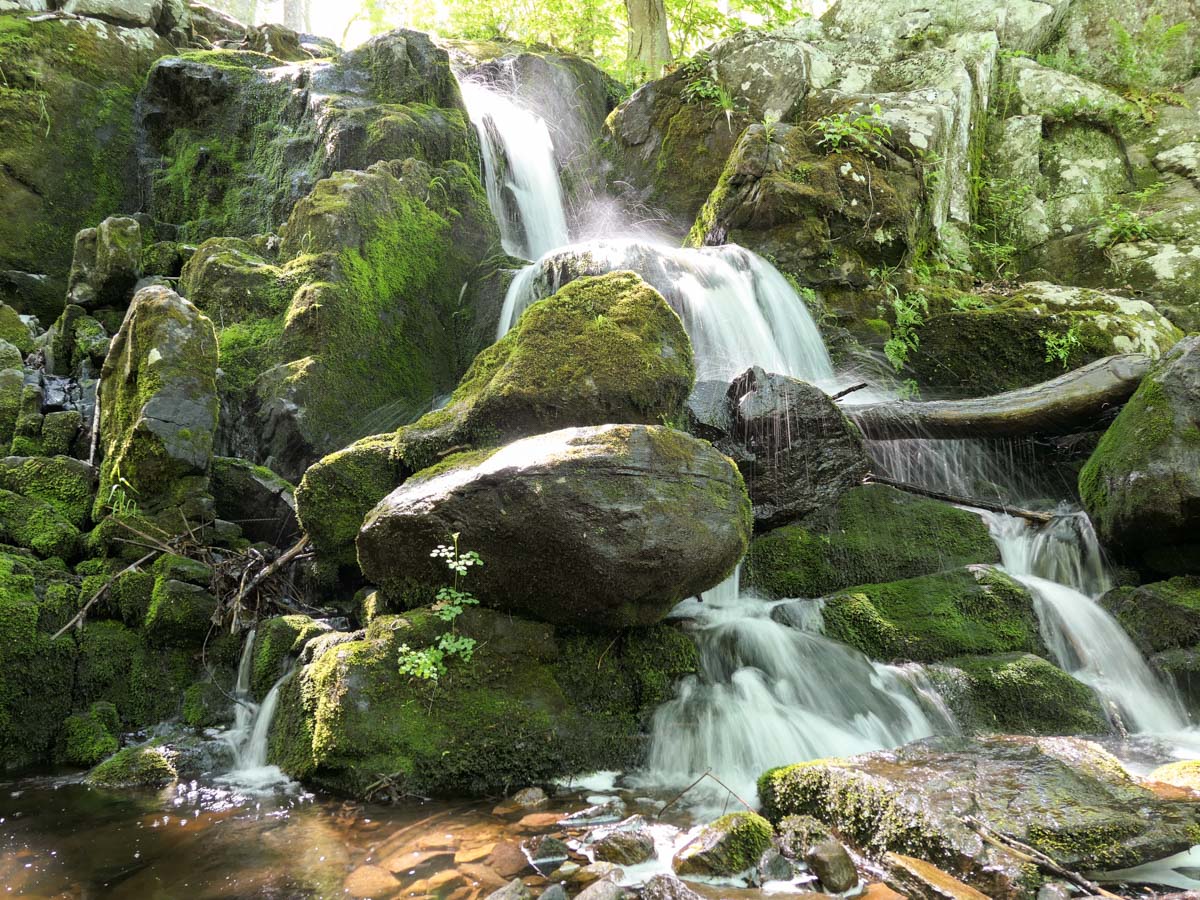
And into the back half of our 7.8 mile hike, we came upon the Prydden Brook Falls.

This waterfall is stunning, especially in the afternoon as the sun highlights all of the droplets dancing in the air. I’ve taken pictures of this enchanted space before, and explored slower shutter speeds to create a silkier water effect.

Editing Together the Songs of the Falls
This time, I needed to get even closer. Everyone else snapped away from afar, and I waited until they got their shots. Then I almost blindly stepped in. I had my little DJI Osmo Pocket camera with me, and I began shooting video clips from different angles.

It was an entirely imperfect exercise. I didn’t have the right ND filter to prevent the brights from blowing out. I could barely see what I was shooting as I stretched in as far as I dared. (I hadn’t entirely lost my mind.)

When I returned home and reviewed the footage, I saw that my twenty-minute shoot (or was it longer?) had yielded some interesting clips, but they were far from perfect. That said, my Osmo Pocket had successfully captured the amazing sounds of that waterfall.

And based on that variable, I decided to edit together the video clips into this short sequence:

It’s hard to properly record the majesty of any waterfall, but happily, I did successfully capture the different songs from this little water beast. And that carried the day for me.

It’s just another example of how audio is often the unsung hero behind any successful video.

The Sirens Still Sing
In hindsight, I should have brought my waterproof GoPro. But happily, I didn’t destroy my DJI Osmo Pocket. Nor did I fall to my doom on the slippery rocks. My family and friends indulged my waterfall encounter, and we eventually continued on our glorious hike.

I’d call that a good day.

Yes, both my camera and I escaped the lure intact. But this waterfall still calls to me. I can still hear its music.

I’ll be back…

We’re Living in a Vertical Video World

If you’ve been fighting back against the vertical video revolution, it’s time to jump into the pool. The water’s warm. Here’s how I found peace with this disruption.

I recently had an epiphany about the growing trend of vertical video disrupting the fundamentals of video production. My mini “ah ha” happened during a Zoom interview recording at work, when one person’s Zoom feed was accidentally locked in a vertical position. More on that story in a moment…

But regarding the general battle between horizontal and vertical video… It’s already over.

The smartphone has effectively killed horizontal video. We’re just living through the transition. Yes, it’s going to take some years, but it’s time to acknowledge the truth.

And that’s been really hard for me to do.

The First Time
Ten years ago, I was producing a corporate video shoot inside a multimedia brand center. My business client walked up to me ten minutes before the interview was scheduled to begin and asked if we could shoot the video vertically. She thought the background of our video shot would look more compelling if seen vertically.

I looked closely for any sign that this wasn’t actually a serious suggestion. The moment felt like those western movies right before the gunslingers do their shoot out. I squinted my eyes, tapped into my inner Clint Eastwood and waited for what felt like minutes before I responded.

“Vertical?”

“Yes.”

It was a serious request.

Vertical Alignment is Coming
So, I explained that we couldn’t reset the shot in time, as our interviewee had already arrived. And I dodged the bullet.

But I remember feeling unsettled that the horizontal foundation of all video was so casually being challenged.

That was a decade ago. A lot has changed. The truth is my client was just slightly ahead of her time.

I have not forgotten this story, and it has been a reminder to me that creative winds and video boundaries are constantly evolving. That’s life. Everything changes.

Vertical TV Sets in your Home?
Today, vertical video is everywhere, primarily fueled by the social media apps on our smartphones. Vertical is natural. Vertical is comfortable in your hand. Vertical is accessible in every way, except on standard horizontal TV monitors.

But if you look around, there are plenty of vertical video monitors in public spaces.

It’s just a matter of time, until they show up in your home…

No More Rules
I know I’m fighting a losing battle whenever I try to correct someone who’s shooting a smartphone video vertically. Sure, I still work in a horizontal medium, though (here it comes) not exclusively.

Yes, today I am creating vertical video too. (There, I’ve come out and said it.)

And the transition to vertical video is only accelerating.

The iPhone has a Vertical Lock
So, back to my more recent story directing the remote interview via the Zoom feed. The interviewee was using her iPhone, which was fine. (The image quality was actually superior to the other three webcam Zoom shots in the conversation.) But for some unknown reason, the phone’s camera was locked in the vertical orientation. I asked her to turn her iPhone ninety degrees and then immediately back again. No dice.

I was stumped. I turned to the other crew members in our TV control room and asked for suggestions.

“Turn off the vertical lock!”

What? The iPhone has a vertical lock? (I had forgotten.)

I pulled out my iPhone and was quickly reschooled on this iOS feature.

That was indeed the solution for our remote interviewee, and her Zoom interview proceeded on horizontally.

Tap the Portrait Orientation Lock
After the interview, I looked again at my iPhone. I swiped down from the top right corner to access my Control Center screen.

It’s the “Portrait Orientation Lock” button. (The icon is a little lock surrounded by a circular arrow.)

If it’s activated, your iPhone screen and apps won’t rotate horizontally when you hold your iPhone horizontally.

Your phone’s screen is then effectively locked into a vertical orientation.

Huh.

You might wonder why that feature is even there. Clearly, there’s a need to prevent horizontal anything!

And after doing some research, I am reminded that this frustrating feature is not that new. Apple has been satisfying the vertical preference for quite some time. In fact, I first discovered this way back in 2018.

A Vertical Matrix?
Yes, you and I are clearly living a vertical video world, though admittedly with any number of horizontal holdouts.

This feels a bit like my own Matrix story. You’re welcome to join if you feel similarly inclined. (There are plenty of pods to house all of us.)

But guess what? I wouldn’t place all bets on vertical video. Oh no. The truth is video can no longer be restricted to any dimension. It’s not horizontal, and it’s not vertical. Sometimes, it’s square (of course).

Maybe video will evolve into the circular. Perhaps oblong? Who knows… Trapezoidal?

The days of vertical video as the mainstream will surely be numbered.

But I’m getting ahead of myself.

Learn to Love Vertical Video
For now, I’m simply happy to say that I’ve successfully discarded my horizontal bias. I have made my peace with vertical video.

I am comfortable working on digital canvases that orient both vertically and horizontally.

Barrett has evolved.

How to Pack your Camera and Travel Tripod for your Next Flight

When packing to go on vacation, delicate camera gear can be a particular challenge to carry on board a plane. If you’re trying to travel light, it’s even harder. Here’s how I did it for our flight to New Orleans.

My family vacation to New Orleans was a blast. But flying there in a cost-effective way took some planning. Our goal for each of us was to only bring one carry-on suitcase and a personal item onto the plane which would fit under the seat in front. (Paying for more luggage adds up pretty quickly.)

Our airline tickets were a tad expensive as we flew over spring break after Easter. So, this self-imposed luggage limitation helped to keep our airfare pricing in check.

Traveling light as a family carries a variety of benefits, but I gave myself a particularly difficult packing challenge. That’s because I brought my Panasonic Lumix GH5 II mirrorless camera and 12-35mm f/2.8 II lens (24-70mm – 35mm equivalent) along with my Manfrotto Befree Live carbon-fiber video travel tripod.

A big camera… plus a small tripod? (The Manfrotto is still 16” long when packed up.)
Impossible you say?

Not necessarily. Here’s how I did it.

Think Tank Shoulder Bag
The biggest challenge was figuring out how to safely pack my GH5 II camera and lens. My first thought was to use my Think Tank Photo Retrospective 7M Shoulder Bag as my personal item/camera bag.

But I quickly realized if I then put my travel tripod into my small carry-on suitcase, I really wouldn’t have room for much of anything else.

I really needed a personal item/bag that would fit both my camera/lens and my travel tripod.

Peak Design Everyday Backpack
To accomplish that, I bought a Peak Design V2 30L Everyday Backpack. I wisely purchased the 30L model as opposed to the smaller 20L version. The 30L model just barely fit my Manfrotto tripod within its zippered side flap (with the tripod positioned vertically).

Sure, my Manfrotto could also slip into one of the backpack’s two outside pockets, but remember, my Peak Design was my personal item for our flight.

Technically, the 30L Everyday Backpack is a bit too big to specifically meet airlines’ personal item regulations.

  • Personal item limit:
    17” L x 13” W x 8” H
  • Peak Design 30L Everyday Backpack:
    19” L x 13” W x 10” H

It’s close. (Plus, I told myself that I could squish the backpack a little smaller if needed.)

So, I didn’t want to flaunt my slightly oversized personal item by also having a tripod sticking out of the backpack’s side. Plus, that would have made the backpack even wider. (The smaller 20L model would have been a snap to carry on board, but it wouldn’t have fit my tripod within its interior.)

30L Everyday Backpack Works as Personal Item
As it turned out, I successfully brought my 30L Everyday Backpack through the gate and past several sets of official eyes without incident. (We flew JetBlue out and Spirit back.)

And the 30L Everyday Backpack did indeed fit under the seat in front of me. There wasn’t a lot of extra room left, but just enough to be able to extend one foot in. It wasn’t exactly a model for comfort (I’m 6’), but it was fine for the three-hour plane ride.

Of course, the Peak Design backpack could have also been stashed in the overhead, but my carry-on bag was already there. Plus, I wanted to maintain total control of my camera gear. (I didn’t like the thought of someone jamming in another bag next to mine in the overhead and possibly damaging my tech.)

Camera Bag and General Backpack
From a packing perspective, my Peak Design Everyday Backpack wasn’t close to being full after I popped in the camera and tripod. There was ample space left over for clothing that could be tightly rolled up.

So, it served nicely as both a camera bag and backpack while we walked around New Orleans.

Think Tank Too
Remember my Think Tank shoulder bag? As it turned out, I packed that as well.
How?

It went in my carry-on luggage. (I first stuffed it with rolled-up t-shirts, socks and shorts and then put the whole thing into my suitcase.)

And why bring two camera bags? The truth is I wasn’t sure if I wanted to schlep my Everyday Backpack around during our entire vacation. The Think Tank has a much smaller profile, and on the days when I didn’t feel I would need my tripod, I felt my shoulder bag would be more appropriate.

My Experience Walking the Streets of New Orleans
I used my shoulder bag during the first couple of days of our New Orleans vacation. As it turned out, it wasn’t that comfortable.

Once I packed my 24 oz water bottle into the outside pocket, I really felt the increased weight of the water, and it became more awkward to carry the shoulder bag all day with my camera. (I had the bag slung over one side of my back.) All of the weight hit my lower back, and my body didn’t appreciate it. (Yes, I do have some lower back issues.)

But when I eventually switched over to the Everyday Backpack, the weight was well balanced and focused more towards the top of my back, (The water bottle fit into one of the two outside pockets. And I still kept my tripod inside the backpack.)

Even though I was carrying more weight, it felt so much better. Plus, the remaining space in the backpack allowed me to carry extra layers of clothes for my family. And it also had room for a couple of gifts we bought along the way!

If you’re a parent with years of experience as a ‘Sherpa’ for your family, this backpack does really nicely as a day bag.

The 30L Peak Design Everyday Backpack isn’t exactly small, but it doesn’t scream, “Hey, I’m a huge camera bag with a tripod!” I was just another tourist carrying a regular backpack on the streets of the French Quarter.

Next time, I’ll ditch the shoulder bag entirely.

Maximize the Functionality of that Personal Item
New Orleans is a great place for a family vacation. I really enjoyed the opportunity bring along my gear to capture some cool photos and videos along the way.


Using a camera bag in the form of a backpack that can fit a small tripod and doubles as a day bag on vacation was my trick to flying with fewer suitcases.

As long as the backpack can also fit under that seat as a personal item on your flight, you should also be in great shape.

Happy travels!