Do you know how old the support systems are that power your tech? Sometimes your backup plan needs an update. Here’s what happened to me.
Do I protect my home office computer from power surges? Well, of course I do. But I go further than a simple surge protector. I bathe the power flow through a UPS (Uninterruptible Power Supply) to provide a cleaner AC feed than my wall outlet can. Plus, my UPS offers some battery back-up juice to smooth over any brownouts or brief blackouts.
Think of it as ‘conditioning’ your power. Because no computer likes a dirty power feed.
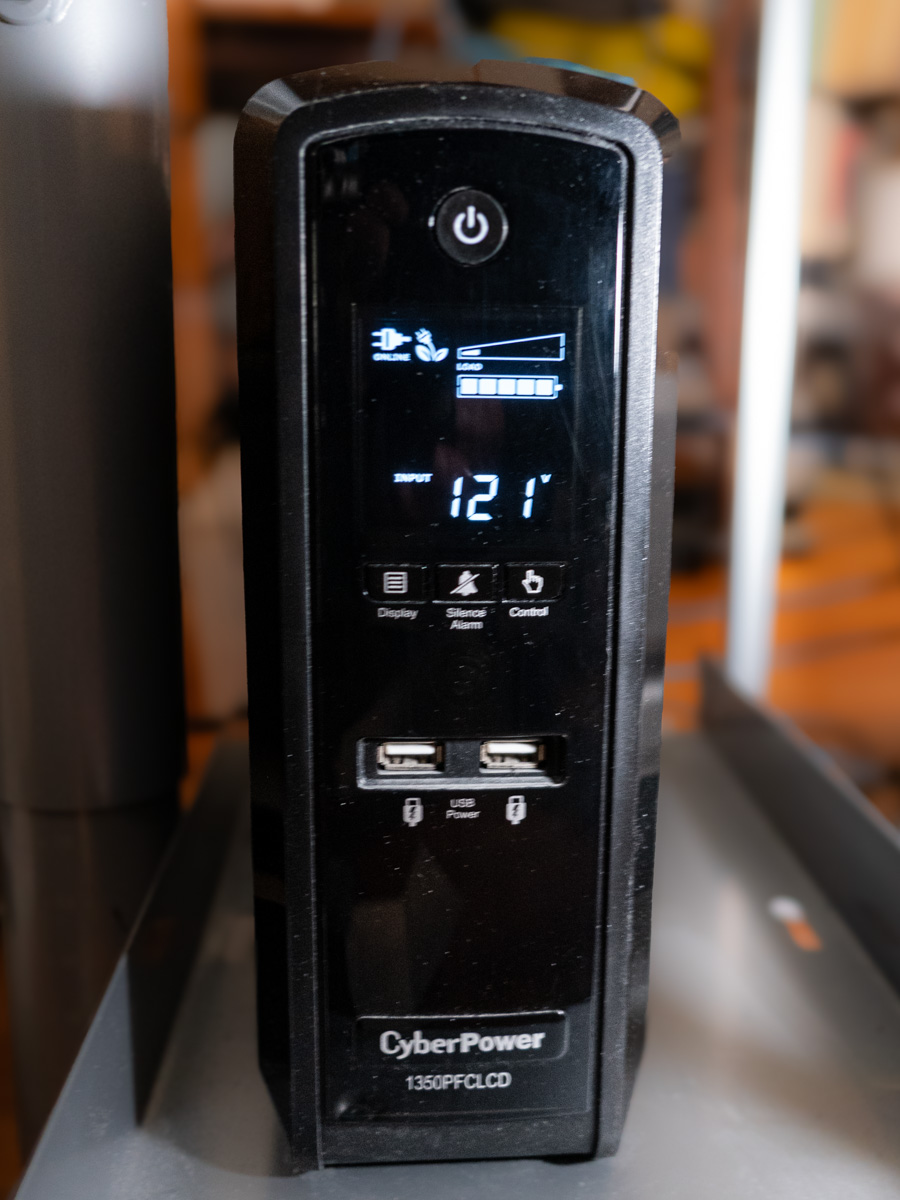
I have a CyberPower UPS.
 It’s the CyberPower PFC Sinewave Series CP1350PFCLCD, 1350VA/810W Pure Sine Wave UPS ($229.95).
Previously on At Home with Tech
I set up my CyberPower UPS years ago and then mostly forgot about it. Sure, there are ways to monitor the health of a UPS through a USB cable connection, but I stopped doing it after I upgraded to newer Macs (reasons unclear).
Across the years, my CyberPower UPS would occasionally kick into a self-check mode. So, I figured everything was okay.
But I’ve realized that wasn’t the case. In fact, after two recent ‘incidents,’ my UPS was clearly in trouble. And that meant my Mac Studio was flying with no net.
When your World Goes Dark
The first situation was a power outage on my street that coincidentally happened while my wife and I were out on a Sunday walk in our neighborhood. When we returned a half hour later, my Mac Studio was dark, and all signs of power on my desk had evaporated.
I turned to my UPS. It too was dark, though it projected a sickly clicking sound.
Huh… Well, maybe it just drained out after 15 minutes or so… That’s all it’s really rated for. Still, I had concerns. Fortunately, my Mac was not damaged by the incident.
Then, a week later, for no apparent reason my sleeping Mac Studio suddenly lost all power. (The comforting white dot had just disappeared.)
I was right there at my desk working on something else when I noticed my Mac’s condition. The lights in my office hadn’t flickered. Nothing else suggested a power brownout. And then I heard that eerie clicking sound coming from the UPS again.
Okay… something was definitely wrong.
I rebooted the UPS and then considered the facts. I took a moment to research when I had originally bought my CyberPower UPS.
(That was easy, because I wrote a blog post about it.)
Could my UPS really be a decade old? In fact… it was. Clearly, no battery lasts forever. Ten years is really pushing it.
I’m no engineer, but it seemed clear my UPS had simply reached its end of life.
Time to Replace the Battery
My first thought was to replace the whole unit, but it’s a higher-end model, providing a cleaner ‘pure’ Sine-wave power feed.
Perhaps I could just replace the massive battery for a fraction of the cost. It’s actually constructed that way. And in fact, Amazon sells the CyberPower replacement battery for 81 bucks.
That seemed like the better move, but it was going to take some installation work. I figured… how hard could it be?
So, I went for it… Click.
Mission Possible
The eight-pound package arrived.
Clunk.
I unpacked it and then unplugged the UPS to prep it for surgery. I felt like I was working in a Jefferies Tube on the Starship Enterprise. So, I embodied my inner Scotty and got to work.
With some force, I slid off the front cover of the UPS, revealing a nest of wires covering the battery in the back. As I tried to carefully move all the wires to the side, the main wire connector dislodged and popped away. D’oh! Now, I was in a scene from “Mission Impossible.” (Fortunately, a countdown timer did not activate.)
I pulled out the old battery and slid in the new one. Then I tried to reattach the wire connector. Yes, it felt a bit like a ‘cut-the-red-or-black-cable’ choice. That’s because I didn’t know whether ‘up’ or ‘down’ was the correct orientation. But it all clicked in. (I heard that satisfying ‘snap.’)
Then, I slid on the front cover, screwed it in, and put the UPS back in place. I powered it up and let it charge. I brought my computer and monitor back online, and everything seemed to be… okay.
Tether Your Mac via a USB Cable
I also connected a USB cable from the CyberPower’s USB port to my Mac Studio. (I’d never done it for this particular Mac.)
This important data tether enables your Mac to share the status of a connected UPS. (Brilliant!)
Plus, once a UPS is connected this way, you can then instruct your Mac to safely power down in the early moments of a blackout while your UPS is still capable of feeding backup power. Here’s how to do that:
Go to:
- Go to System Settings
- Click on Energy Saver
If your UPS is connected via USB, the ‘UPS Options’ button will suddenly appear. From there, you can select from several choices on when to safely shut down your Mac.
I instructed my Mac to automatically power down when my UPS reached 25% capacity. (There’s also the option for battery-time remaining and UPS-time used.)
For more advanced control, you can also download CyberPower software, but this simplified data feed was enough for me.
Returning to Warp Speed
Now, I can also see a power icon on the right top bar on my Mac’s desktop. It reports that the UPS is connected and I’m at 100%.
Warp power has been restored, and this episode has a happy ending.
It’s also a cautionary reminder that a set-it-and-forget-it mentality is never the best strategy for maintaining your home tech’s health.
Replacing the battery may seem like an obvious solve. You just need to remember where they all live and how old they are.
Do you?