Drones for Dummies: I Bought this DJI Model with Zero Flying Experience
I’ve always been fascinated with drone videography. Over the years, I’ve watched the technology mature away from the professional video market and extend into prosumer and then squarely into the consumer market. And all along, I’ve wanted to buy a video drone for my personal projects. But I’m not a drone pilot. I knew the flying part would be a challenge.
I felt that way, because years back, I tried flying a couple toy drones around the house, with disastrous results. I couldn’t imagine buying a more expensive camera drone to crash in the great outdoors.
Still, I wanted one.
The ability to generate cinematic shots from the sky is a compelling proposition for anyone who has a passion for photography and videography.
Your Drone Can Fly Itself
Then DJI began building “subject tracking” autonomous flying skills into entry-level drones. First with the DJI Neo (135 grams) and then with the DJI Flip (under 249 grams). With this auto-pilot superpower (called QuickShots), these drones can visually lock onto you and record a variety of programmed flying maneuvers around your body. No human flying skills required.
So, you can leave the flying part entirely to the drone? Interesting.
Granted, these intelligent shooting modes are limited ways to fly any drone, but it’s certainly a start. Sure, you’ve got to know your preflight steps and provide your drone enough empty space to maneuver in without obstacles. Otherwise, crashes are still possible (more on this later).
Of course you can still fly these ‘smart’ drones manually, but the QuickShots feature offers an enticing onramp for any drone novice.
Look Ma, No Hands!
Is this cheating? Not actually flying a drone, but giving up the stick to code?
Well, my primary goal is to get the shot I envision. The flying part is more of a means to an end. I see a drone as a gimbal-stabilized camera that flies…not a flying drone with a camera. But of course, I know the two are entirely connected.If DJI can give me training wheels to help get me started, I say that’s a great idea.
So, I took the leap and bought myself a DJI Flip. I chose the upgraded ‘Fly More Combo’ package with 2 extra batteries and the nicer remote controller (RC 2) with its own built-in screen.
Sub $1,000 Price Point
You can spend as “little” as $439 plus tax on the DJI Flip when paired with the more basic RC-N3 remote controller that uses your smartphone as your flight screen. The Fly More Combo package cost $779. But when you add in a micro-SD card and the 2-year protection plan, plus tax… it creeps closer to $1,000.
Still, that’s not a bad price point considering what drones cost a few years ago.
The DJI Neo is even less expensive… It starts at $199 plus tax.
But the Flip is more advanced with longer fly times and a better camera sensor. It can record 4K/60fps video and slow motion at 4K/100fps.
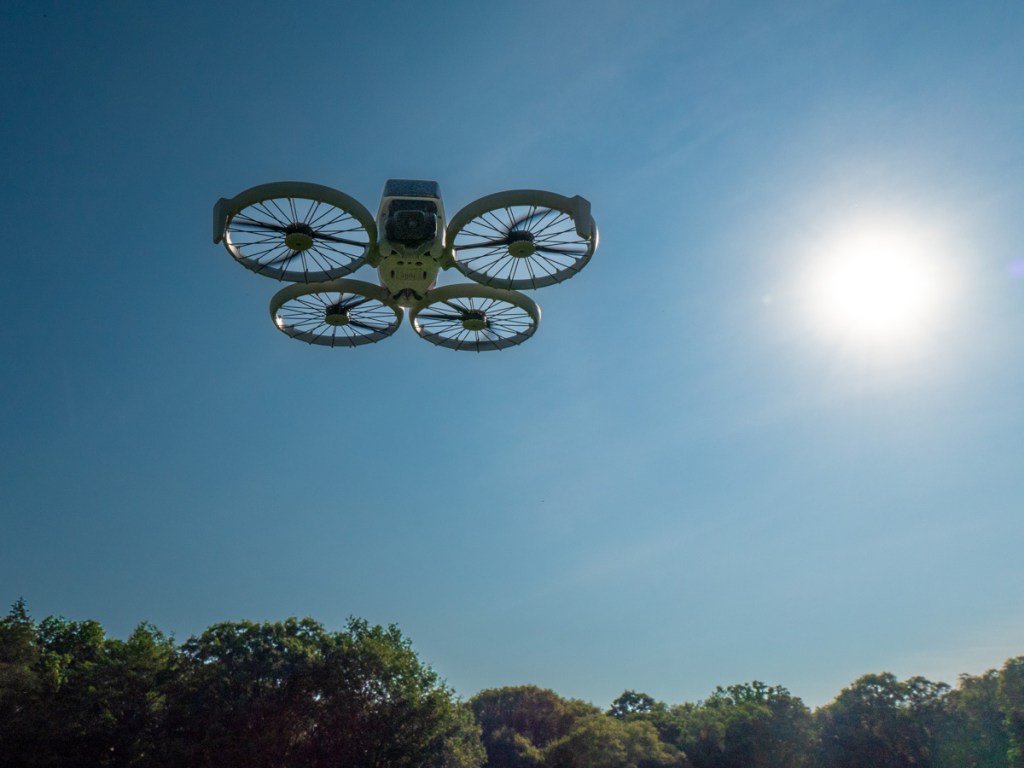
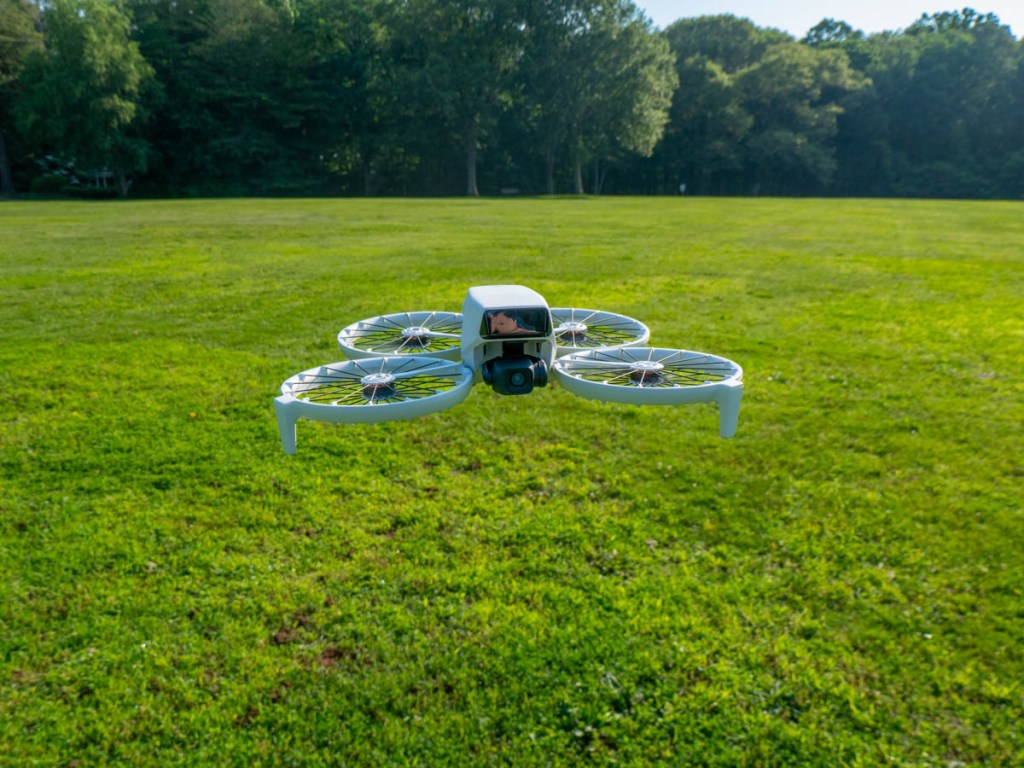
It’s also got foldable full-coverage propeller guards for added flying protection.
The Flip can snap photos too, but for me it’s all about the video.
Flip Flying 101 = QuickShots
After my DJI Flip arrived, my first step was to learn the preprogrammed flying maneuvers using the DJI Fly app, which I downloaded to my iPhone. You can also activate these short QuickShots directly on the drone by simply togging through button settings. (no phone required).
Another superpower is the Flip can take off and land on your outstretched hand. (Yes, your hand is the take-off pad!)
It’s a nifty trick and greatly simplifies the complexities of take-off and landing.
Shouldn’t Everyone Have a Drone?
I imagine the population of drone owners is relatively steady these days. (If you had a specific need for a drone, you’ve likely bought one by now.) The barrier to entry for new customers like me has been the inability to fly. (Plus, it’s an expensive investment, especially if you think you’re going to crash it.) So, it’s a smart business decision to build auto-piloting skills into entry-level drones to attract video enthusiasts.
Yes, I think this is a whole new market for DJI, and I’m pleased to be a part of it.
Examples of QuickShots
Sure, I’ll invest the time to learn to manually fly my DJI Flip using the RC 2 remote controller.
In fact, I’ve quickly figured out how to access the QuickShots’ menu on the RC 2. And I generated these nifty shots in the park on an early test flight.
This ‘dronie’ video is a great closer for any number of video ideas.
I just need a mountain background to fully realize this “Sound of Music” moment.
Auto Braking System
Happily, my Flip has a front and bottom-facing infrared sensing system, which enables the drone to auto land and prevents it from flying directly into obstacles. But it’s not a 360-degree obstacle avoidance system like other DJI drones have.
So, crashes are completely possible. (Of course, I’ve purchased the 2-year protection plan.)
Practice Makes Progress
I know that mastering any new hobby or passion takes time. So, I’ll try not to rush it (or crash it).
Just being able to generate some nifty (though preprogrammed) cinematic shots with the DJI Fly app on my iPhone and the remote controller has been enough to instantly make this novice a functioning camera drone operator.
I couldn’t be more pleased.