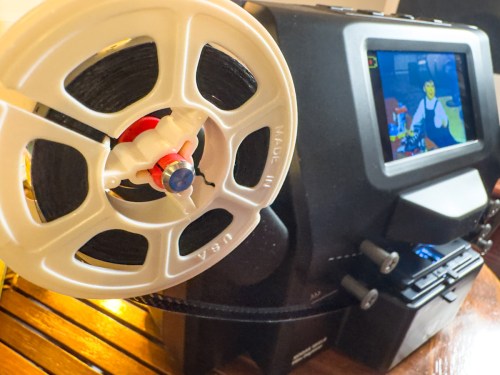
How to Use AI to Visualize Your Memories
I’ve always been a bit obsessed with capturing family photos to document our story. And I often refer to my photo library as the official record of our lives. More than just the images themselves, the metadata of the ‘where’ and ‘when’ is quite useful.
But the photos we collect may not always live up to the memories we hold onto.
And this limitation often crops up for me when I sit down to design and print a photo collage card. Sometimes the pictures from yesteryear just aren’t there.
So, I’ve just tried an experiment…
Text-To-Photo Prompts
I decided to generate new images for a photo collage from my memories. No, this is not science fiction. Thanks to the magic of generative AI, I scanned through my memories and turned a few into photos.
How? Simply through some simple AI text-to-photo prompting.
I didn’t try to create photo-real images. Instead, I decided to visualize my past in cartoon form… as far away from reality as you can get. That way, it’s just the essence of a memory that’s represented. That’s all I wanted.
4 Steps to Bring the Past Back to (Cartoon) Life
So yes, I sat down at my computer and created cartoon scenes from my life to weave into a photo collage.
Here’s how:
- Design your character prototypes. You can type in the physical characteristics or use a photo as a reference. A partial similarity is all you need to get to. Remember, it’s just a cartoon. I’m going for fun here… not accuracy.
- Once you’ve got your character blueprints, upload them as your subjects.
- Then simply type in a couple sentences from your memory as your prompt.
- If you happen to have an actual photo from the location of your memory, you can also upload that as part of the ‘scene.’
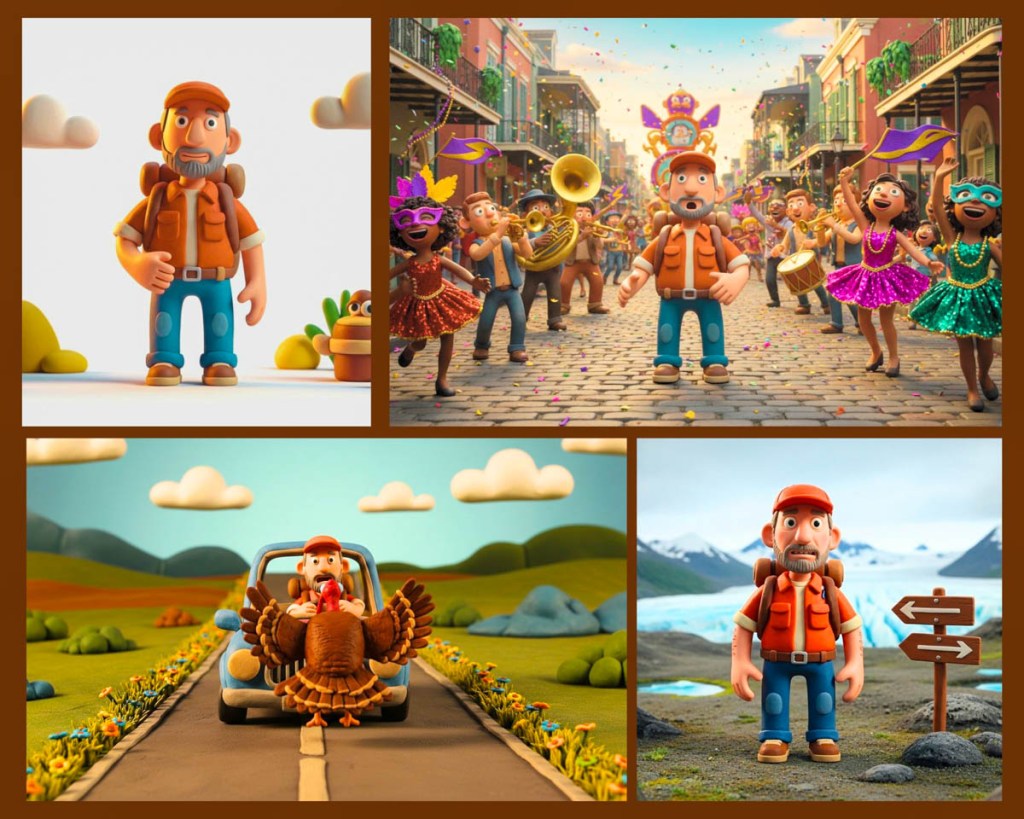
I found this process remarkably easy and successfully generated a variety of fun cartoon scenes from my life to stitch together into a unique photo-collage card.
I used Google Whisk for this first experiment, but there are many other generative AI platforms to use, including Adobe Firefly.
Cartoon Barrett
Let me share a few examples how this all works. First, here’s cartoon Barrett I created.
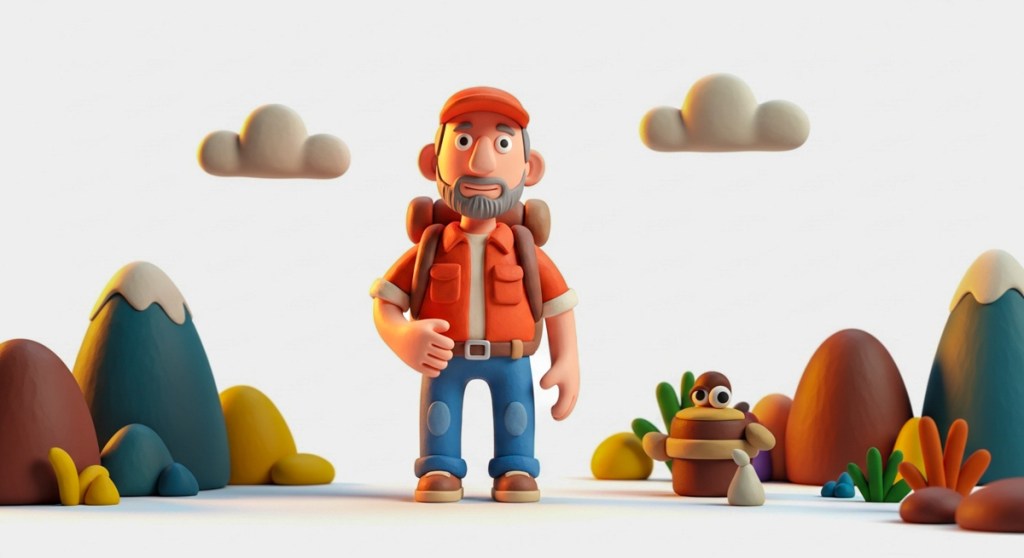
This is the blueprint.
Then I got to work reviewing some of my recent trips and thought about a few key moments that weren’t photographed.
Lost in Alaska
I’ve shared photos from our big 2023 hike up the Harding Icefield Trail in Alaska’s Kenai Fjords National Park. But there’s another moment from this excursion.
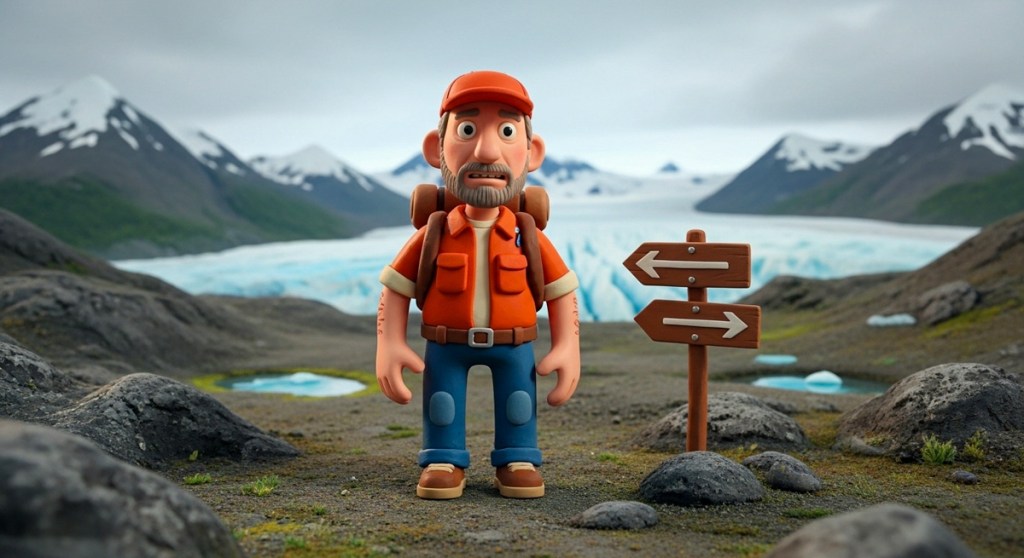
I accompanied a group of hikers for this challenging trek, but I was a real slow poke. After a couple hours, I was pulling up the rear. Near the top, I realized I had fallen so far behind, there wasn’t a soul in sight. And the trail through the rocky surface had disappeared. Then, there were a few minutes when I was totally alone… and effectively lost.
I’m on a mountain, next to a glacier, and it’s cold. Now what?
My heart pumped harder. I had no choice but to keep moving. Fortunately, I walked in the correct direction and soon spotted the lead from our group (who was looking for me).
So, my ‘moment’ was really just for a moment. Still, I hold onto this vivid memory.
Crashing a New Orleans Parade
During our 2022 vacation to New Orleans, I captured some great street photos. But there was this one amazing scene I walked through that I just couldn’t get a shot from. It all happened too fast.
We were strolling through the French Quarter, turned a corner to cross a street and crashed into one of those glorious small parades with music and dancing down the avenue. I was literally in the middle of it all, and before I knew it, they were gone.
The lingering memory feels something like this…
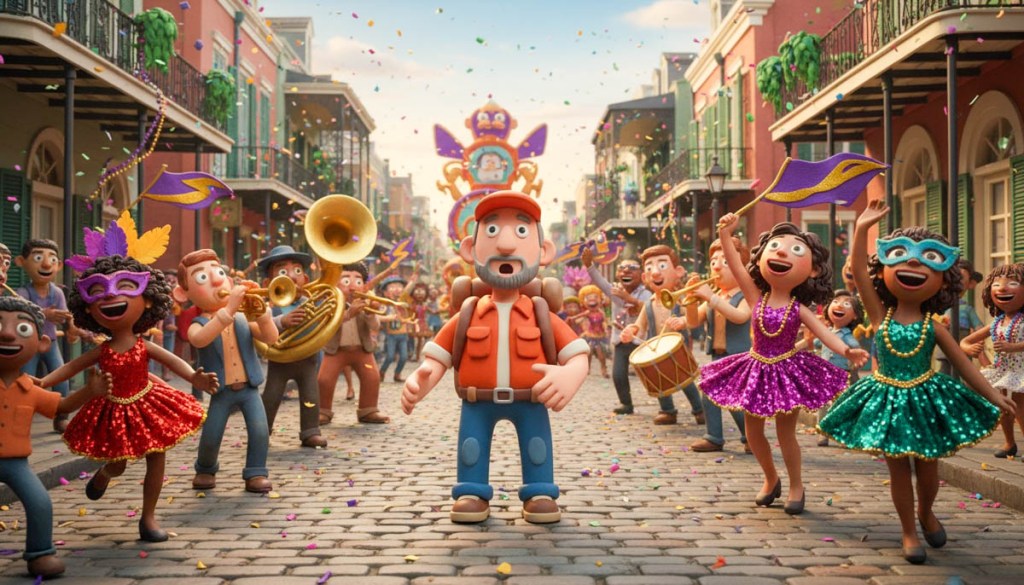
The space was much tighter as everyone swarmed around me, but this cartoon does a good job capturing my feeling.
This represents the great photo in New Orleans I never snapped.
A Wild Turkey Flew into My Car
One of the freakiest driving experiences I ever had was during a spring road trip with my family. I was driving through the countryside, and a wild turkey flew into our car.
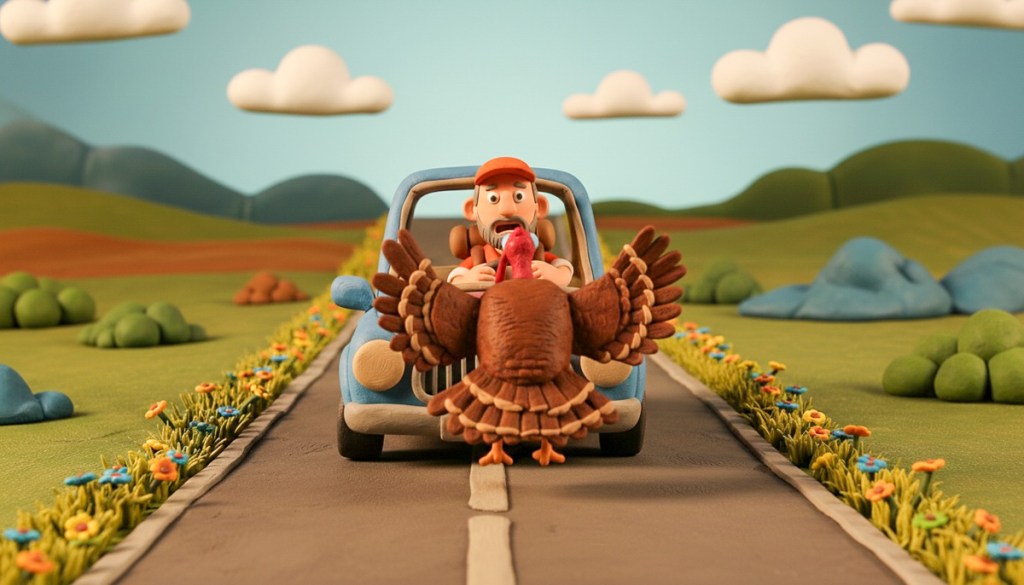
Thankfully, it wasn’t a direct impact. As I tried to veer away, the turkey clipped the passenger’s window and tore off the side mirror. Fortunately, we were all fine (not sure about the turkey).
This is certainly not a moment you’d expect to get a photo from. This representation does plenty justice to the absurdity of it all.
Camera Overboard?
The truth is none of these memories could really have accompanying photos.
The fact that I can now quickly generate images (however silly) with a few clicks to reflect my experience is quite powerful.
And sometimes, it’s the story behind the story. Like the time I worried I would lose my camera overboard on our cruise while I shot a few timelapses.
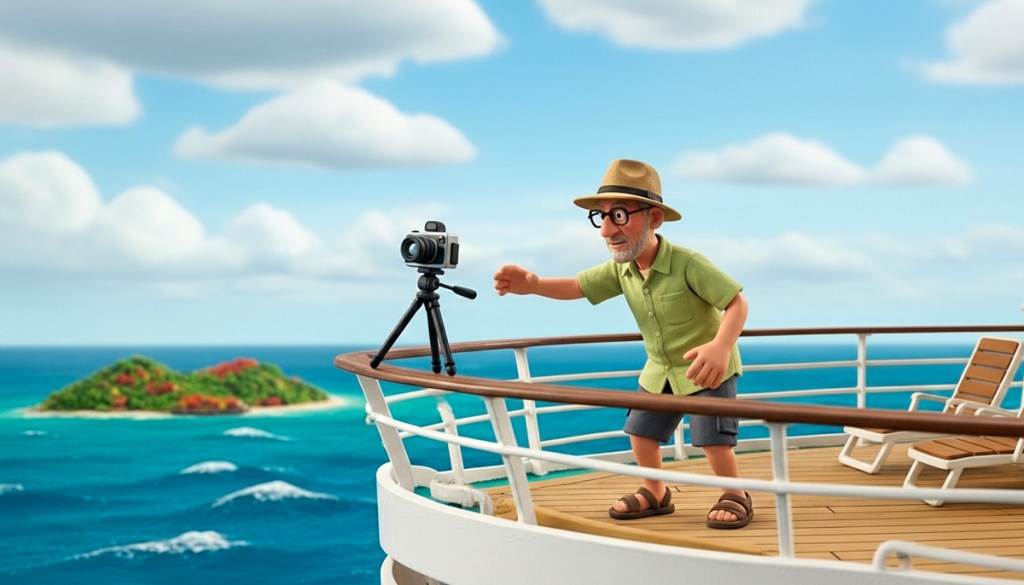
This never happened. It’s simply a memory of how I felt. (Now, we’re drilling deep into my head.)
A New Way to Tell Your Story
Whether reconstructing past moments or simply visualizing old feelings, this AI-fueled image creation process is just another way AI is empowering us with new artistic and storytelling skills.
Impressive. Most impressive.
For your consideration.