Keeping up with all your tech and gear can feel like drinking from a firehose. If you don’t pay attention to the constant changes, upgrades and advances, you can wake up feeling like a Luddite.
I just reviewed a bit of what I’ve discovered over the past year and then shared on my blog.
And here are ten ways I’ve learned how to skill up. (Each title below is linked to my original blog post.)
Thanks to the magic of ChatGPT and Google Veo 3, I have created this silly video that I’m certain will never be a holiday cartoon classic. Still, my experience shows how easy it is today for anyone to generate usable AI video content. Here’s how I did it.
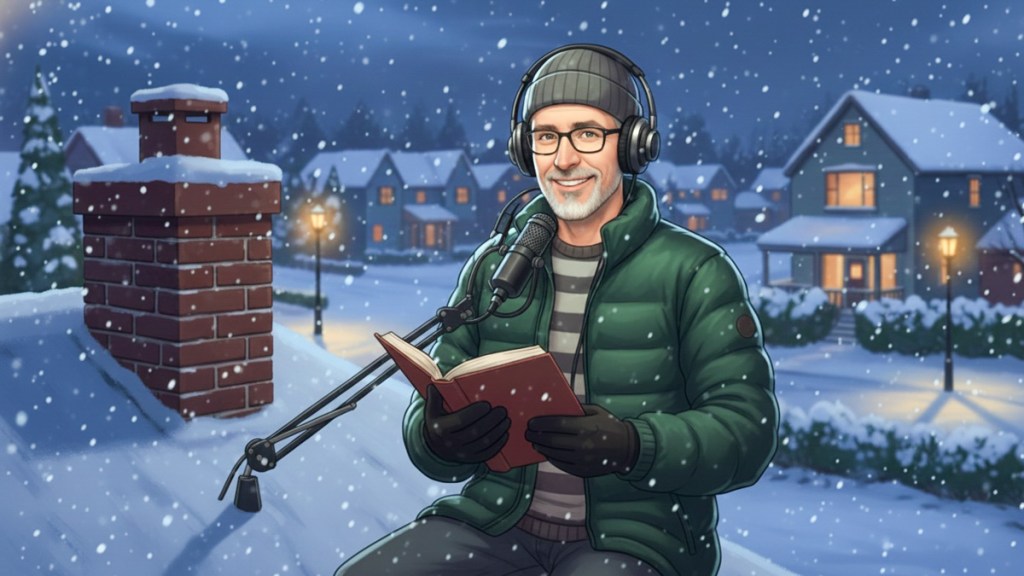
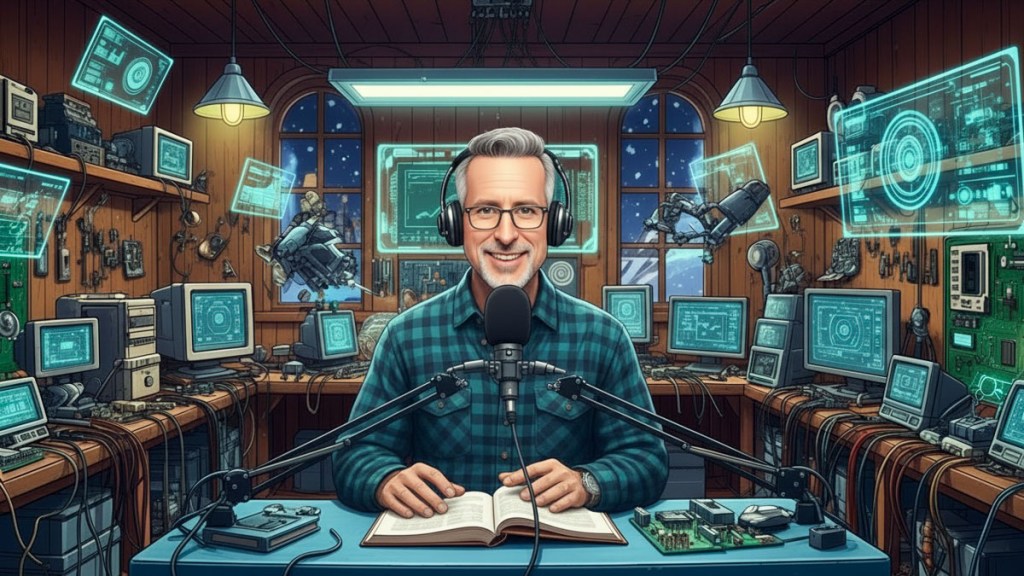
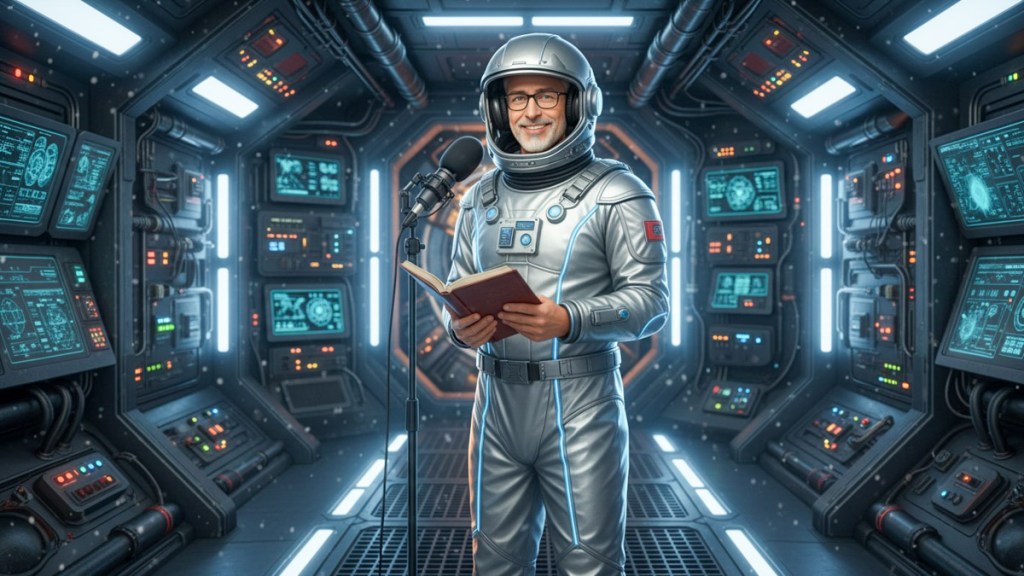
If I had a brother from another universe, and he somehow found a way to send me a fun holiday selfie video riffing on the famous poem, ‘Twas the Night Before Christmas, it might resemble an AI video creation exercise I just completed.
And the way I imagine it, my brother might look like this (thanks to Google Whisk).
And of course, he would also be interested in blogging about tech and gadgets.
Here’s how I brought my geeky fantasy to ‘life.’
ChatGPT Wrote the Lines To create a new poem for my brother to read, I put “A Visit from St. Nicholas” through ChatGPT and asked it to write new verses focusing on solving home tech problems. Almost instantly, I had several versions, which admittedly needed more work. So, I moved some lines around and polished it.
Google Whisk Generated the Environments Then, I got to work creating the scene locations for my brother.
Again, I used Google Whisk’s text-to-photo functionality to place him in different environments throughout the poem. As you’ll see, this plays like a cartoon, and I leaned increasingly into the absurd.
Ingredients to Video Once I had all my key-frame photos, I used them to guide the video scene creation process using Google Veo 3 and Adobe Firefly for Video.
The hardest part was maintaining the consistency of my brother’s voice. (Sometimes, the AI wanted to give my brother a deeper voice and a British accent.)
Here’s my finished creation, complete with its AI script, AI video generation, rough AI edges… and human-powered humor.
The Future has Arrived With more time and additional money (yes, AI video creation consumes lots of ‘credits’), I could have created a more ‘perfect’ version by regenerating certain scenes multiple times to get better results.
But that wasn’t my goal here (perhaps for my next AI video project). For the record, I spent about twenty bucks to generate the clips. And then, I did the video editing myself.
AI video creation for the masses is remarkable, but it’s still far from perfect. That said, just the idea that I can ‘easily’ create this silly bit of nonsense from my keyboard forces me to update my entire view on video production and the need the skill up. (Why do you think I gave myself this assignment?)
‘Twas the Night before Fun-day You may have noticed the reimagined poem in my video is shorter than the original. That’s because I didn’t feel the concept would hold together if the piece ran too long. (Remember, less is more.) So, I removed some of the lines.
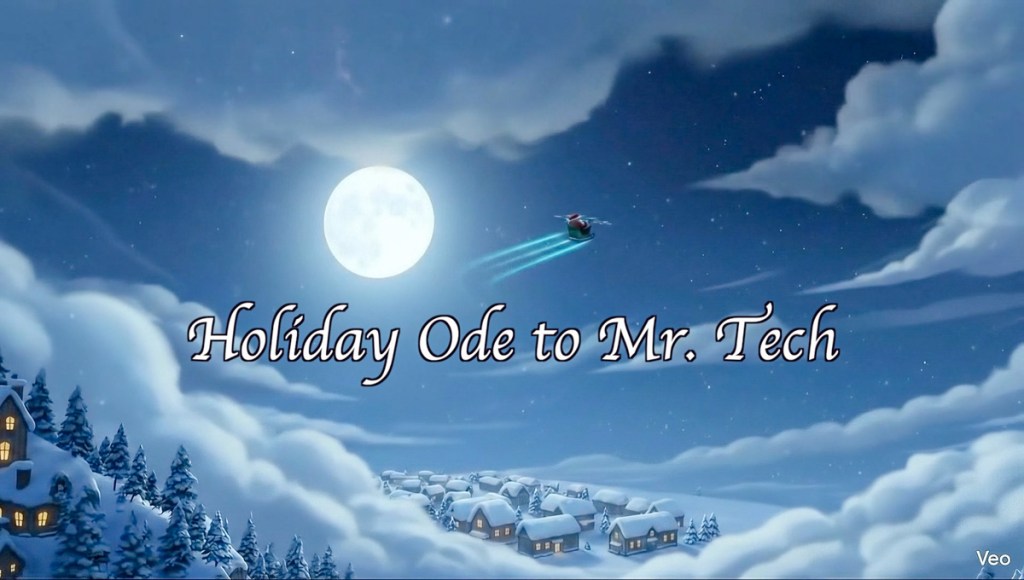
If you’re interested in reading my entire tomfoolery, here it is. Enjoy!
Holiday Ode to Mr. Tech
‘Twas the night before Fun-day, when all through the house, Not a gadget was syncing – not even the mouse. The cables were laid with questionable care, In hopes that the Wi-Fi would reach everywhere.
The tablets were charging beside every bed, While buffering circles spun round in our heads. And I, bathed in blue light, lay still for the night, Dreading the thought there’d be no Wi-Fi tonight.
When out on the network there was such a clatter, A chime from my phone said that something’s the matter. Away from the bed I flew like a flash, Past blinking red lights and a network crash.
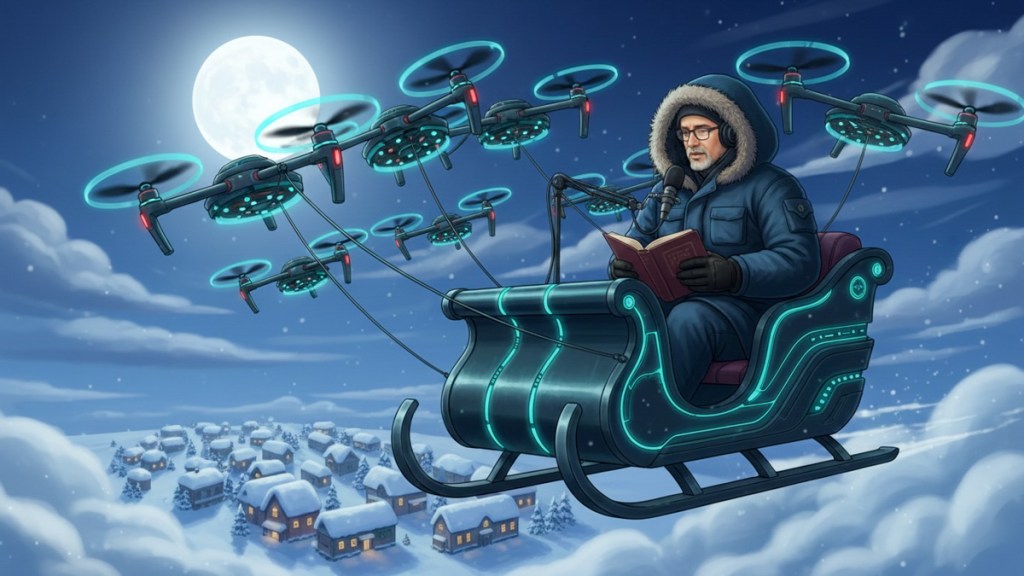
The glow from the router on new-fallen snow, Gave cold bluish shine to the yard down below. When what to my wondering eyes should appear, But a bright sleigh shape drawing steadily near.
With a happy driver, so steady and in check, I knew in a moment it must be Mr. Tech. More rapid than updates his drones now they came, He tapped and he typed and he called them by name.
“Now, PING! Now, PIXEL!Now, BUFFER and BEACON! On, COOKIE! On, CACHE! Let the signal awaken! Go, REBOOT! Go, RESET! Make connections robust! On, ROUTERand MODEM – Restore all our trust!”
To the top of the roof! To the peak – Hold it steady! No dropped connections, no dead zones – Nowwe are ready! Like data at full bars that zips through the air, They landed atop with precision and care.
Quick as a reboot, I heard a low tone, The soft little thump of each careful drone. As I held my breath there and turned round just so, Down the chimney came Mr. Tech with a glow.
He was dressed all in fleece from his head to his toe, With a tool kit of dongles and cords in a row. A satchel of gadgets hung low on his back, A tech on a call who’d prepared for attack.
His eyes – how they twinkled! His grin – calm and bright, Like someone who’s fixed this exact thing all night. He glanced at the modem, the router, the node, And nodded once softly – Yes, I know this code.
He spoke not a word, but went straight to his work, And restarting each device, no need to smirk. He reset the router, adjusted the mesh, Labeled each cable with meticulous zest.
The tablets and laptops all hummed with new life, And no more spinning wheels, no buffering strife. He checked every signal, each access point near, Then gave me a nod that all problems were clear.
He sprang to his sleigh, to his drones gave a beep, And away they all flew, no glitch left to keep. But I heard him exclaim as he vanished from sight, “Happy Fun-day to all – And to all a strong Wi-Fi night!”
These are the AI characters I created to star in the big scene from “The Portal in Central Park,” originally written by me and a few friends decades ago and finally brought to life through Google’s Veo 3’s AI superpowers. Here’s how I did it.
When I was in 9th grade, I joined a school project with some friends. We were going to shoot a science fiction mini movie around Central Park in New York City. We wrote part of our time travel script, discussed the many logistics and locations we’d shoot in.
Young Filmmakers on the Streets of New York? I remember we were going to feature a tall, black obelisk that at the time was found at the entrance to Central Park on 59th Street and 5th Avenue. The sculpture would be the ‘time portal’ that our characters would walk towards and disappear through. Clever editing would avoid the need for special effects.
We were in ‘preproduction’ that spring, and it would have been a spectacular time to film on the streets of New York. Though we were all inspired by the potential of our little project, most eventually realized the many complexities of making a movie and how long it really would take to pull it off. Still, I felt undeterred. But the others had a different (more realistic) view.
Our project started losing steam, and ultimately, our short flick never got out of development. It was simply too big a lift. A few months later, we all graduated, and that was it.
My Origin Story that Never Happened This would have been my origin story as a fifteen-year-old filmmaker, but it was not to be. (Instead, a year later, I found a more structured opportunity to explore my video production interests in high school.)
But I’ve never forgotten about my first student movie short that never was. That obelisk scene is seared into my long-term memory. I really wanted to capture that shot. I saw it so clearly.
I still do.
AI Video Generation Can Bring Your Vision to Life Over the decades, I’ve occasionally found myself returning to the nagging sadness that we never finished our movie. Heck, we never started it!
But if I could somehow go back to the future and capture that obelisk scene, maybe I could check it off my bucket list.
Well, now I can… from the comfort of my home office with a little text-to-video prompting and the power of AI video generation.
Yes, the magic of Gen AI is transforming our existence on a daily basis. And yes, it can now enable me to finally manifest my dusty vision out of thin air.
So that’s exactly what I decided to do.
There are multiple platforms that are up to the task. I decided to use Google’s Veo 3.1 and Flow/Scenebuilder. So, I signed up for the Google AI Pro plan for twenty bucks a month. I felt that would give me enough generative AI credits for what would be a 30-second scene.Text to Image Prompting First, I created still images of my three main characters using Google Whisk and its text-to-image generation powers:
The Leader
Second in Command
The Nerd
Text to Video Prompting in Scenebuilder Any remnants of our original script were long gone, but as I’ve said, the obelisk imagery remained clearly in my mind.
I’ve admittedly updated the characters (away from a few school kids) and added a few lines (current scriptwriter’s prerogative). Yes, these AI characters can talk!
Then, I uploaded the images of my AI actors and began typing in prompts for individual shots around this one scene. I relied on the ‘Scenebuilder’ mode to retain the same characters and background from shot to shot.
Veo 3.1 is impressive, but it also hallucinated a fair amount, adding in new scripted lines, a few of which I end up using.
“The Portal in Central Park,” My AI-Generated Movie Scene And here’s my completed 30-second scene, “The Portal in Central Park”… finally ready for its premiere all these decades later.
Imperfect, Yet Simultaneously Stunning Okay. This is not exactly going to win any awards, and it does look rather fake (Though not entirely fake… It could easily serve as an early draft for a pitch to do a real shoot).
And I also found myself struggling to get precisely what I wanted. (Perhaps that’s due to the limitations in my basic text prompting skills.) Strangely, I felt like a director arguing with live actors who didn’t want to follow my direction.
As I mentioned, I ended up accepting the actors’ improv in a couple of the hallucinations. So, this scene isn’t exactly what I originally envisioned, but it’s close.
The background music is also AI-generated through Google’s MusicFX platform. I just typed in… “A cinematic feeling piece of music suggesting that time is running out. Exciting violins. Medium tempo.”
Click. One try is all it took.
That’s a Wrap! Ultimately, I found it amazing what I was able to accomplish in just a few hours. That said, I edited the clips together manually in Final Cut Pro. This part still required (for now) nuanced timing and a human touch.
Each clip took about a minute to generate using Veo 3.1 Fast mode. And yes, there were many that ended up on the cutting room floor.
But as imperfect as the results were, I can still say I successfully brought my teenage cinematic vision ‘to life.’
The Future of Visual Storytelling But I must admit there’s more to this exercise than completing the big scene from an old school project that I’m sure my former classmates have long forgotten about.
The truth is I’m back to where I started as a teenager. I still feel the creative passion to bring stories to life, but I again need to learn how to use the tools available to me.
And that’s exactly what I’m doing.
For twenty bucks, you and I can conjure up complete videos with stories and characters based on simple text prompts. It feels entirely like a fantasy. But it’s not.
The only part of the process that feels normal is this:
-The power of the written word is as strong as ever.
Keep It Real We’re clearly in the middle of a creative revolution. If you want to keep up, there’s no time to lose.
Learn how to use these new AI-fueled creative tools, which will continue to improve… There are countless reasons why.
…Or else you may find yourself eventually becoming the hallucination on the cutting room floor.