Wake Up on your Cruise before Sunrise to Snap your Best Photos
Some of the prime photo opportunities on a cruise happen while everyone else is sleeping. Here are 5 reasons to wake up early.
Why would anyone intentionally get up early on a cruise? It’s dark out, everything is closed, and nothing is seemingly happening onboard. You should probably catch up on your z’s and sleep in along with the other thousands of guests. But you’d be missing the opportunity greet the dawn’s light.
And that’s exactly what I did each morning on our Royal Caribbean cruise to Nassau out of Miami on the Independence of the Seas. It’s totally worth it for five big reasons.
#1
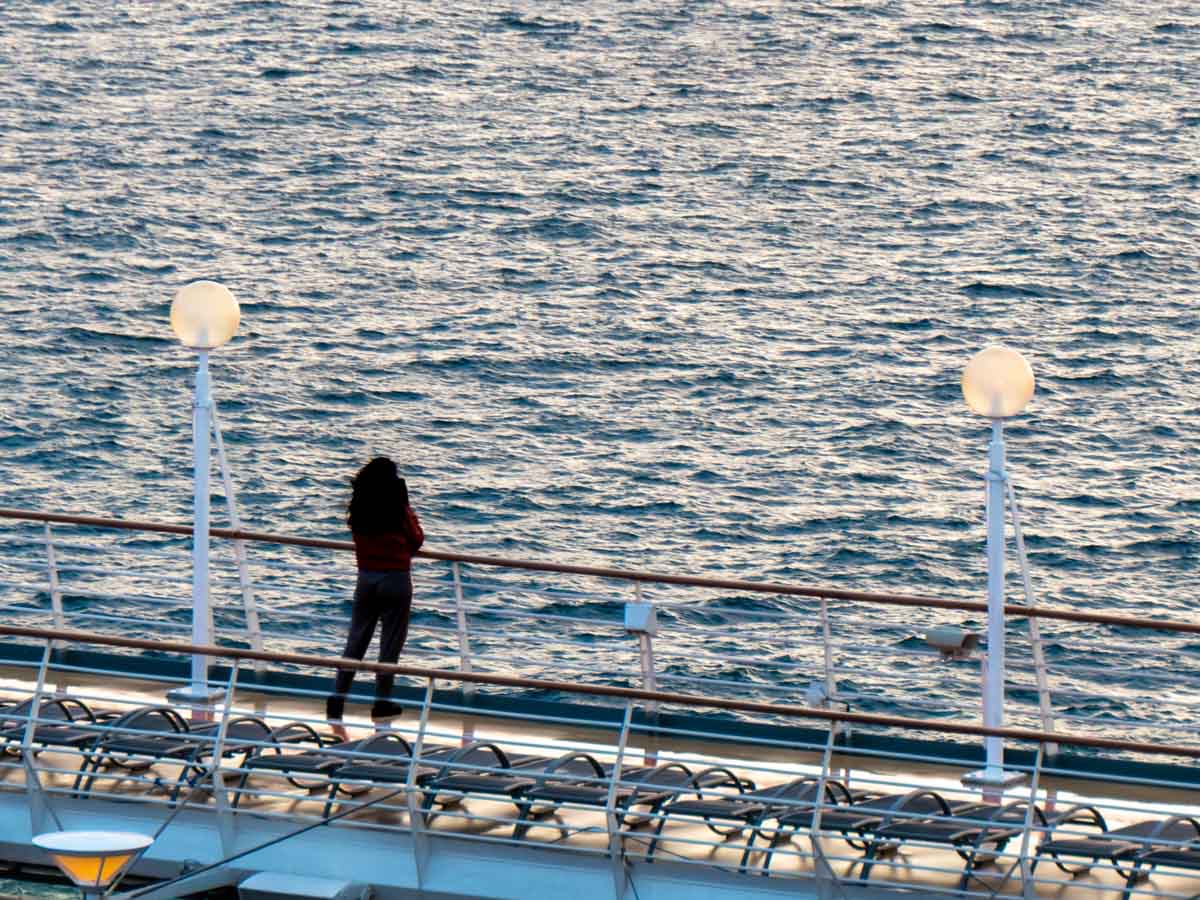
Your Moment of Zen
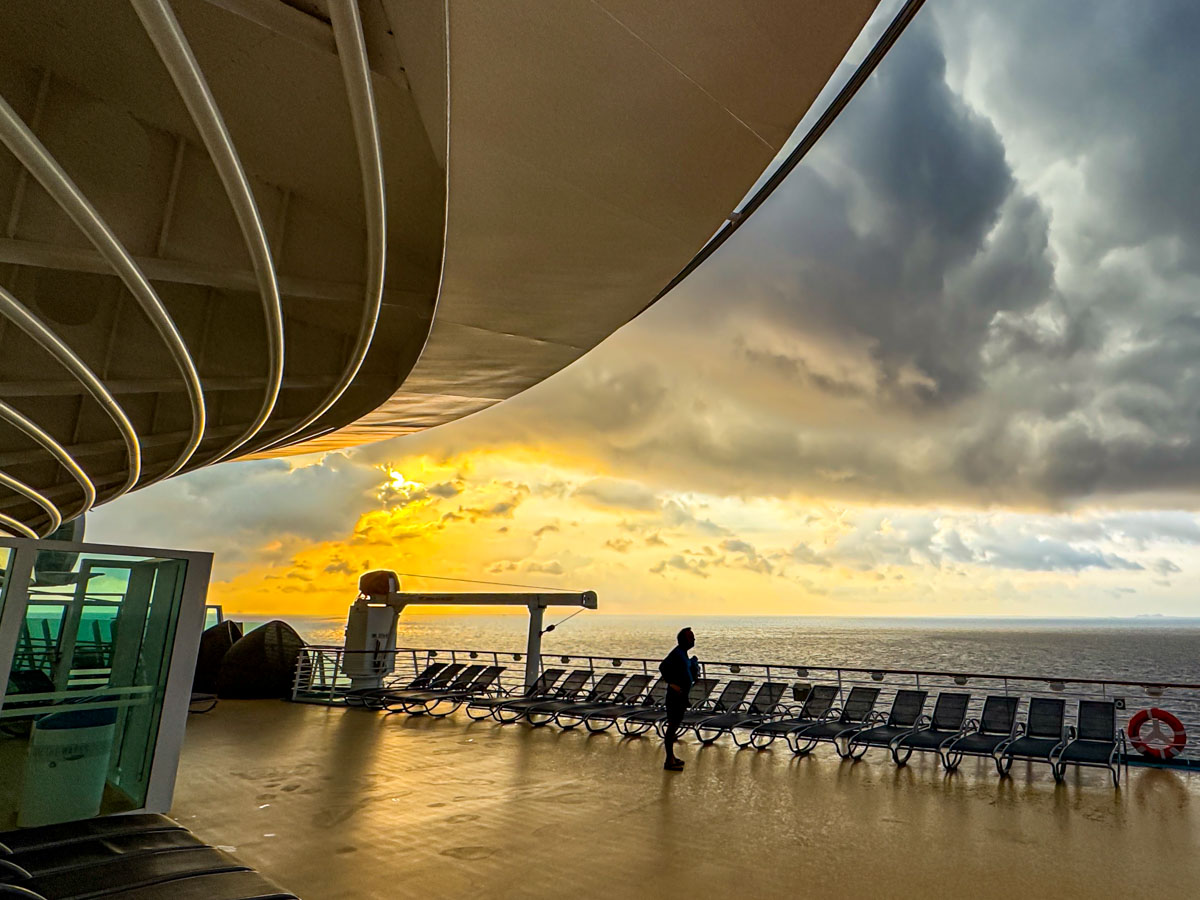
As the sky glows orange and the sun prepares for its entrance shortly after 5:30am, it’s just you and maybe a couple dozen other people on the massive deck. There are no crowds or music. No splashing or lines of people.
It’s just you, the vessel, the vast ocean and the refreshing breeze that centers you in this stunning ‘waterworld.’ It’s such an amazing feeling. You’ve effectively got the entire deck to yourself.
Sure, you can take some great pictures, but it’s much more than that.
#2
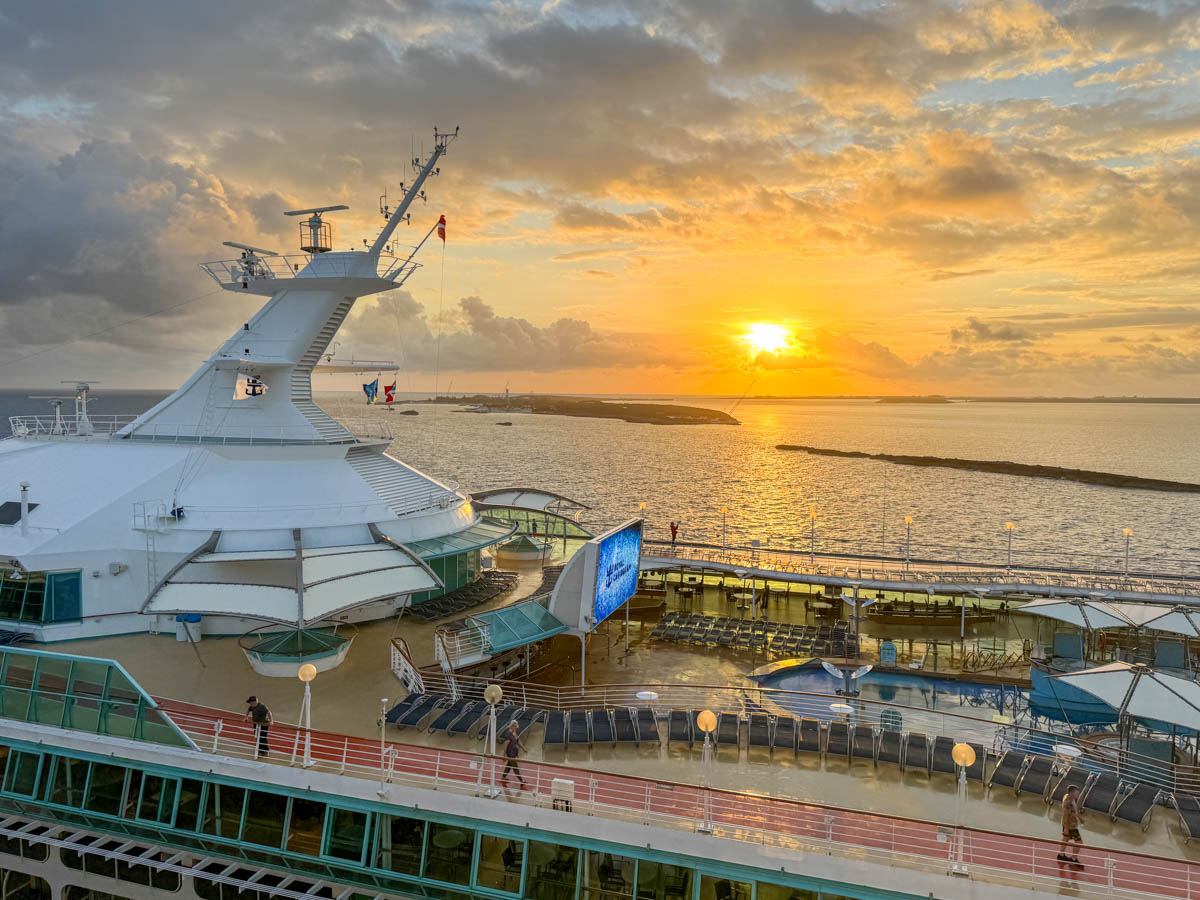
Perfect View of the Sunrise
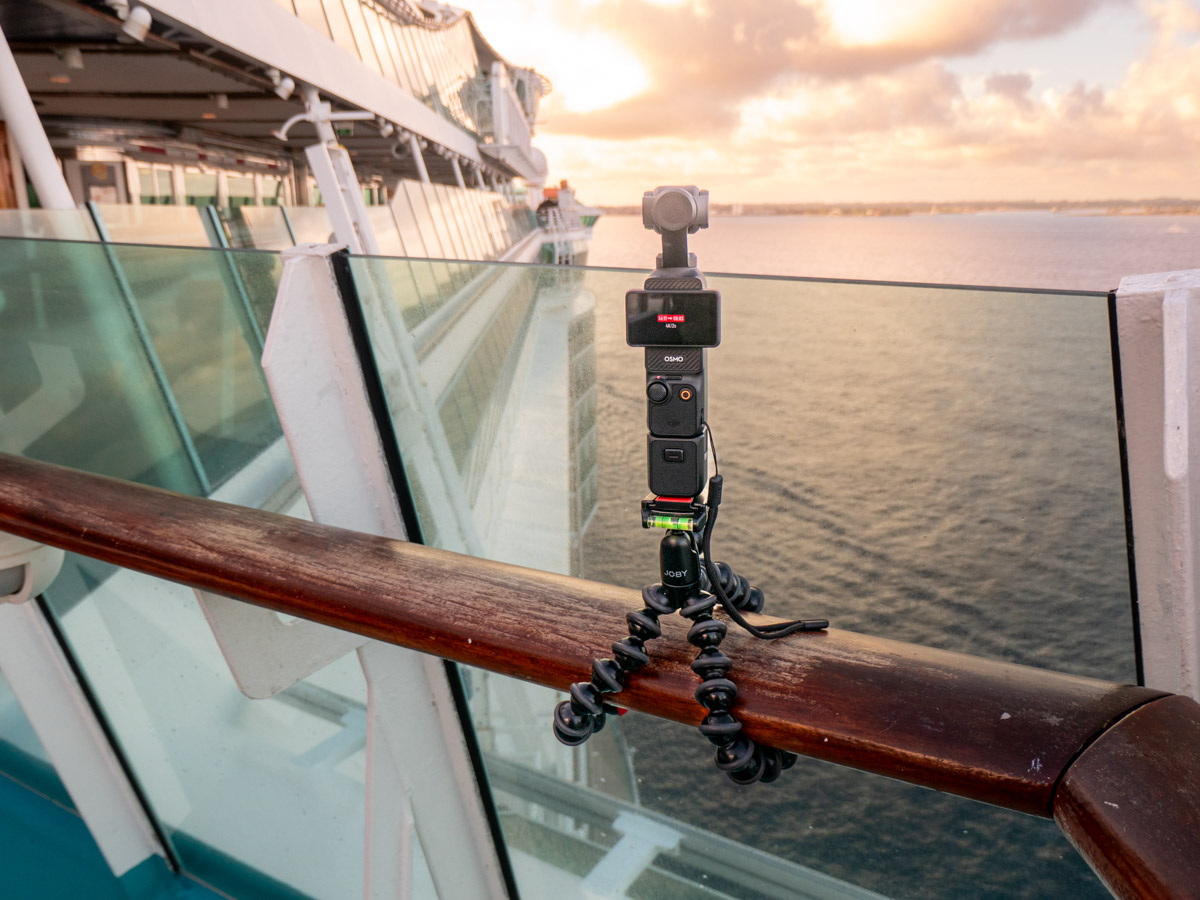
So, the wind blows. If you’re like me, you’ve got your cup of Joe with you. And then the sky comes to life. And if you’ve got some cloud action, you’re really in for a treat. It’s absolutely time to take out your phone or camera and start snapping away!
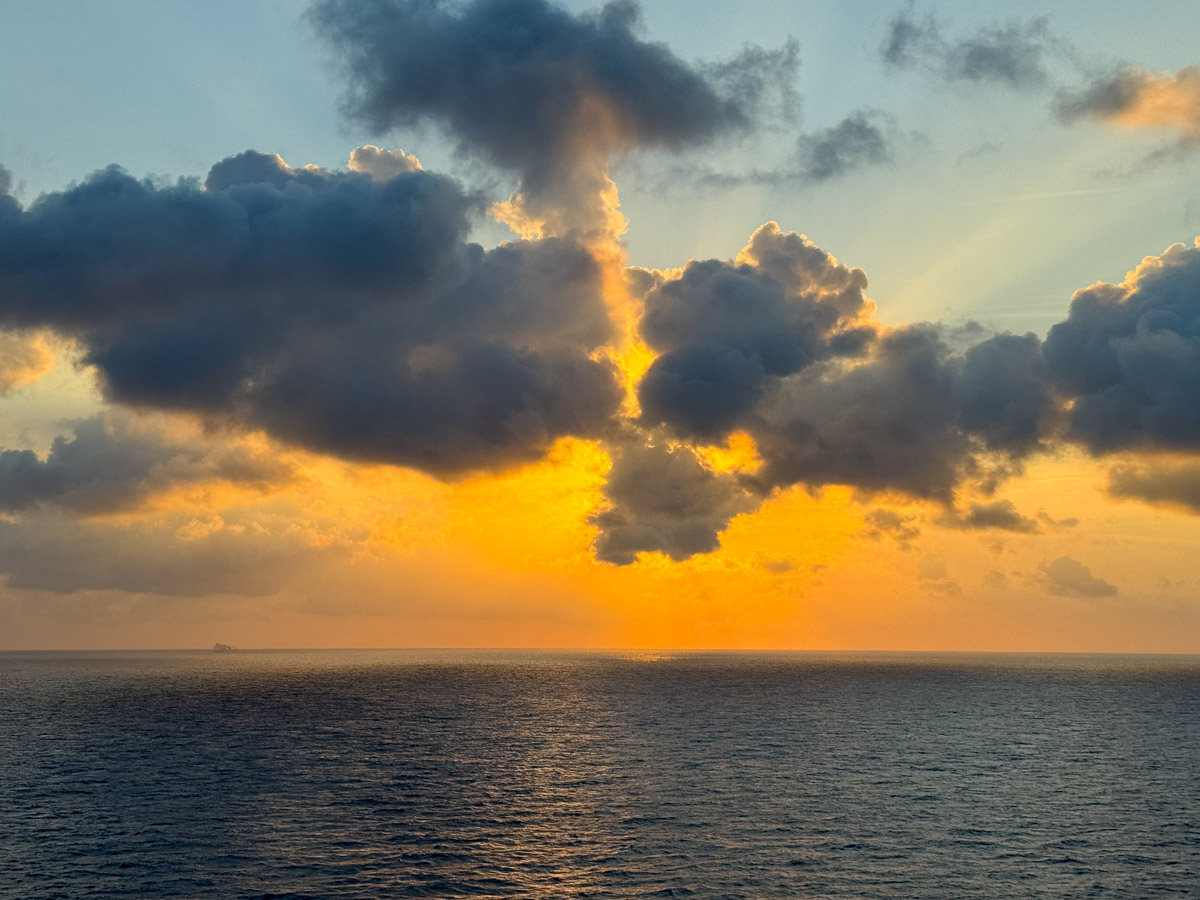
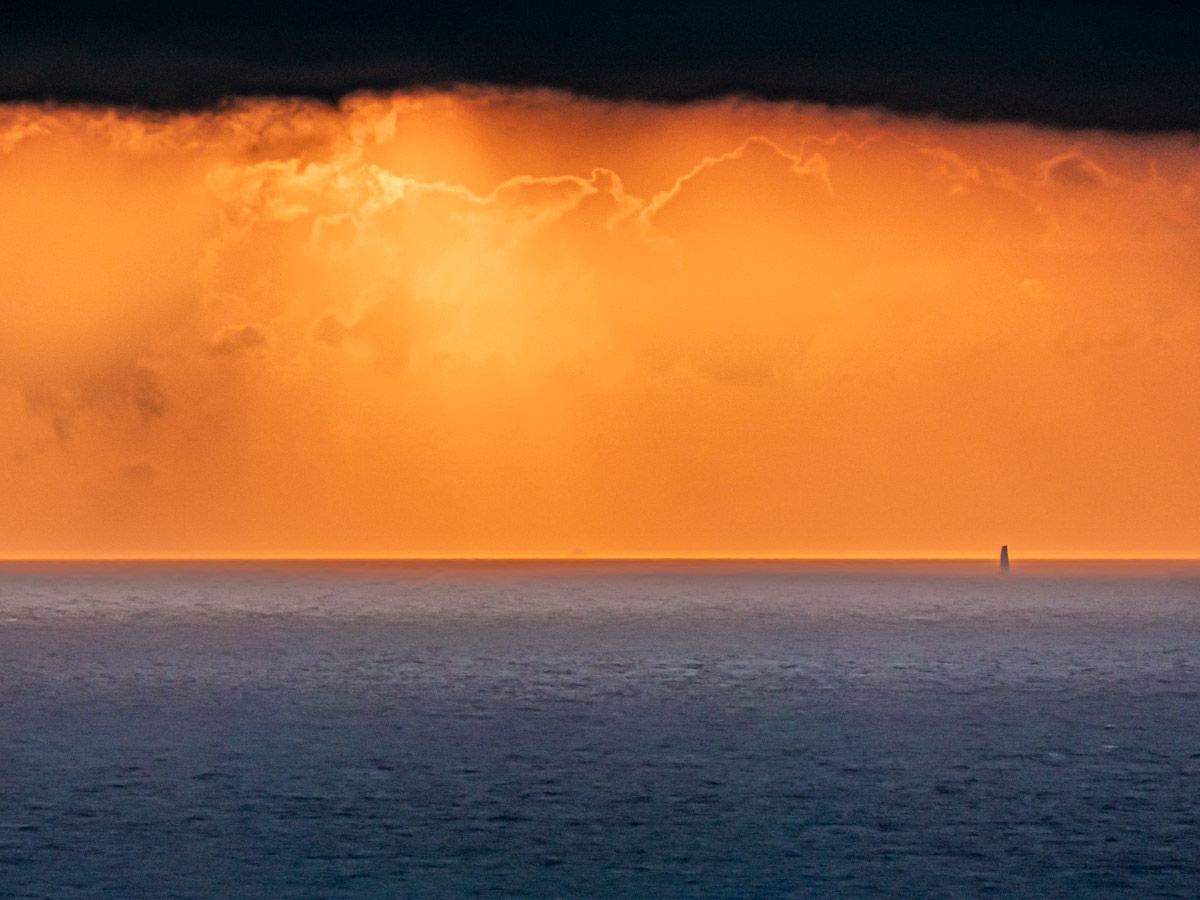
But capturing a great sunrise is just the beginning.
#3
It’s Also About your Ship
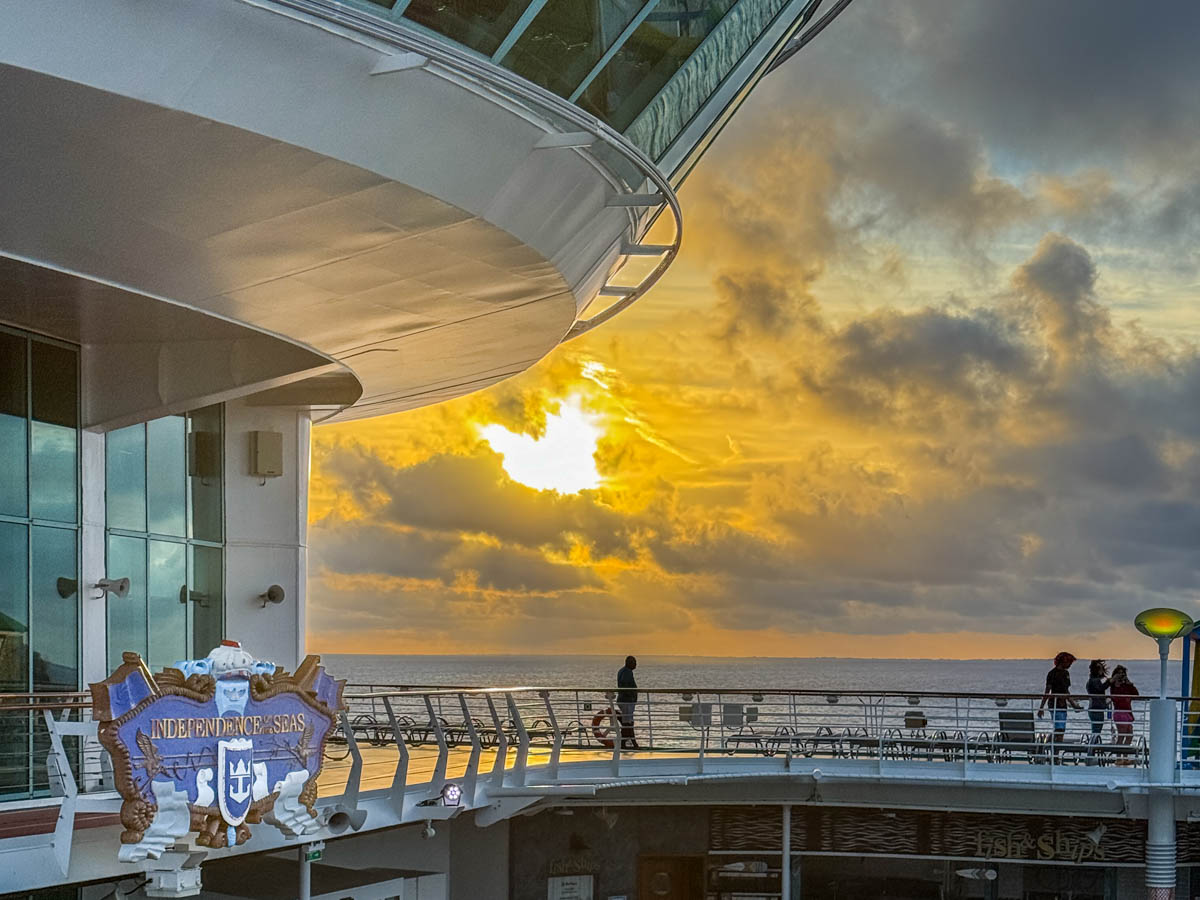
So, you’d be missing half the story if you just snapped a few shots of the sunrise. Your cruise is not only about the sunrise. It’s about where you are in that moment of the sunrise and revealing your larger location.
It’s all about your gigantic ship. That’s really the visual story here. It’s incredible, right? So, include it in your shots and show your vessel!
#4
Docking at Dawn
On the first two mornings, our ship’s itinerary got us to our Caribbean islands as the morning sun appeared. For me, entering port is its own photo opportunity. Docking as the sun rises makes it especially magical.
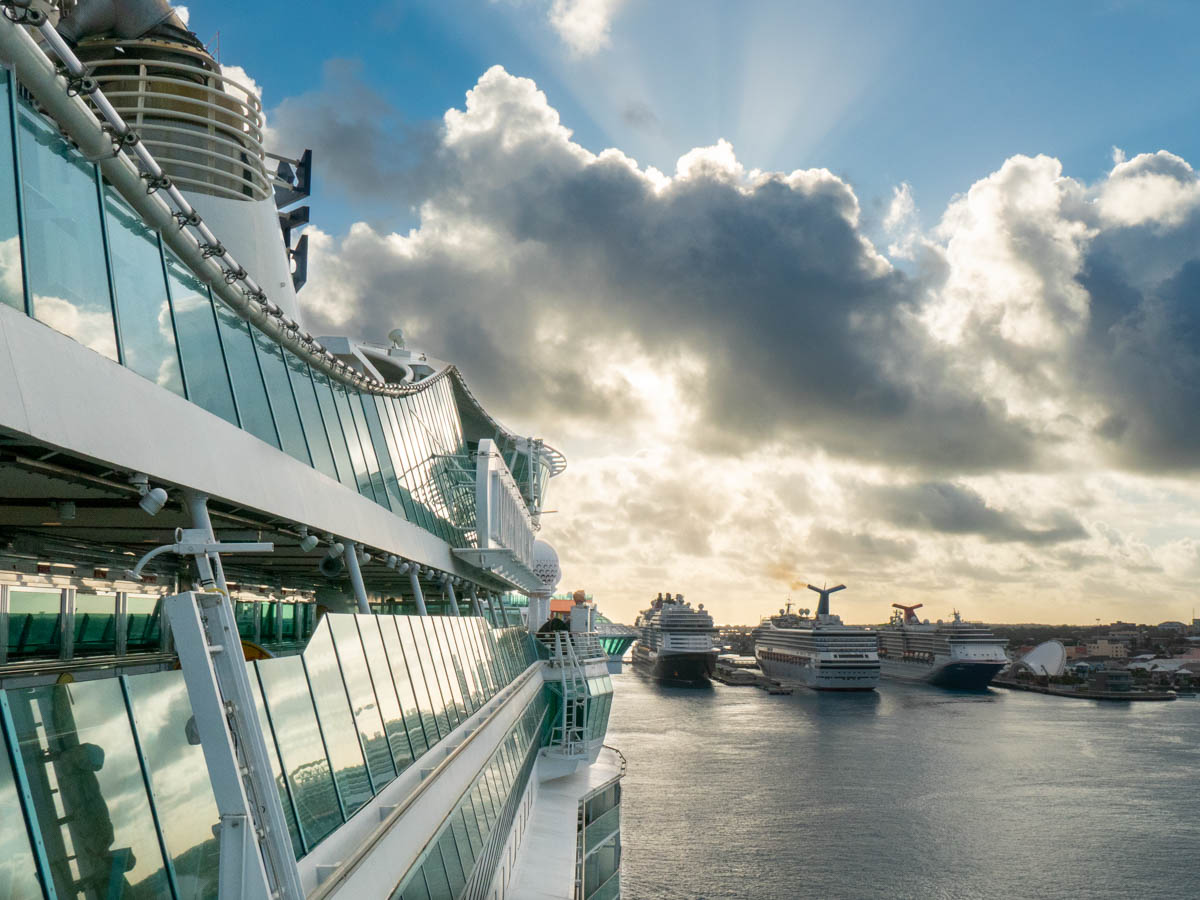 Here, we’re docking in Nassau.
 As we docked at CocoCay, I was fortunate that Royal Caribbean’s smaller Vision of the Seas was already there, perfectly positioned for my sunrise photo.
#5
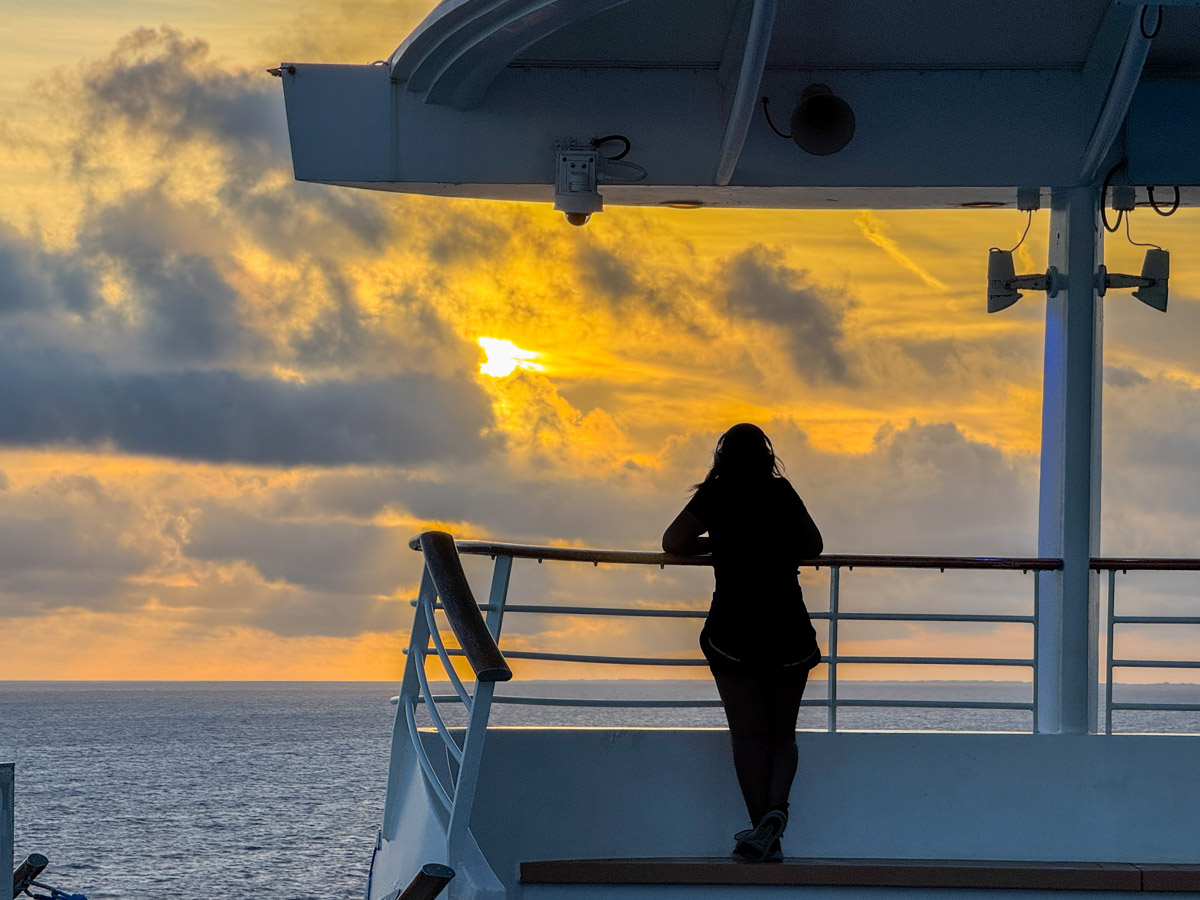
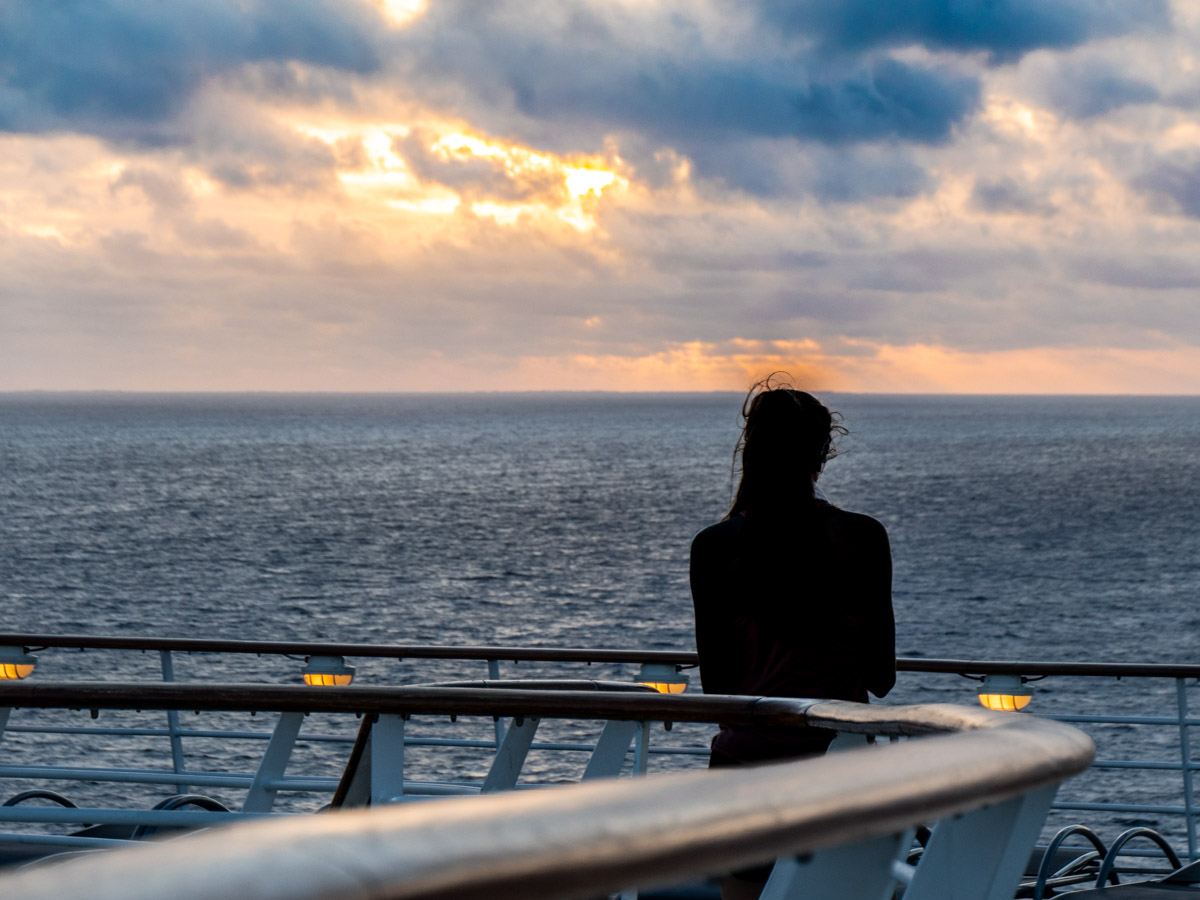
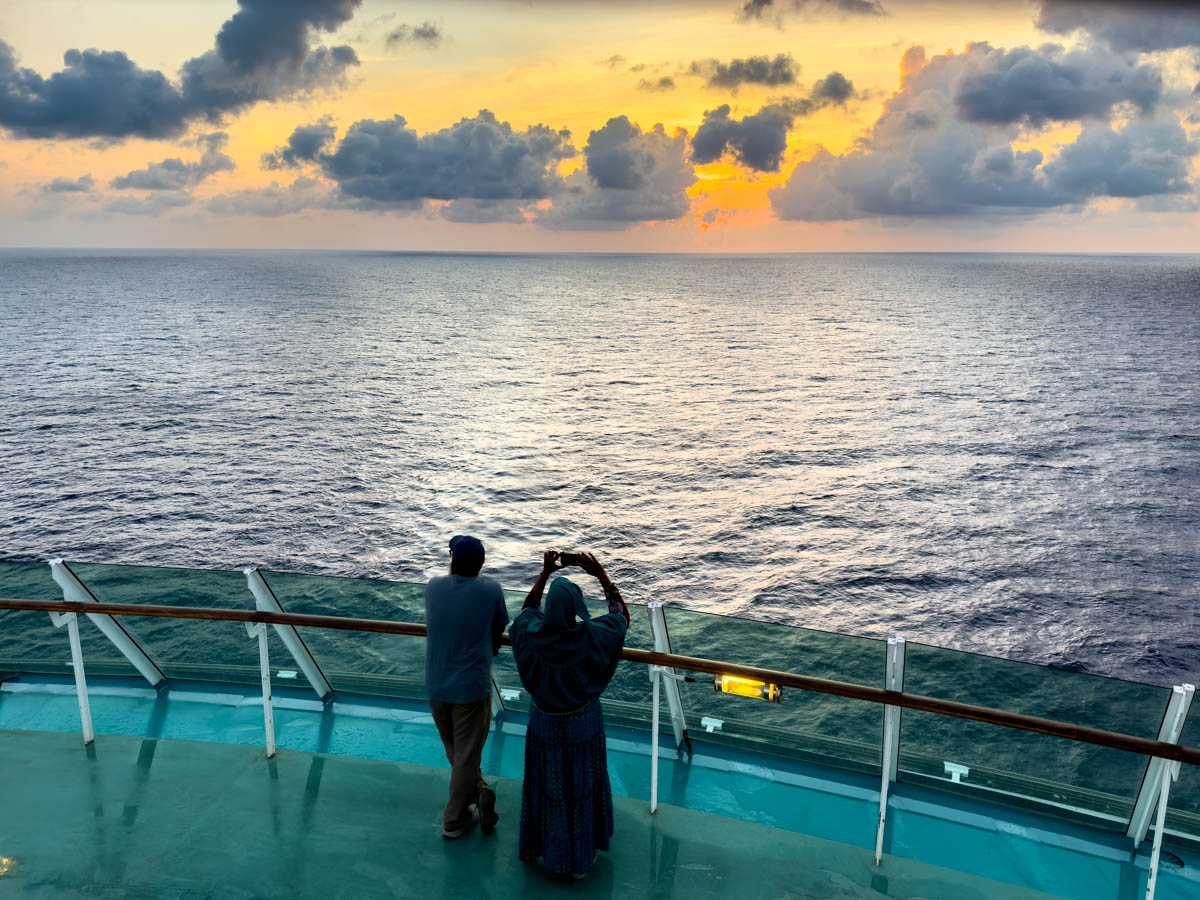
Sunrise Silhouettes
There’s also the opportunity to captures cool silhouettes of the few folks who have also journeyed on deck to greet the sunrise. So, now you’ve got the sunrise, your ship and a little humanity to pull it all together. That composition will make for a great photo.

Don’t Sleep In
Yes, if you don’t get up early on your cruise, you’ll miss some of your best photo opportunities for the entire day. I also discovered it’s one of the top ways to experience drinking your first cup of coffee in the morning.
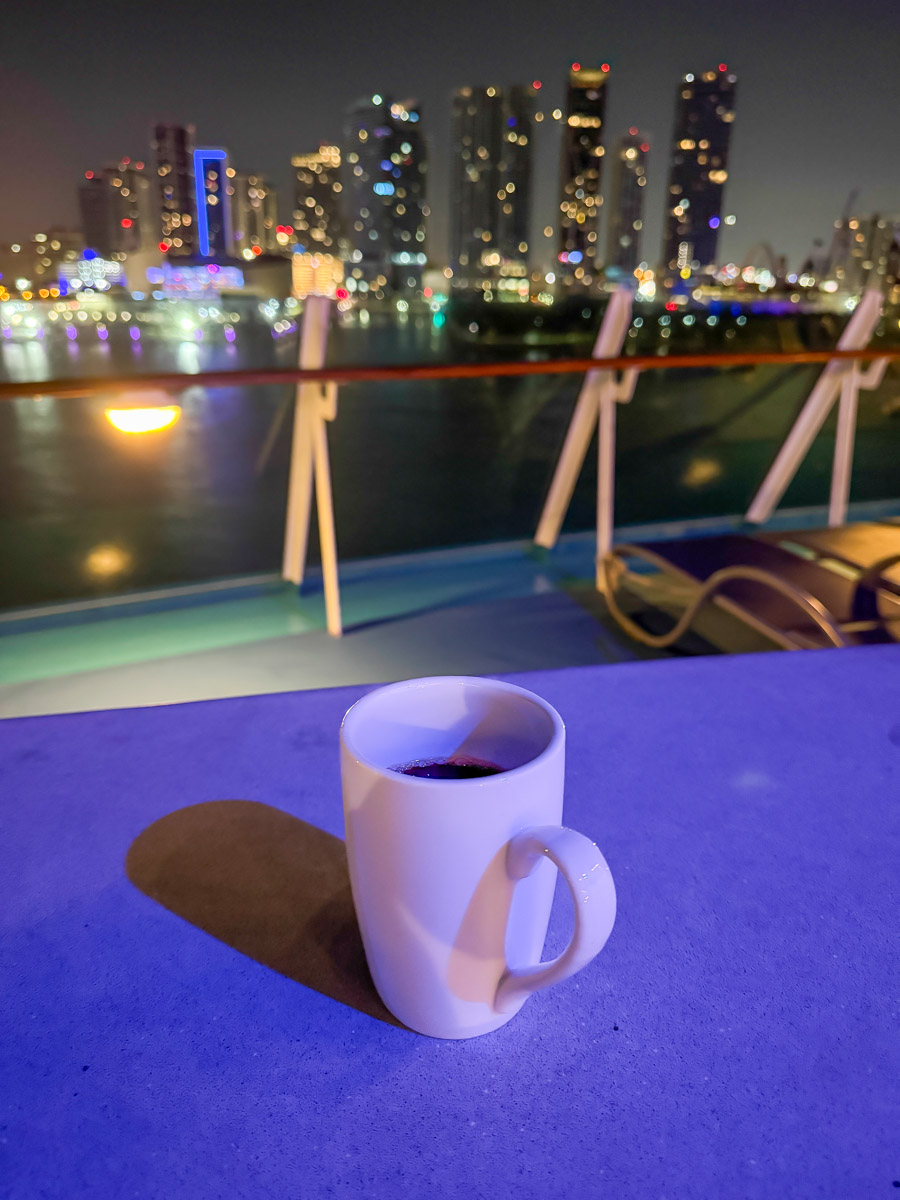 Here, we’ve returned to Miami to (sadly) end our cruise, but my joy continues.
So, don’t forget to set your wake-up alarm early, and I assure you…
You won’t regret it.

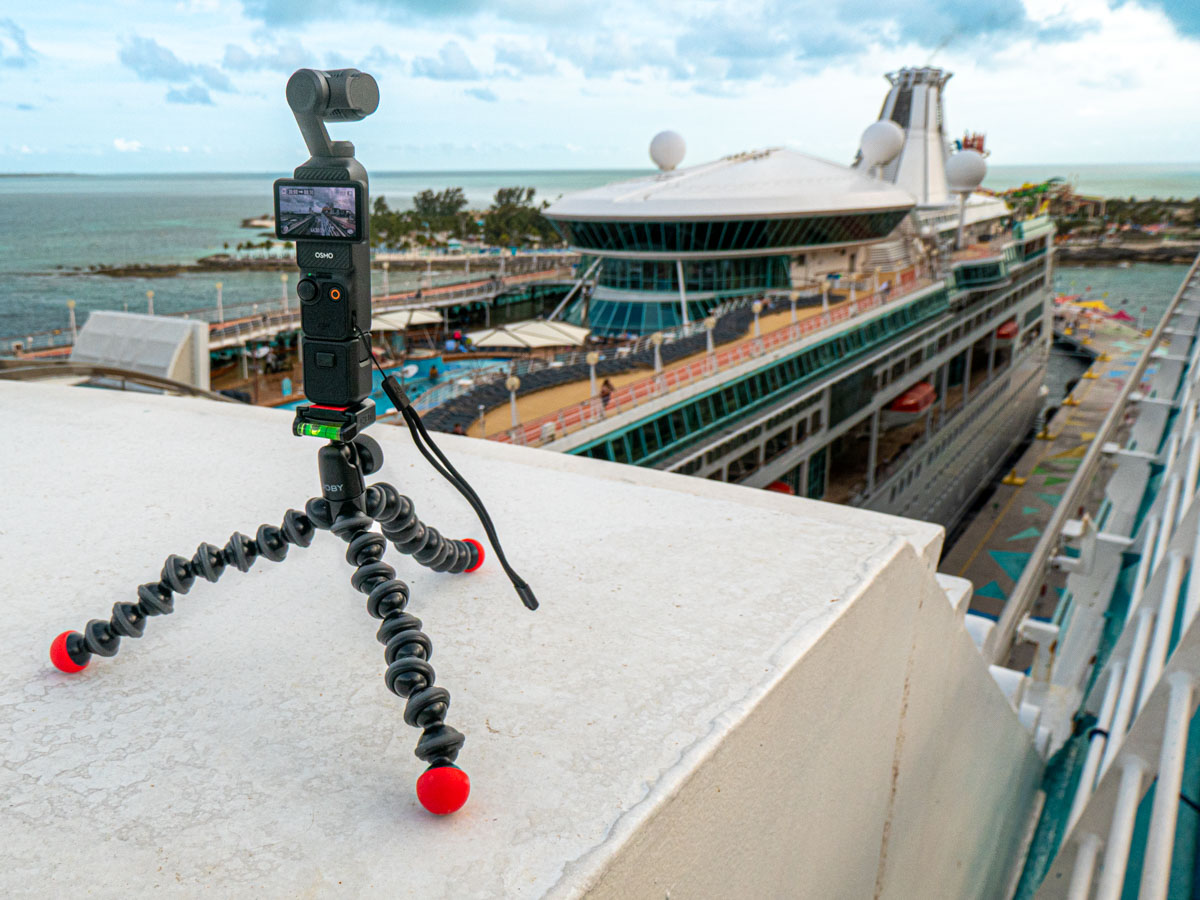
 It really helped having another ship (Royal Caribbean’s Vision of the Seas) docked there to provide additional visual context.
 (I added a ‘Gaussian Blur’ on the left section in post to mask a couple of travelers who unknowingly walked into my shot.)