At Home with Tech

Unlock the power of all your technology and learn how to master your photography, computers and smartphone.

Placing a Google Nest Cam in the Wild May Not be that Smart

Here’s my cautionary tale when I tried to add a battery-powered Google Nest Cam into my existing Nest ecosystem and then position it in my backyard.

I maintain several Nests in our home. These different smart home devices have worked great together across the years with my Nest iPhone app.

  • I can peer in from afar using my Nest Cam.
  • I control the temperature with my Nest Learning Thermostat.
  • And my Nest Protect monitors my home and updates me with any smoke or carbon monoxide detection. (Fortunately, it’s my least-used device.)

Google bought the Nest product line a decade ago and began integrating it into the Google Home ecosystem. Yes, all my Wi-Fi Nest gear still worked fine with my old Nest app. But every so often my app nudged me to migrate to the Google Home app. I’d be stalling, simply because I didn’t want to mess with a good thing.

Then, a new variable entered the equation.

Adding a Google Nest Cam to my Nest
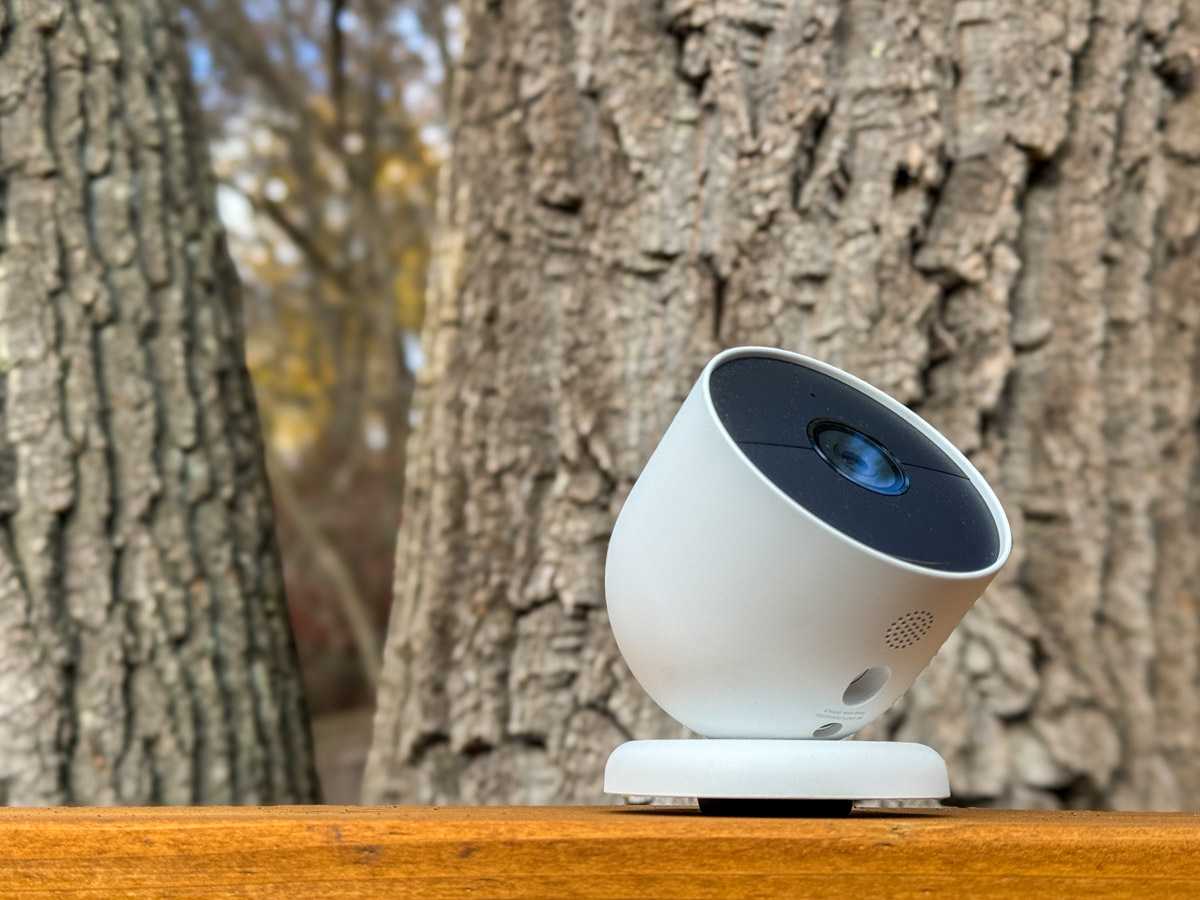
I decided to add an outdoor, battery-powered Google Nest Cam into my Nest world. I wanted to put it in my backyard to track occasional wildlife that meanders by.

Buying a battery-driven device is both a blessing and a curse. You can’t quite set it and forget it, as it will need to occasionally be recharged. But you also don’t have to run an electrical line into your backyard.

So, there’s amazing flexibility with a wire-free, battery-powered security camera that you can pop most anywhere (indoor or out). What’s not to like?

Mandatory Upgrade to Google Home
So, I bought my Google Nest Cam, opened the box and eagerly pulled out the gleaming white orb. I then plugged it in to juice it up. But when I started the installation process using my Nest app, I immediately ran into trouble. A message popped up that said this Nest Cam will only work with the Google Home app.

Okay. Sorry Nest app. It was great working with you. Now, I finally had to download Google Home onto my iPhone and migrate my Nest account over to Google.

The process went smoothly, and I was welcomed into the Google Smart Home world. I scanned a QR code with my iPhone, and the app did the rest.

So, I was quickly back on track.

Two Apps Instead of One
Yes, my new Google Nest Cam was ready for action. But what about the rest of my Nest ecosystem? Everything showed up on my Google Home app except my Nest Protect. Where did that go?!

I did a bit of online research and found the unfortunate answer. The Nest Protect hasn’t yet been integrated into Google Home.

What?

I would still have to use my old Nest app to stay connected with my Nest Protect. (I’m not saying goodbye to my Nest app after all.) So now, I’ve got two apps to use instead of one.

  • The Google Home app for my two Nest Cams and my Nest Learning Thermostat
  • My old Nest app for my Nest Protect

I don’t think that’s fabulous integration.

But it’s a minor inconvenience. You can’t get distracted by the little things. I’m sure it’ll eventually get sorted. Time to move on.

Installation Fantasy
You may consider my installation plan a bit outside of normal parameters. I planned to attach it to a tree pointed at our deck to better observe the occasional wildlife that passes through our backyard.

I’ve spotted deer a few times as well as a red fox. I sometimes observe the neighborhood hedgehog, and I even saw a racoon once peering at me from the edge of our deck at night.

I know this can be normal stuff in the burbs. But remember, I’m a city boy from Manhattan. I’m not wired for this.

But I figured with a little more surveillance, I’d feel somehow happier.
(Please don’t push my theory too hard.)

A Tree is Not a Wall
I tried my tree installation plan several times, until I realized it was half-baked. The circular mount wasn’t going to sit properly on the uneven bark surface. And I wasn’t keen to wait to eventually find a dead Nest Cam cracked open on the deck or ground below.

On the other hand, I knew there were likely other solutions for a backyard installation… There must be something else I could attach it to.

But first there was another problem to consider.

How Waterproof is Water Resistant?
According to Google, “the Nest Cam is water resistant in accordance with its IP54 rating, but it is not waterproof.”

What does that mean? Can it be outdoors and uncovered, or can’t it? Does it require some sort of overhang for protection, like a porch ceiling?

I originally didn’t even consider the issue… it’s an outdoor camera, right? On the front of the Nest Cam box, there’s a photo of the camera dripping with rain while attached to the side of a house. And the words printed next to the picture… “Security, rain or shine.”

Well, maybe not too much rain.

I found some questions online about this, and yes there are stories from owners with malfunctioning Nest Cams after one too many rainstorms.

Hmmm… another rabbit hole to dig out from.

Another House For my Camera to Live In?
So back to my installation quandary. I had been thinking about screwing my Nest Cam onto a tree. Well, what about screwing it into something instead? Like a bird house.

That would offer some protection from the rain. I Googled “Nest Cam bird house,” and happily, yes, I saw some solutions out there.

But now, my project had morphed from a tech installation challenge into a backyard decoration project that will require a little more thought and my better half’s involvement. And that’s going to take a bit more time.

This is where my Google Nest Cam story pauses for now.

The Animals are Laughing at Me
I’m confident I’ll find a good installation solution. But it’ll probably require a bit more DIY thinking.

My uneven experience so far has taught me that a smart home is not the same as a smart backyard. And a Nest is not exactly the same as a Google Nest.

If you’re considering a similar expansion into the wild using a Google Nest Cam, it’s probably a good idea to think this all through first.

How my Lost Amazon Package Led to this Walmart+ Discount at the Gas Pump

My missing Amazon order unexpectedly steered me toward Walmart+ with its promise to save me 10¢ per gallon when filling up my hybrid SUV. Here’s what happened.

Yes, my Amazon order never showed up. I’ve been patiently tracking the delivery of a new black belt. (My old belt wore out where my work badge clips on.) The package is way overdue, and the tracking number stopped posting updates a week ago. (It left Windsor Locks, CT at 4:56am.)

I think my belt is likely lost in transit.

Uncertainty Leads to Opportunity
No worries. My life will continue without disruption. I have other belts, and of course, I’ll buy another one. But I’m first interested to see what happens next. Amazon is now kindly offering me the opportunity to cancel my order. But that’s too easy. Will Amazon blink first? Will someone or something refund me or alternatively mail out another belt? We’ll find out…

The good news is Amazon has a delivery success rate of about 99.9998% to my house. Sometimes packages just get lost.

But these infrequent moments do remind me how much my online shopping has consolidated around Amazon. And that’s not always good. More choice is better. It would be nice if Amazon had a little more competition. Of course, they’ve run most everyone else out of business.

But there is… Walmart.

Time to Try Out Walmart+
Yes, I’ve shopped at walmart.com a few times across the pandemic. But its marketplace is often flooded with any number of third-party sellers with more expensive pricing. So, you’ve got to really know the correct price points. (To be fair, Amazon sometimes has that problem too.)

So, my relationship with Walmart has remained an in-store experience. Then, my new belt got lost and I happened to simultaneously find a discount opportunity to join Walmart+.

Walmart’s paid membership is like Amazon Prime in that you get free shipping and delivery, plus other member benefits.

Yes, I pay for Amazon Prime, and yes, I believe I’m getting value in the annual cost, mostly due to the Prime Video platform, in addition to the free shipping.

So, with an easy onramp to join Walmart+, I decided to give it a spin. Plus, I was especially attracted to one big perk.

Save 10¢ on a Gallon of Gas
I’ve always been interested in signing up for a fuel-discount program, and Walmart+ has one. I’ve previously hedged on other opportunities that are more complex than I really wanted to deal with. But the strong Walmart brand and the simple set up on the Walmart app gave me confidence to explore this discount gas deal.

The Walmart+ program saves you 10¢ per gallon at Exxon, Mobil, Walmart and Murphy stations. Again, you need the Walmart app on your phone to access the special pricing. Here’s how it worked when I drove into a Mobil station.

  • As soon as I opened the Walmart+ app, it asked if I wanted to gas up. It had already sensed the Mobil station wirelessly. I said, “Yes, please!”
  • As soon as I tapped in the pump number, it confirmed the credit card I wanted to use.
  • And that was really it. The pump activated, I selected 87 octane, and I was ready to go.
  • When I was done, I received a receipt on my app, which confirmed my discount, and I drove away.

Really easy. Never had to swipe a credit card at the pump.

So now, I’ve got a new hybrid SUV which needs less gas, and a new way to save money on the gas that I do buy.

Hallucination Vs. Reality
I have this silly vision that the Amazon delivery van with my belt ran out of gas, and the van is abandoned on the side of the road somewhere.

If only the Amazon driver had a Walmart+ account. That extra 10¢/gallon savings might have provided a little more fuel to get that van to my house.

Maybe my belt will find its way home in time for the holidays. Perhaps someone else is already wearing it.

Yes, it’s just a belt, but the butterfly effect from its disappearance has strangely led me to save some money at the gas pump.

Now, I’m even more intrigued with how my belt story will end.

How to Frame a Live Photo for Hogwarts or your Muggle Home

If you extend the wizardry of an iPhone’s Live Photo mode and add your imagery to a digital photo frame, you can transform your photography. It’s not so futuristic. Here’s how to bring more motion to reframe your photos today.

I’ve always been on the fence regarding the value of Live Photo mode on an iPhone. This feature appears to magically turn a still photo into one with three seconds of motion. Of course, the reality is these ‘magical’ photos are just little movie files (1.5 seconds before and after you snap).

Sure, creating a Live Photo is useful so you can later pick out a better ‘key photo’ frame. That’s especially helpful in a group shot if someone’s eyes are mid blink. But if you really want to capture a micro movie, I recommend just shooting in video mode for a few seconds.

But I think Apple is onto something that isn’t yet mainstream. And it connects with how you would want to display a Live Photo. I would offer that these moving photos are ideal in a digital photo frame.

The Perfect Moment can Take Longer than 3 Seconds
If you think about the Harry Potter films and all those ‘living’ paintings often seen in the background, the paintings are effectively digital photo frames magically displaying live portraits. Of course, the motion in each painting is specially curated to display a longer moment or a complete action from the character in the frame. If you went back and clocked them, they’re probably double the length of an iPhone’s Live Photo.

Often, a ‘moment’ in time that’s visually meaningful takes more than 3 seconds to complete. But as photographers (and aren’t we all?), we’re trained find that singular frame that captures it all.

But you can also just let the ‘live’ unfold. Sometimes, that’s so much easier. And Apple would say that’s exactly what a Live Photo offers.

Extended Live Photos are Better
However, I don’t think a Live Photo is entirely optimized for this task. It’s just too short, and you can’t be sure you’ll capture the complete end of the moment in front of you. Apple’s automation of its Live Photo process creates an imperfect crop of time versus how long the moment requires.

I feel you’ve really got to be running your iPhone in video mode for at least a few more seconds to ensure for that.

And in doing so, you’ll create what I’ll call an ‘extended live photo.’

Yes, it’s simply a seven to ten second video clip. But now your mindset should shift to still see it as one extended moment… with motion. (Do you feel your brain vibrating with this aha moment?)

Photographic Magic
Okay. So now, you’re creating something entirely new. Congratulations. You’re a wizard.

But what are you supposed to do with these extended live photos? Well, as I mentioned up top, they’d look great on a digital photo frame. All of your longer visual moments would still be short, but entirely complete without being abruptly cut off.

So, you’ve just got to bring a new mindset to your photography with the goal of finding and capturing these extended moments and then showing off your short videos on your digital photo frames. Soon your home will start to resemble the hallways at Hogwarts.

If you want to give it a shot, here are some ideas on where to spot perfect visual moments for this.

Opportunities for Extended Live Photos
First off, any moment for a still photo can also make for a great extended live photo.

  • People hugging
  • Blowing out birthday candles
  • Vacations
  • School reunions
  • Outdoor activities
  • Your pet simply staring at the camera

Find the Highlight from a Longer Video
If you’re already planning on taking a longer video, later selecting a five to ten second highlight will probably make for a great extended live photo.

Create a Living Group Portrait
We’ve been trained to think of a group shot as a still moment where everyone is smiling and looking at the camera.

I would offer that’s only part of the picture. The energy and motion that surrounds that one perfect frame is often as interesting, if not more so. In a group, the interpersonal dynamics are usually on full display (people talking and laughing together).

  • I’ve seen the New York Times use this visual strategy online when presenting people features. (It’s quite compelling.)

Enjoy Nature’s Beauty
If you’re a nature photographer, why not simply capture 10 seconds of that beautiful scene?

Adding in the ‘live’ will totally bring the still moment to life.

It’s a similar strategy as creating a live portrait, but much easier as nature is always strutting its stuff.

What About the Audio Track?
Technically, you don’t need the audio if you’re displaying your extended live photo on a digital frame. Sure, some of these frames can play sound, but I don’t expect you’ll use that functionality. (Photo frames are meant to be seen and not heard.)

But your extended live photos should still be optimized for the sound to heard. That’s because the clip may later be used with its audio track for a future use. So be mindful to trim these short video clips accordingly.

Keep it Moving
Digital photo frames are hardly new. I wouldn’t even call the product line that exciting anymore. But if you feed them with your own ‘extended’ live photos, that can be a real game changer.

And sometimes, you might naturally just shoot a video for only 10 seconds. Later, you’ll ask yourself how you might use it. Well, now you know!

I’m just a mere Muggle, but using this photographic trick for your digital photo frames will always look like magic.