If you ever need to clone your iPhone should your device meet an untimely end, a simple setting buried in your old device is the key to success.
You may not realize it, but across the years, you’ve been building and nurturing a look and feel for your iPhone. It comes in the form of all the apps you’ve downloaded and how they’re organized on your screen. It creates an experience that’s unique to you and feels perfect, because it is. You’ve made it that way.
When you want to upgrade to a new iPhone or need to because of less-than-optimal circumstances, Apple has a process to perfectly restore all your settings and apps in your new device (passwords too). That is if you follow all of the iCloud rules.
But if you miss a step and disaster strikes, you can never transfer your iPhone’s unique personality that you’ve lovingly crafted into a new phone model. You’ll effectively lose its ‘soul.’ Sure, you can manually put all the pieces back together into a new iPhone, but the clone will never be exactly the same.
That’s what happened to me.
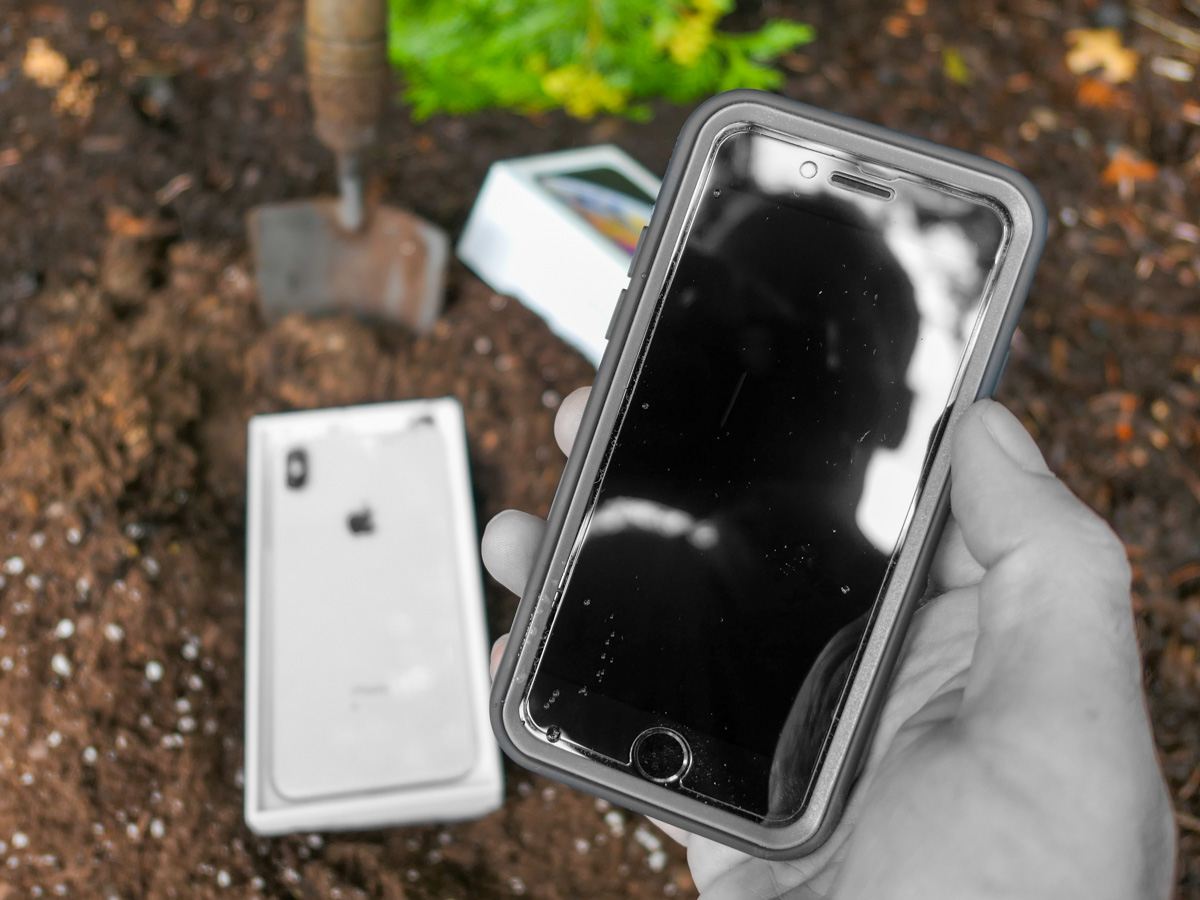
R.I.P. My Dear iPhone
Last time, I shared how I effectively killed my iPhone after a little kayaking mishap that submerged it in ocean water.
Thankfully, I had backed up all my Apple apps in iCloud, and when I activated my replacement iPhone at The Apple Store, those apps were already in place, loading in my important data.
But when I searched for all my other apps, they were nowhere to be found.
I was still grieving the loss of my former iPhone. (It had been less than an hour.)
Now, the pain started to pile on.
iCloud 101
Yes, I’d previously been following good iCloud back-up protocols and had properly saved everything of importance to iCloud:
- Photos
- iCloud Mail
- Notes
- Messages
- Contacts
- Calendars
- Music
It was all safely stored for me.
So, restoring all of that in my new iPhone was easy. (Plus, I pay for 2 TB of Apple cloud storage to cover all my family’s devices and related files.)
I thought I had it all covered. But I didn’t.
My non-Apple apps had vanished. Here’s why…
We Can (Mostly) Rebuild It
Apparently, my old iPhone didn’t have the little iCloud backup switch in ‘Settings’ activated to its green state. I had somehow missed that.
And without that critical piece of back up flicked on, I had forever lost the snapshot of my old iPhone’s set up. All the settings, the home screen layout and all my non-Apple apps.
Now, I needed to download all my non-native Apple apps again (they were readily available in my ‘Purchased’ section in the App Store app), reorganize them and then (the worst part) re-sign into every one of them again.
That was a big project and a massive pain.
It took me the better part of a week to get my apps back in order and running properly. (You don’t realize how heavily you’ve become reliant on your phone for your day-to-day needs until you don’t have access.)
And then when I was done, I still didn’t have my old iPhone’s exact layout back. It was inevitably a bit different. (You’d otherwise need a photographic memory to restructure it perfectly.)
How to Turn On iCloud Backup to Save your iPhone’s Settings
So, if you want to avoid my Humpty-Dumpty fate, be sure to have the specific iCloud Backup switch turned on in ‘Settings.’ It’s embarrassingly simple. Go to:
- Settings
- Your Name (on the very top)
- Your Name’s iPhone (in the third section from the top)
- iCloud Backup
- Flick the virtual switch to green
- That’s it
Silver Lining?
The only upside to my rookie iPhone mistake is I had the chance to slim down the apps on my new phone to the apps that I actually use today. (I didn’t download the ones that I haven’t opened in years.) So, I was able to create a better-organized layout for myself.
No, it’s not my old iPhone. That’s gone. I’ve permanently lost that comfy layout.
However familiar, that’s not necessarily the best layout for me today. It was created organically across many years and through previous iPhone models.
Creating a fresh app structure from the ground up has its advantages. It certainly better represents my current needs. It’s more efficient. It makes sense.
Now I just need to train myself to remember where everything is!
Everyone Risks a Kayaking Kerplunk
Sure, we can all regularly update and reorganize the app structure on our phones. But who really takes the time to do that?
I should be thankful that I was given the opportunity to properly refresh and optimize my own iPhone experience. Right?
On the other hand, just flicking the green iCloud switch is a whole lot easier.
And better yet, think twice about bringing your iPhone on your next kayaking trip without a waterproof bag.
But as careful as you may be with your tech, there’s always some kind of kayaking kerplunk just around the corner for everyone.
So, plan ahead and make sure that the iCloud Backup switch is on!

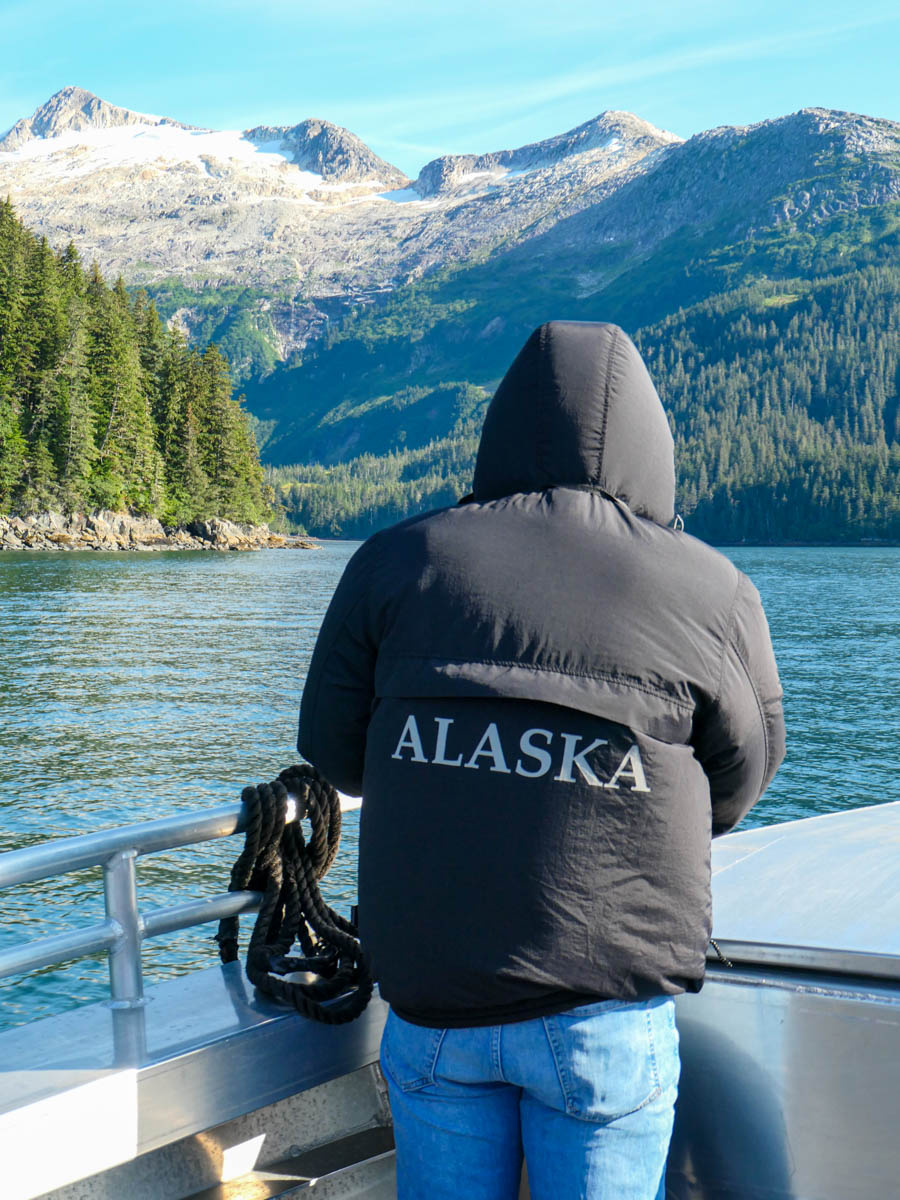
 After driving more than two miles through a mountain via the Anton Anderson Memorial Tunnel, we departed from the once-secret World War II village of Whittier and headed out on our vessel, the aptly named Voyager from Lazy Otter Charters. The frigid waters gleamed in the perfect weather, as we began to explore the vast expanse. Of course, the star attraction was all the ice. Mountains and glaciers were everywhere!


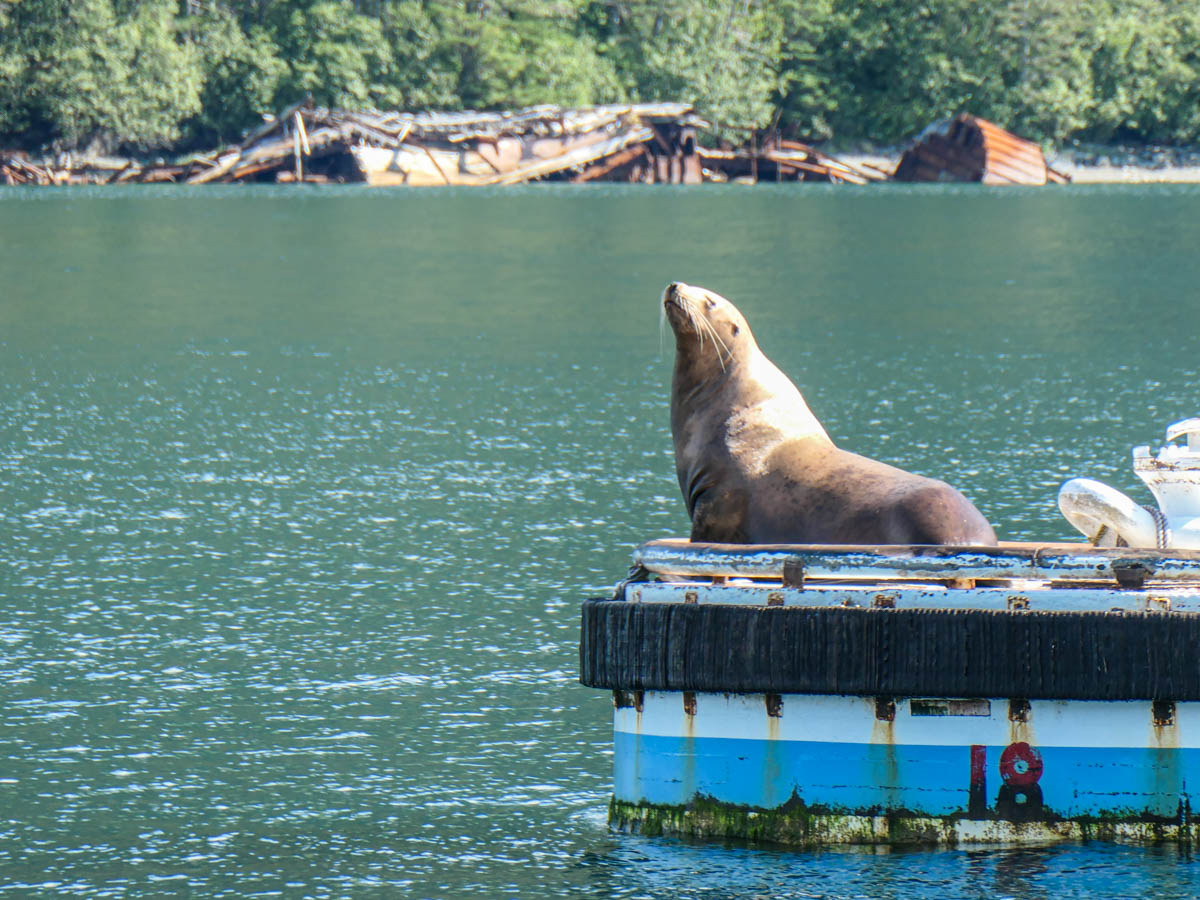

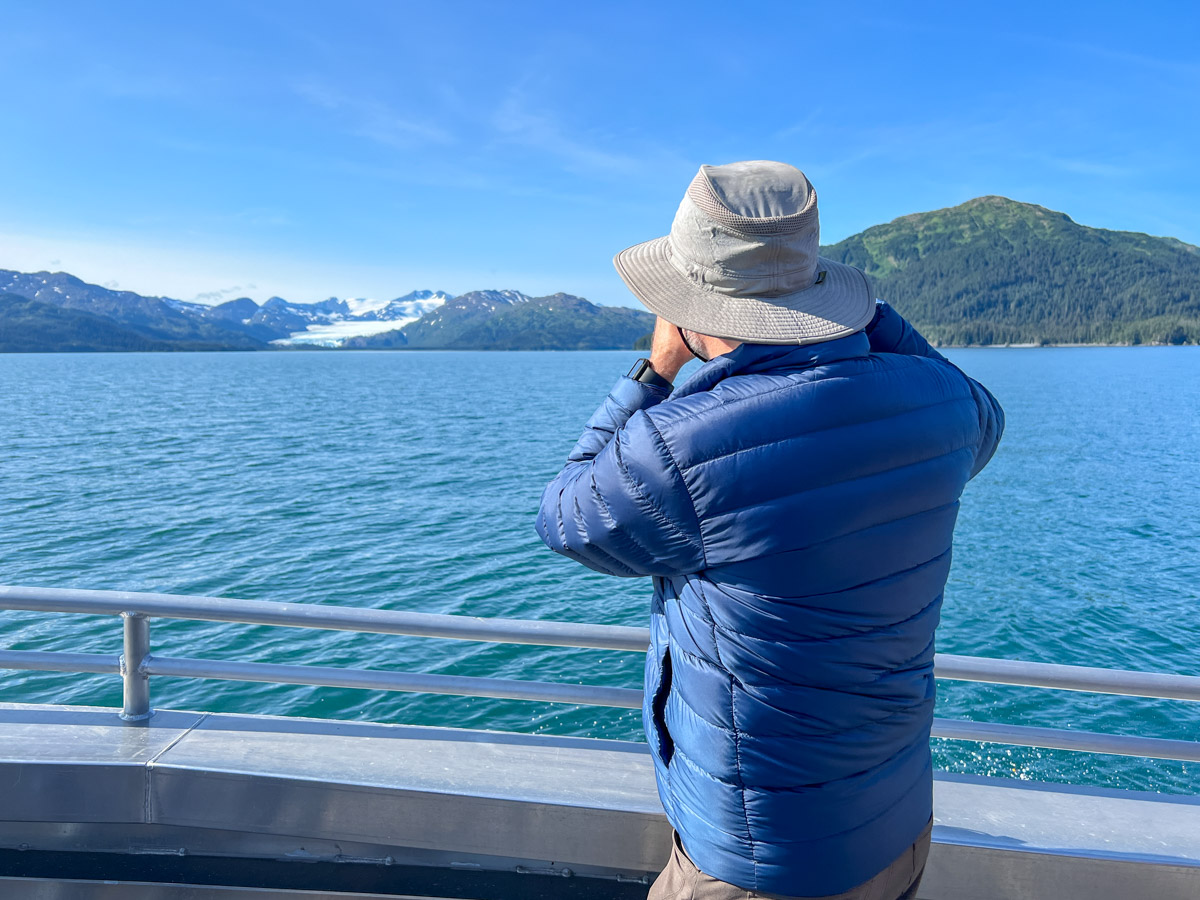 My early report: The impact of visiting this Alaskan space is life changing.