
Give your Computer the Gift of Updated Software
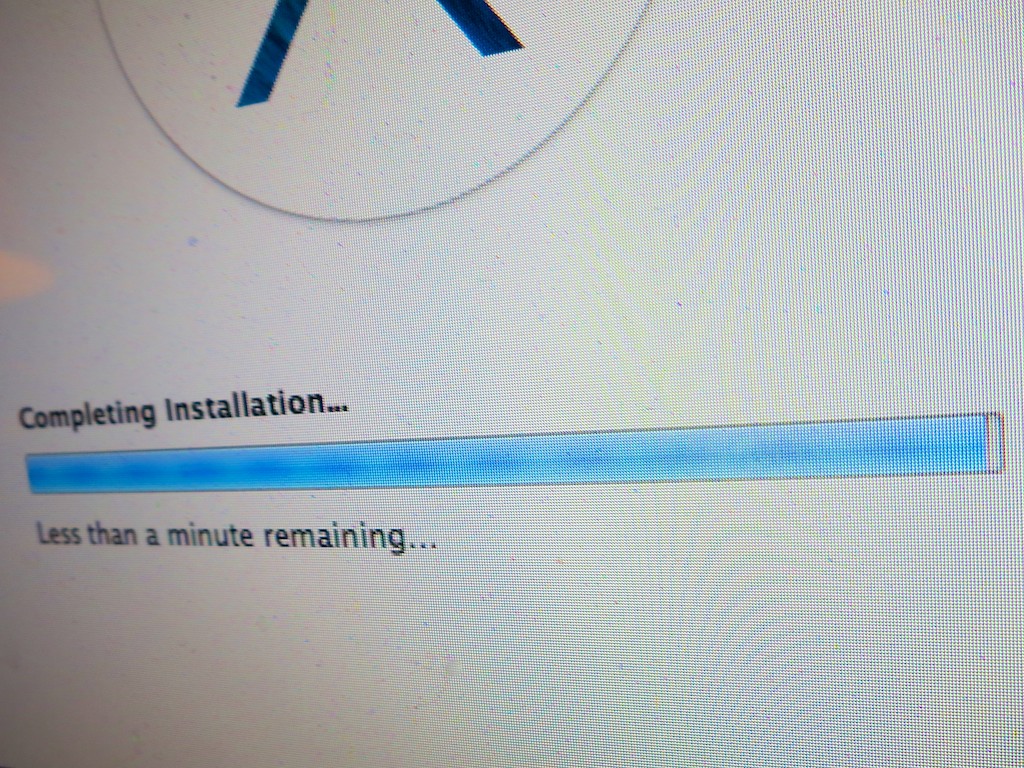
“Less than a minute remaining” is the most excruciating message ever invented by software developers. I think the phrase actually makes time slow down. In this moment, your Mavericks OS X upgrade is so close… yet still so far away. Here are three recommended steps to help you get your computer to the finish line…
There’s a battle waging deep within your mind.
You may not be aware of it, but subconsciously… it’s always there.
To Update or Not to Update…
Almost every day it seems, your computer prompts you to update its software arsenal.
Some are small updates.
Others are game changers.
But you’ve always got a choice to make.
And the opportunity to update to the latest and greatest carries both a blessing and a curse.
Advantage: Your computer should work better than ever.
You’ve got the best chance for all your software to play nicely on your desktop if every piece is up to date. You generally tend to have problems when you run into ‘compatibility’ issues.
Risk: Your computer ‘blows up.’
Face it… you’re doing brain surgery on your computer.
Sometimes it’s minor.
Occasionally, you’re updating the whole operating system.
Either way, you’re messing with your computer’s noggin.
“It’s Amazing How Productive Doing Nothing Can Be.”
You’ve probably wandered about this thought matrix before:
If it ‘ain’t’ broke, why fix it?
(The above quote from TRON: Legacy says it all.)
And to be frank, the fear of update glitches causing catastrophic computer failure regularly prevents me from going for the update.
And who really ever has ‘the time’ to handle that stressful moment when your computer suddenly goes dark?
(To reduce those odds, it’s always wise to wait a few weeks after significant software updates come out. Let the ‘early adopters’ identify the bugs…)
But sticking your head in the digital sand only works for so long before you realize you’re two operating systems back, and you’ve been fooling yourself that your computer isn’t sluggish.
You can delay your software updates… but only for so long.
The alternative is ultimately computer obsolesce.
Usually something compels you to finally take the plunge on the big software updates.
Finding my Inner Maverick to Upgrade to Mavericks
For me, my Mavericks moment arrived rather suddenly when I tried to update my sluggish Aperture photo editing software, but couldn’t because it required the power of Mavericks.
It was time to welcome in OS X 10.9.
(Buckle up!)
The Saturday Morning Gauntlet
If you’ve got a few spare hours over a weekend to be your computer’s wingman, it’s the perfect opportunity to face this gauntlet together.
(Just make sure an Apple Store is within rescue distance…)
And you’re going to want to nurse your computer through its brain surgery.
So it didn’t hurt when I became housebound this past weekend due to the season’s first snowstorm.
Three Steps to Prepare Your Computer for its Software Update
There are a variety of websites offering step-by-step instructions on how to prepare for an OS upgrade such as.
While they provide an exhaustive list on every step possible to ensure success, it can all become a bit overwhelming.
The complex series of precautions add fuel to the argument of doing nothing at all.
Honestly, I found it too daunting a process to follow every safety suggestion.
(I hope that didn’t anger the tech gods.)
That said, here are three steps I always follow:
- Upgrade all your current software via the Software Update utility before taking any big leaps forward.
(It’s the last time you will use it. In Mavericks, updates are done via the Apple App Store.) - Back everything up on your computer. (Yes, this always bears repeating.)
I use Time Machine locally with an external hard drive and Backblaze to the Cloud. - Then do some system maintenance in Disk Utility.
Click on Repair Disk Permissions and Verify Disk to make sure your Mac is healthy enough for its upcoming operation.
Diary of a Nervous Tech Blogger
11:46am: The upgrade begins. Download Mavericks from the App Store.
(Note: I’m working with a 2010 iMac with 2.93 GHz Intel Core i7 processor and 4 GB of RAM.)
12:34pm: Return after snowball fight in my driveway with my three-year-old son. (He wins.)
12:42pm: Official installation begins. Looks like a 44-minute process…
(Go have lunch with the family.)
1:42pm: “Less than one minute remains.”
1:52pm: “Less than one minute remains.”
1:55pm: Look for paper bag to hyperventilate into.
1:59pm: Computer takes pity and moves on to the next screen.
2:15pm: Installation completes. iMac reboots and proudly display’s its new ocean world.
(Apparently ‘galaxies’ are so yesterday.)
2:18pm: Computer complains that I’m missing Java and asks if I want to download the latest version.
“Yes, please.”
2:20pm: Check for more recent software updates for Mavericks.
Only find updates for Mail and iBooks.
2:25pm: Try printing a photo.
-WARNING-
Uh oh! Suddenly, my printer permissions are installed incorrectly!
iMac politely asks if I’d like to fix them.
“Yes, please.”
2:45pm: Successfully upgrade to Aperture 3.5.1.
3:00pm: Blood pressure returns to normal.
The Perfect Gift for the Pseudo Sentient
I’m proud to report that Mavericks has been humming along just fine.
And yes, Aperture does seem to act a little zippier now.
I’d label this little weekend tech project a success.
Half way through the upgrade, I did wonder how my blog post would fare if I had to spend the rest of the weekend trying to breathe life back into my iMac.
Not sure what it would say if my 100th post didn’t make it to the finish line.
(I know life would somehow go on…)
So in this holiday season of giving, why not give a little love to the most important pseudo-sentient entity in your life.
In all the excitement of celebration, just be careful not to spill your cup of Joe on it!


