Family Vacation Activities Near Delray Beach, Florida
If you’re planning a Florida vacation in the Delray Beach and Boca Raton area, you might be looking for a few activities to pop into your schedule beyond beach time and browsing the shops on Delray Beach’s Atlantic Avenue. During our recent Florida visit, my family and I greatly benefited from some local expertise on this front. (Thank you!)
And so, I thought I’d pay it forward by sharing four of our fun outings.
(I’ve also included a few photos and video clips I captured along the way.)
Morikami Museum and Japanese Gardens
Who knew there’s a century-old connection between Japan and Boca Raton that began with a Japanese agriculture colony? Strolling through these 16 acres of Japanese gardens and exploring the museum exhibits can easily take a few hours. (You can rest up and refuel at the cafe.) It’s all an amazing experience.
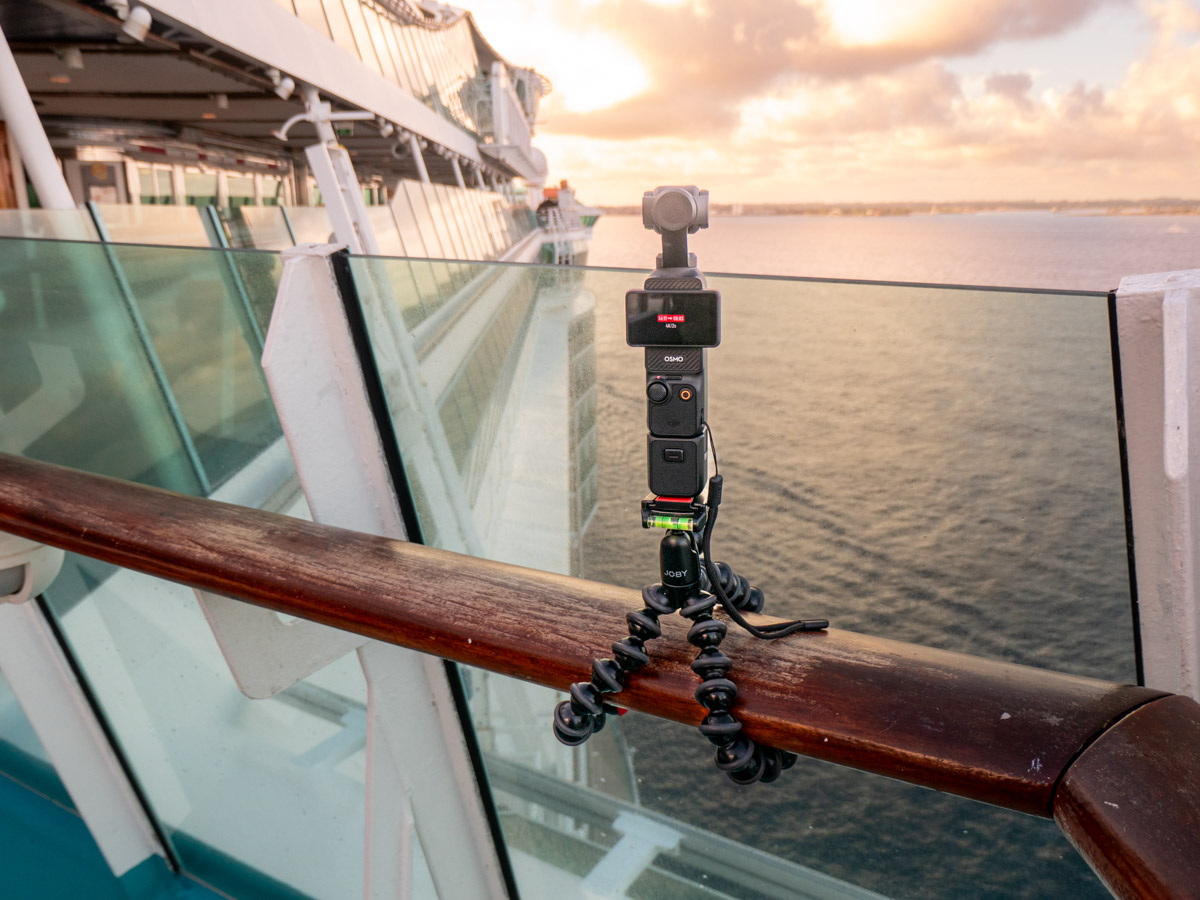
Here are some of the serene moments I captured with my DJI Osmo 3 gimbal camera…
Butterfly World
If you want to hang out with 20,000 butterflies in three open-air aviaries, this is the place to go. In addition, Butterfly World, features exotic bird aviaries and exhibits with cool bugs (safely enclosed).
I tried to capture some slow-motion video of butterflies in flight using my Osmo. It’s a lot harder than you’d think, but a few butterflies took pity on me and cooperated with my camera.
Green Cay Wetlands and Nature Center
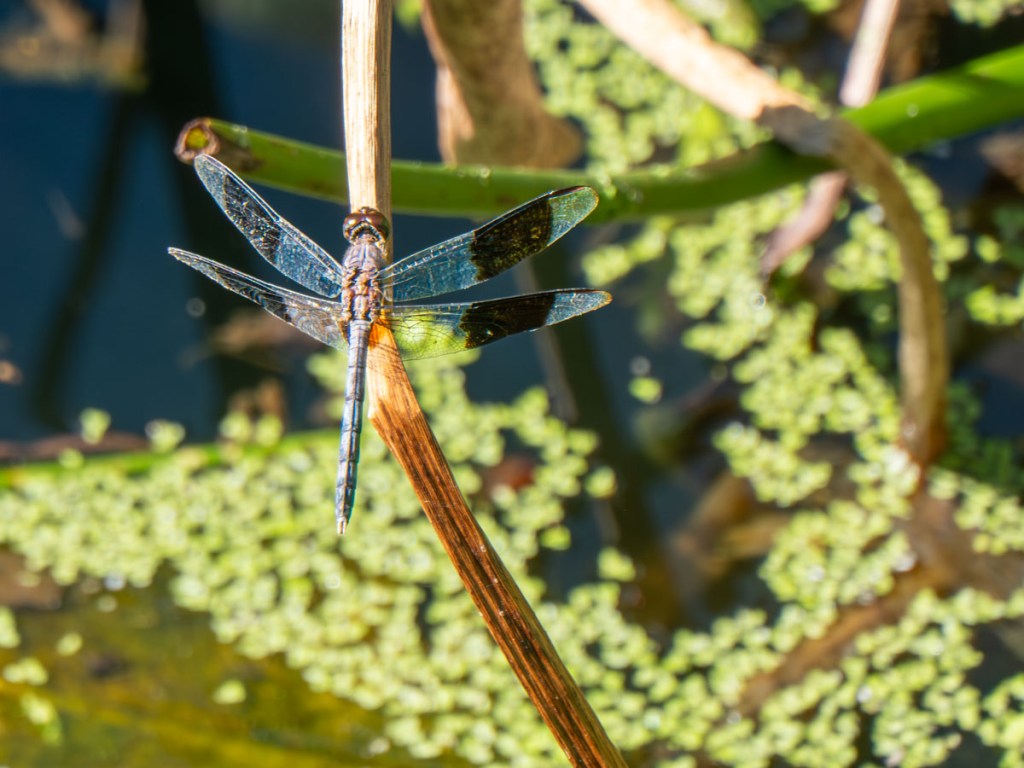
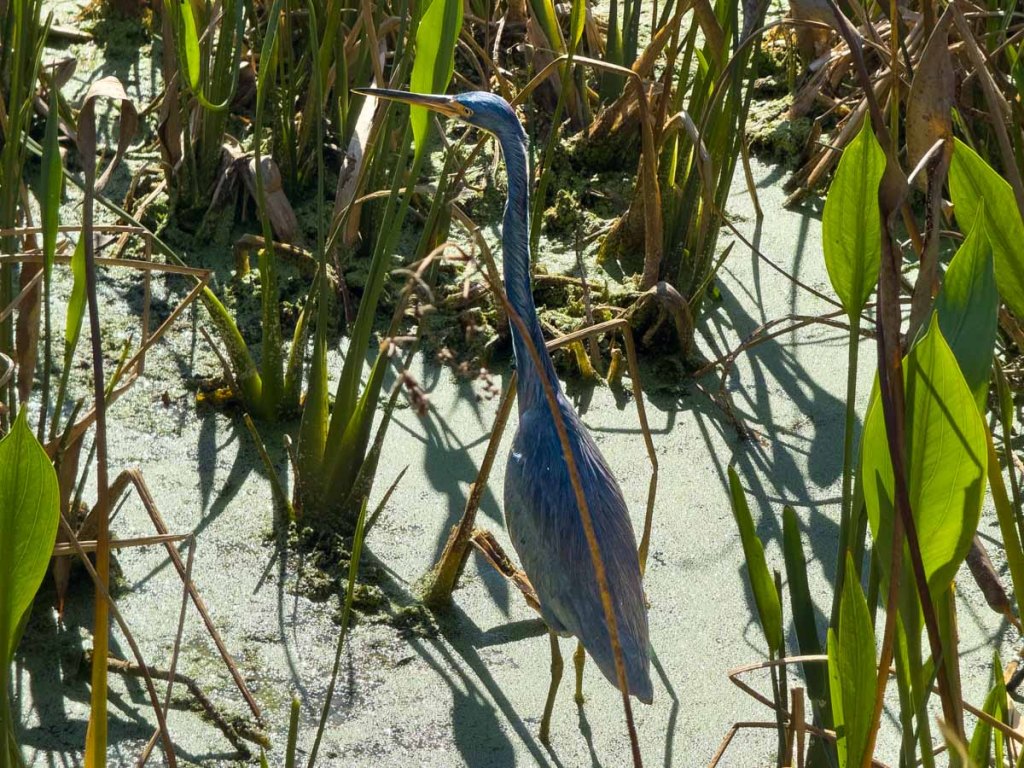
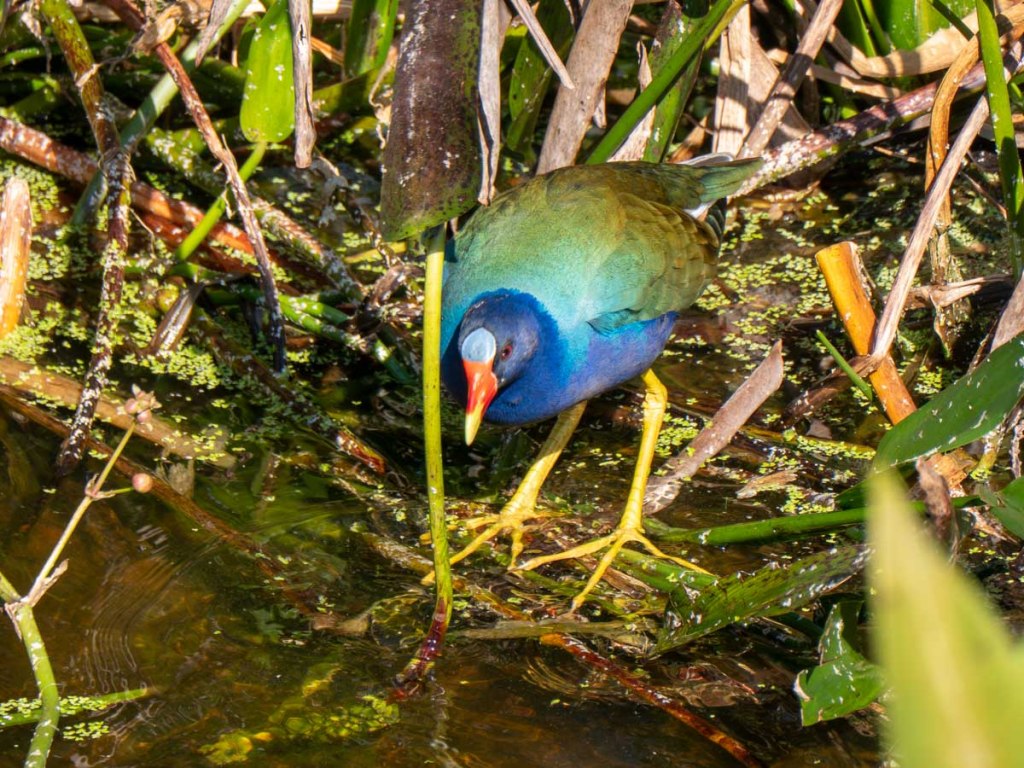
This nature center features a 1.5 mile elevated boardwalk that winds through 100 acres of wetlands. There are birds absolutely everywhere, making this habitat a photographer’s paradise. I passed by people sporting huge lenses on their cameras. One photographer was even rolling around his impossibly massive lens in a little wagon. (He told me he used to work for the NFL.)
Needless to say, I had a bit of lens envy while I walked about. Still, I stayed focused on my own experience and found my own photographic Zen…

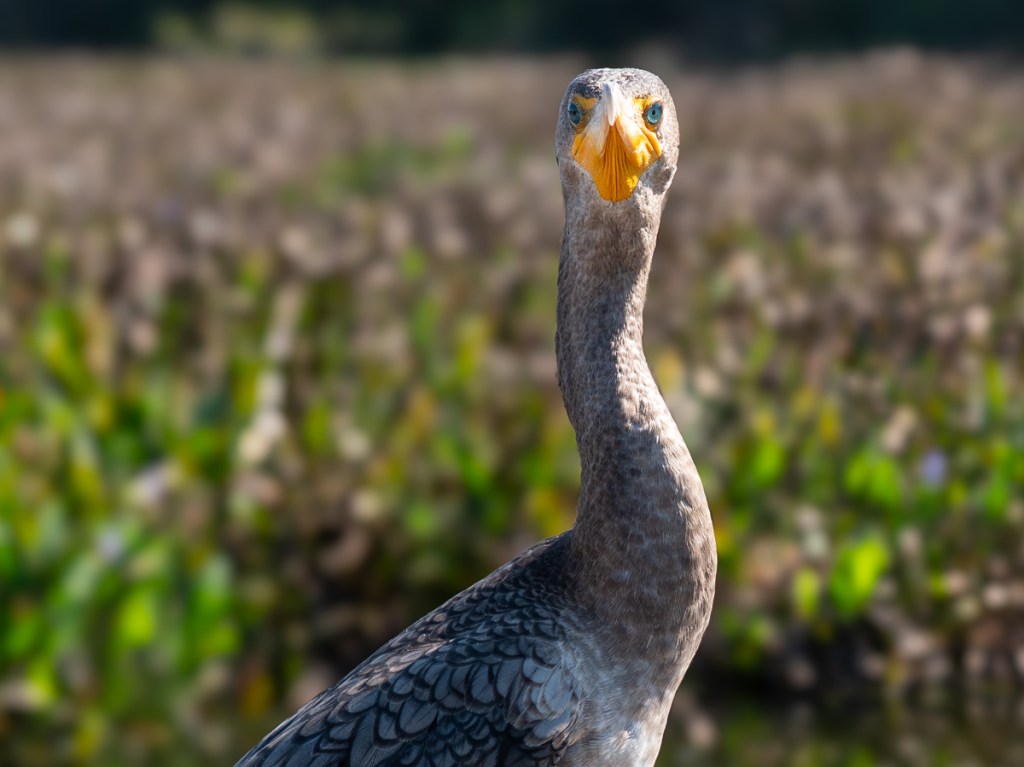

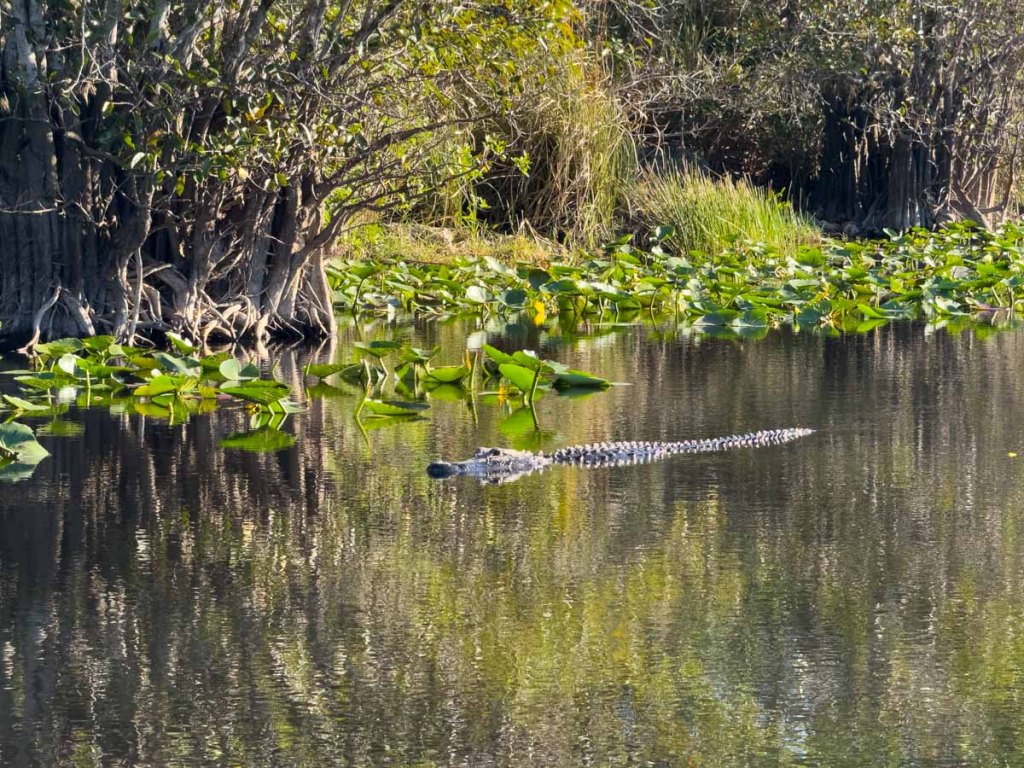
Everglades Holiday Park Airboat Tour
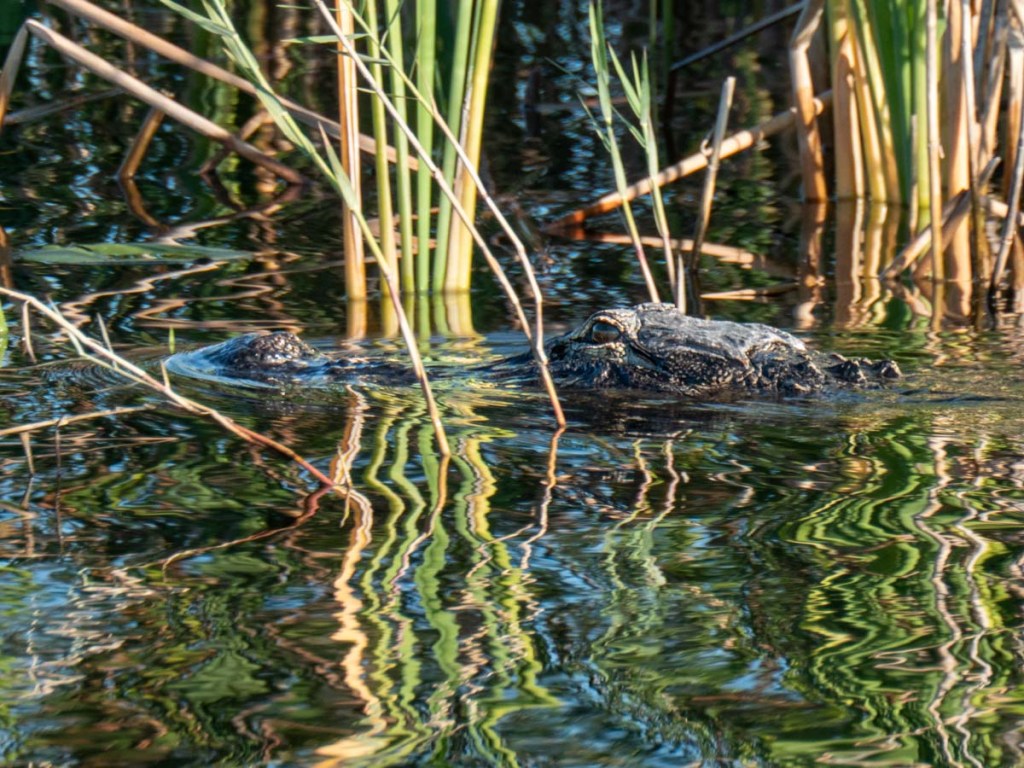
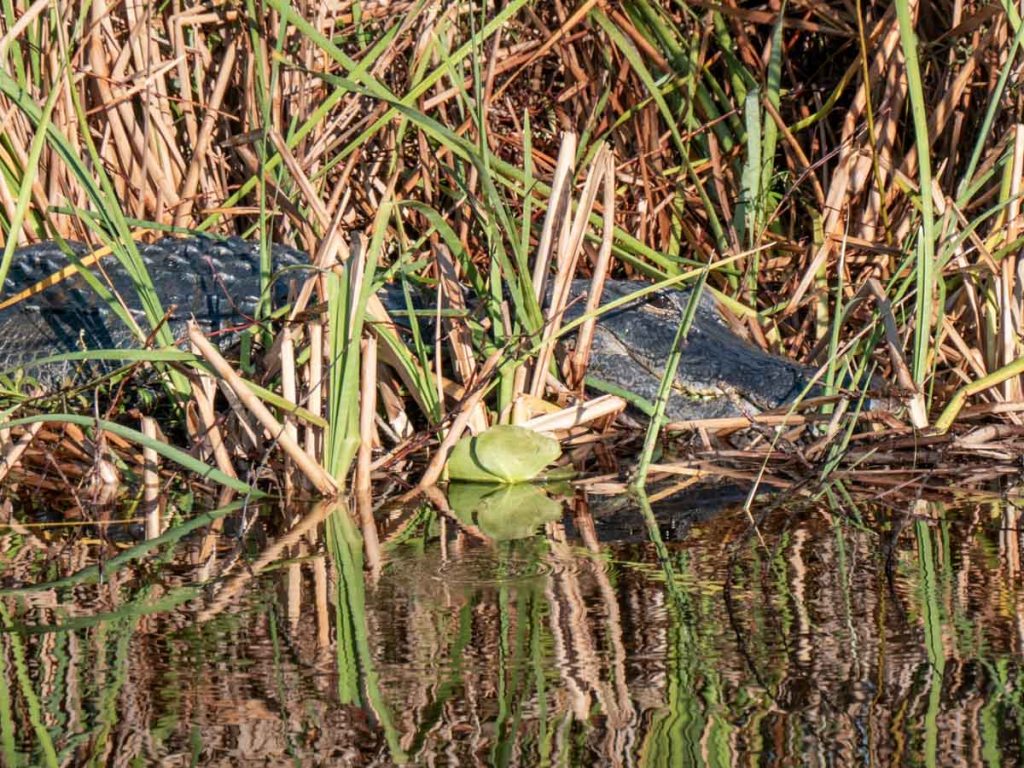
For a bit of ‘adventure,’ we headed down to the famous Everglades and Everglades Holiday Park in search of alligators in the wild. And we were not disappointed.
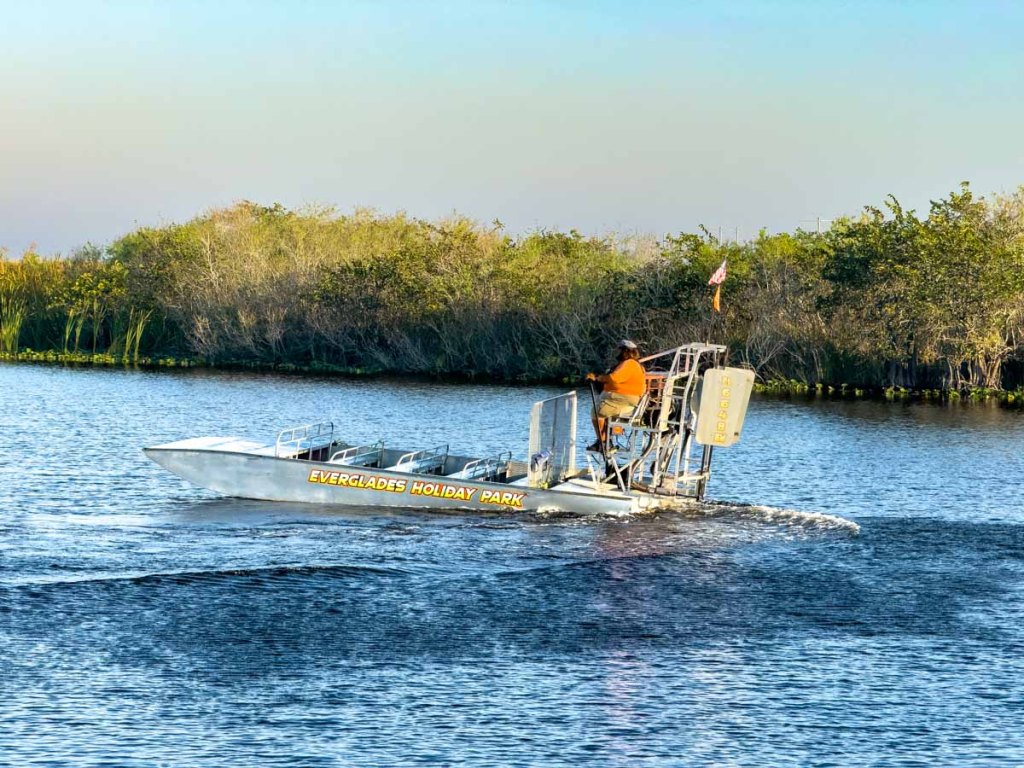
For me, the other highlight was spending time on an actual airboat, which Hollywood has romanticized in TV and movies for decades.
Airboats are loud (they give you earplugs to wear), and I found it thrilling to experience the ride at full throttle.
All this said, here are a few tips:
- Choose the private airboat tour option. Yes, it’s more expensive, but being on a smaller airboat without a canopy helps avoids the more traditional ‘tour bus experience.’ And it helps you feel like a private observer in this incredible environment as opposed to an intrusive tourist.
- Go early. We arrived at 8am, and our airboat was the first one out for the day. We didn’t see or hear any other airboats for the next hour. But when we got back, the docks were teeming with people, and many packed airboats were heading out. That’s just not going to make for the same journey.
- You need to wake up early to hit your 8am arrival time, because it takes about an hour to drive to Everglades Holiday Park (west of Fort Lauderdale) from Delray Beach. So, plan your breakfast accordingly.
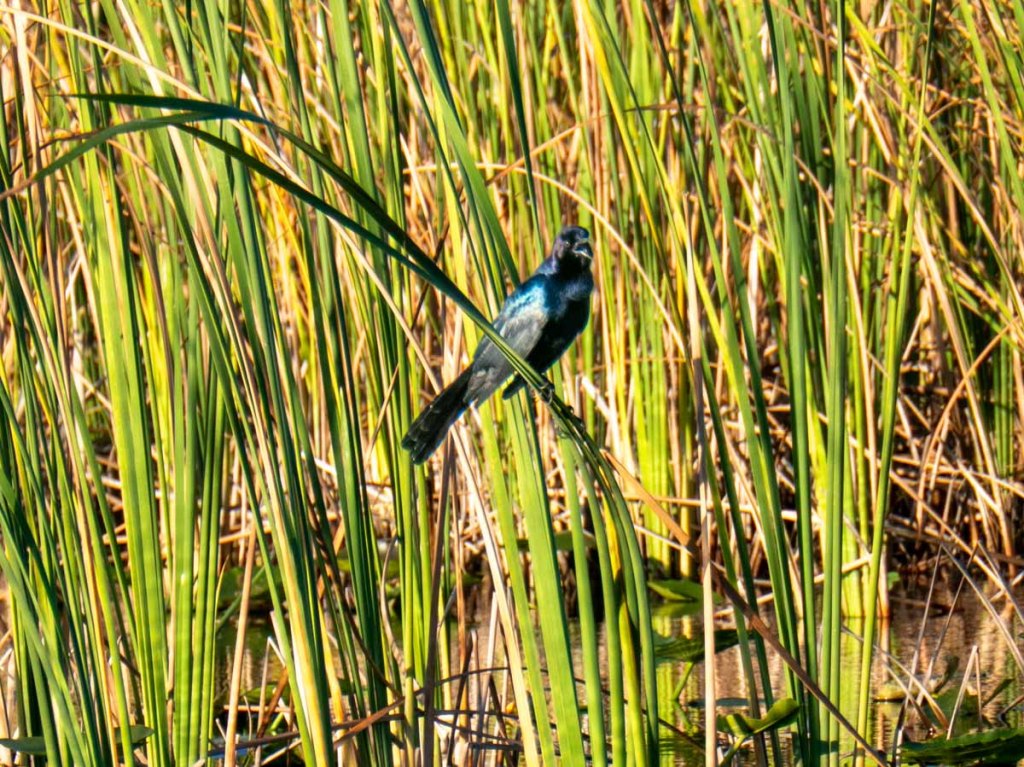
While we did spot a few alligators, birds were everywhere. Here’s some of the wildlife we saw…


Don’t Forget Your Beach Time
While it’s always great to spend time exploring the surrounding area when you’re on vacation, it’s also nice just to hang out on a Florida beach. And that’s exactly why we chose Delray Beach as our home base.
For me, that means sunrises.
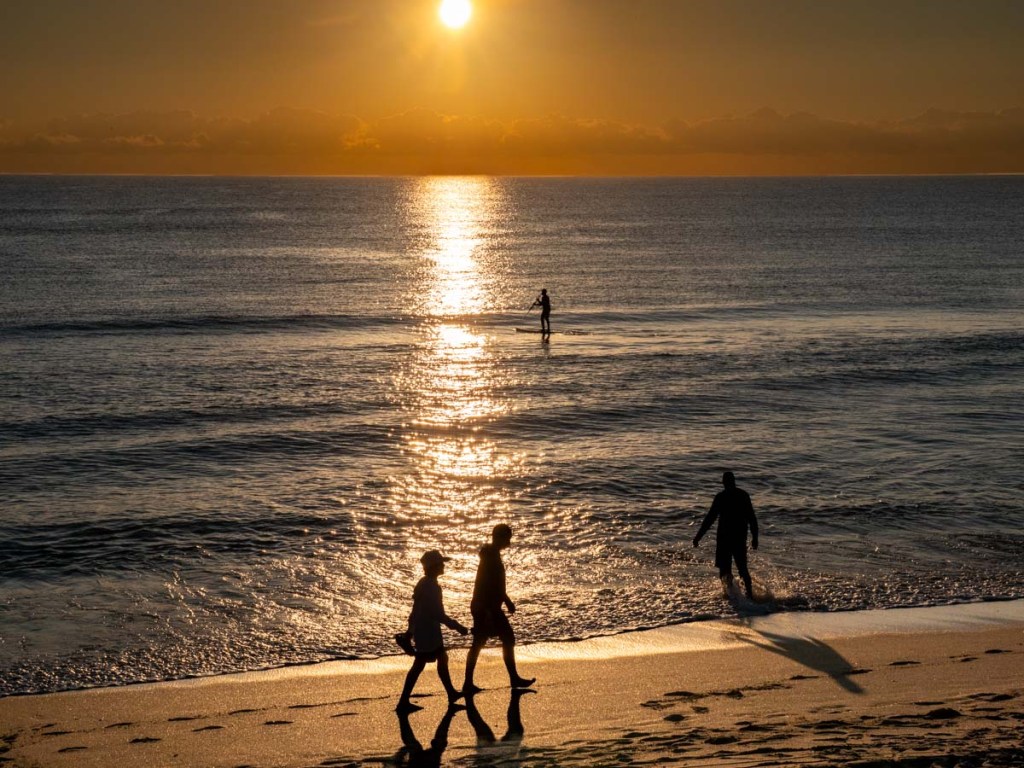
Enough said.

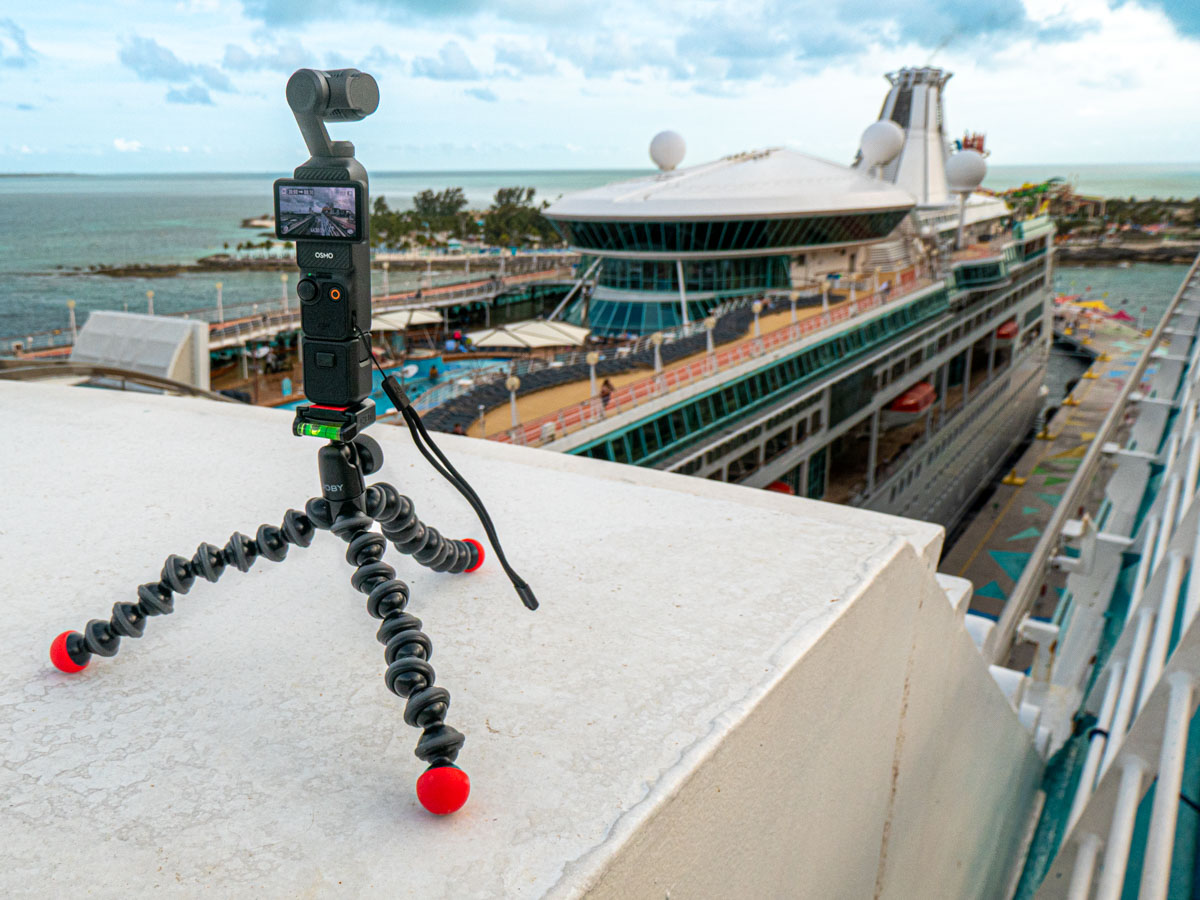
 It really helped having another ship (Royal Caribbean’s Vision of the Seas) docked there to provide additional visual context.
 (I added a ‘Gaussian Blur’ on the left section in post to mask a couple of travelers who unknowingly walked into my shot.)