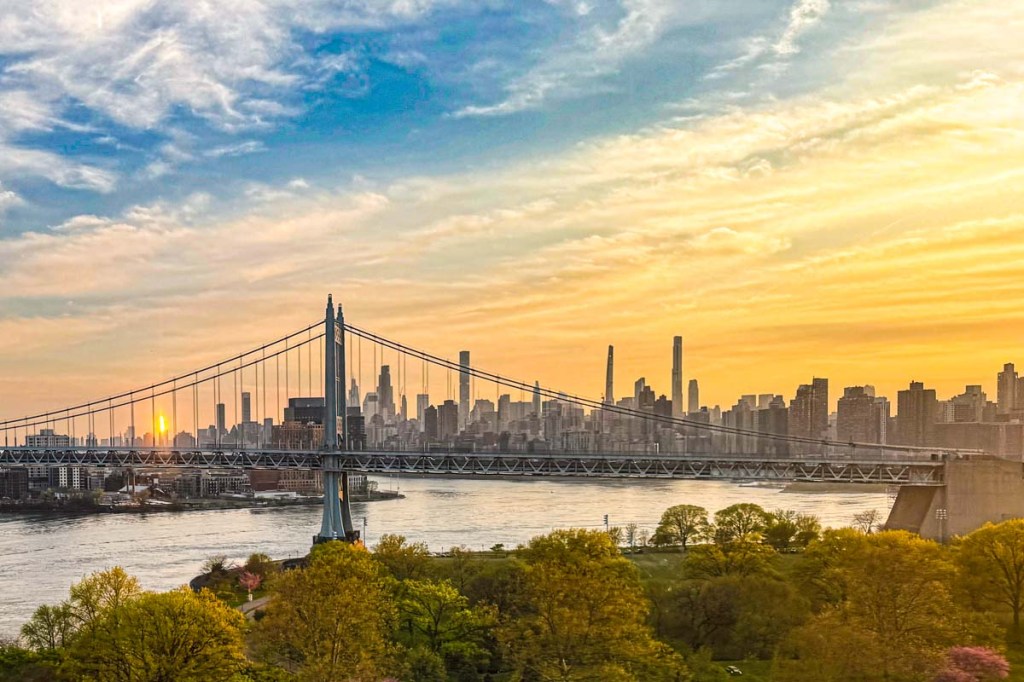
Here’s a Great Place to Snap a Photo of Manhattan’s Iconic Skyline at Sunset
It’s hard to miss this famous skyline as your Amtrak train nears or leaves the Big Apple. And sunset is a particularly special time. So, it warrants trying to take a photo or two…
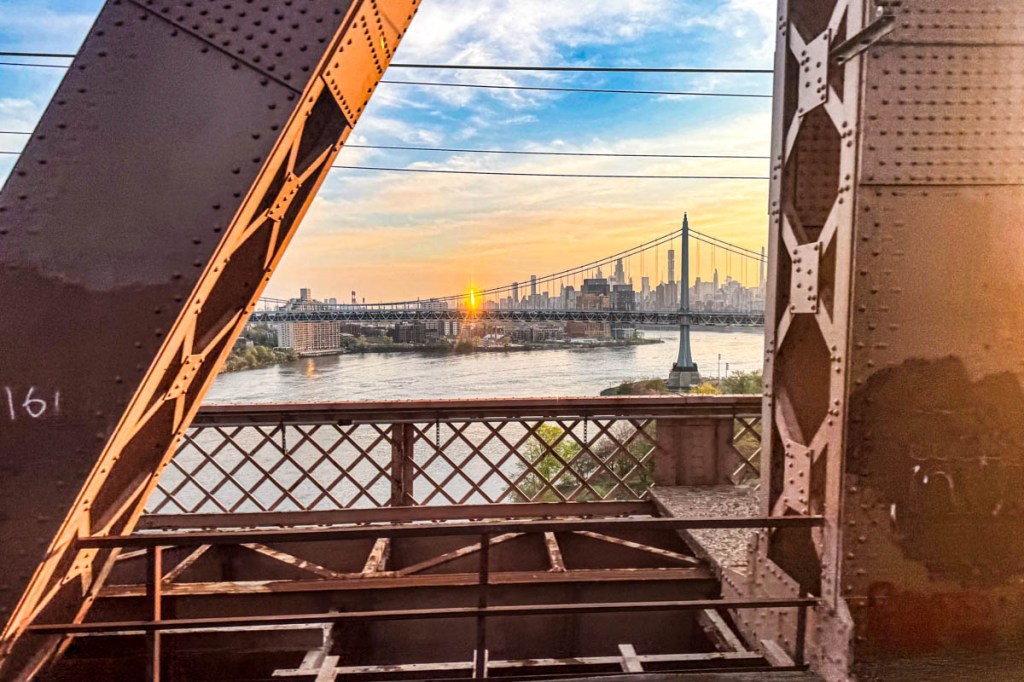
The weather conditions have to be right. Plus, there’s only a six-minute stretch when the train is close enough and oriented correctly with its windows directly facing the east side of Manhattan.
The Best Views of New York City
Then, take out your smartphone. Press it as close to the window as possible to avoid reflections from the inside of the train. (The fact that your phone’s lens effectively lies flat with the phone’s body will protect it from accidental bumps into the glass due to your train’s jerky movements.)
And then start snapping away.
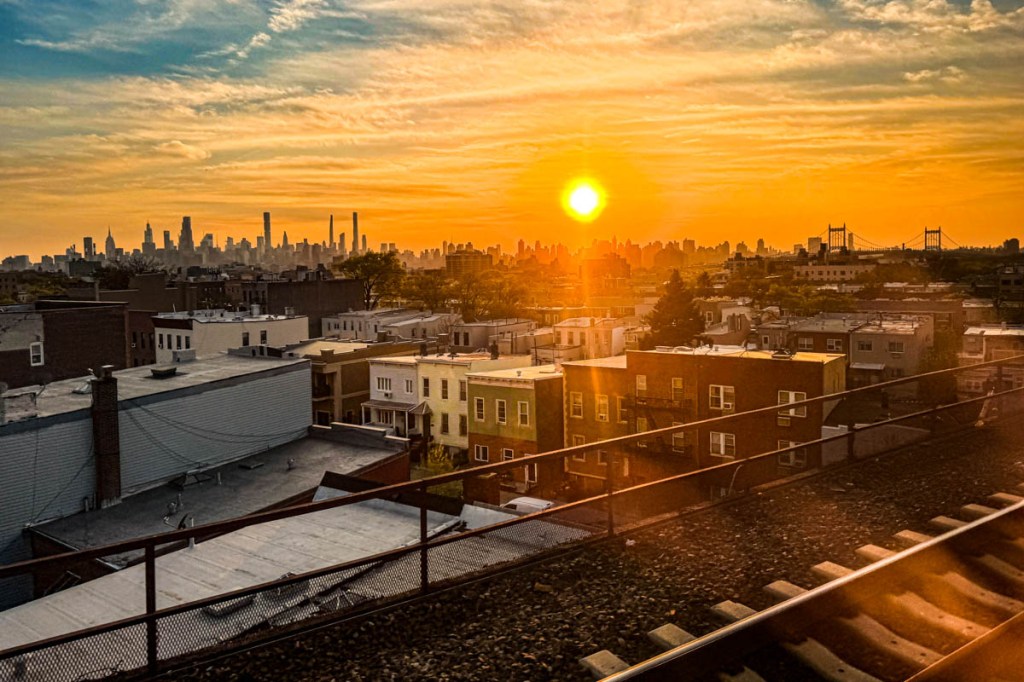
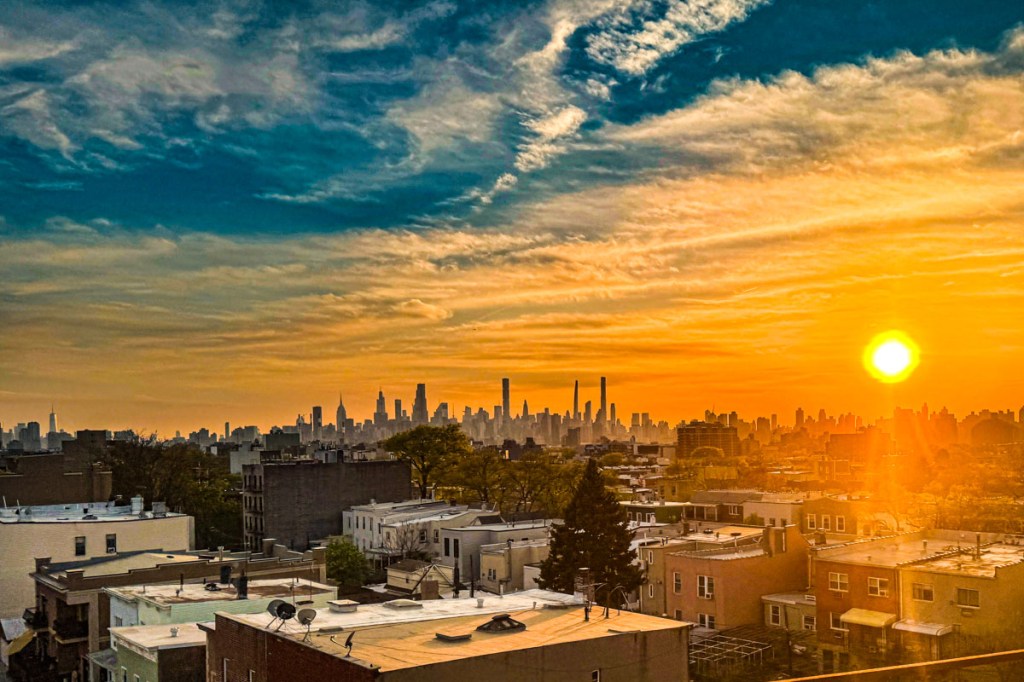
As much as I always want to zoom closer with my iPhone 15 Pro Max’s 2x or 5x lens to better frame the skyscrapers, the wider shots are better. I think you need that foreground in the shot to help tell the visual story. Plus, the train’s motion is less of a problem for your phone’s camera if you’re not zoomed in.

Just Another Bonus for Taking the Train
Yes, it’s an amazing vista to take in, but you should temper your expectations for your photos. Remember, you’re shooting through glass, and the train is moving.
Still, it’s worth a shot.
I go for it whenever I’m on Amtrak’s Northeast Regional or Acela heading back to Connecticut from Washington, D.C. (These photos are from my recent trip.)
In the old days, it would be when I was heading out of New York City back to Boston. (So, I’ve been at this for a while.)
And yes, I do prefer taking the train vs. a plane between these destinations. It’s much more convenient and relaxing. (The door-to-door time comparison is similar after you bake in the extra hours spent at the airport.) But I digress…
Enjoy the Show
Sunset isn’t the only time to try to capture these photos of New York City. (Shooting directly at the sun can really confuse a camera and isn’t especially great for its sensors. But a few brief clicks shouldn’t play too much havoc with the electronics.)
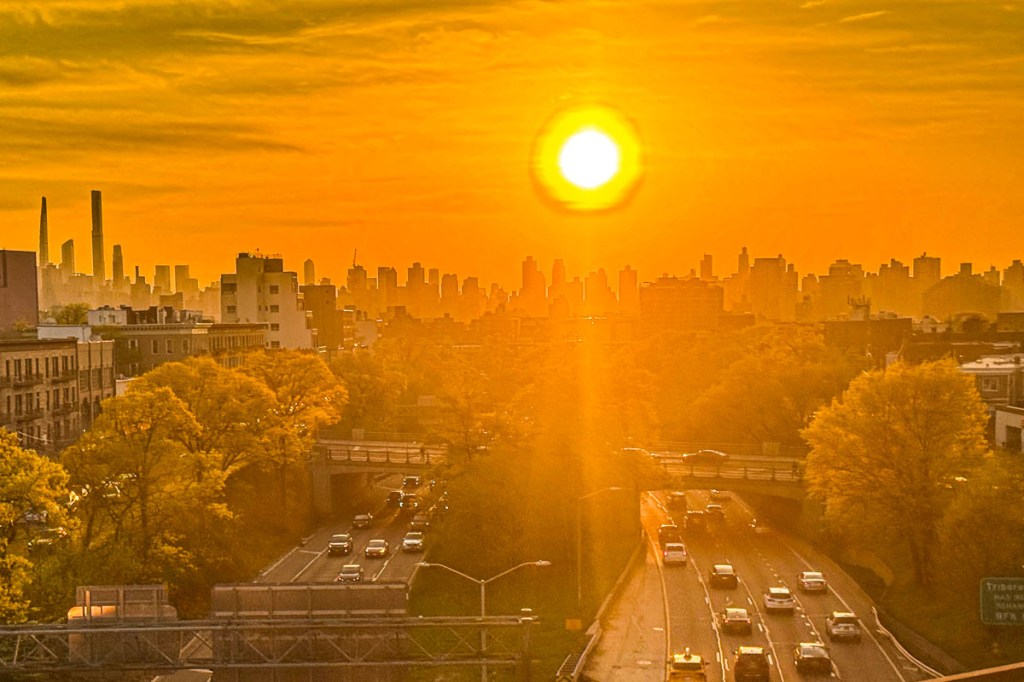
These magic sunset minutes always call out to me as the deep orange light bathes the landscape.
It’s both unearthly and entirely natural.
And you’ve got one of the best vantage points of this city a photographer could hope for.