At Home with Tech

Unlock the power of all your technology and learn how to master your photography, computers and smartphone.

Tag: apple

How to Annoy 100 Train Commuters with Your iPhone

If you think you’re always in your own private bubble while streaming TV shows on the morning train, you might be in for a rude awakening when you invoke a commuter uprising… against you.

If you think you’re always in your own private bubble while streaming TV shows on the morning train, you might be in for a rude awakening when you invoke a commuter uprising… against you.

Warning: Never stream “The Blacklist” on Netflix while riding the train during your morning commute… Not without first checking in with Apple.

Let me explain my cautionary tale…

A few weeks back, I was doing exactly that on my Metro North train ride to New York City. Remember, I’m a Road Warrior, at least I pretend to be while riding the train.

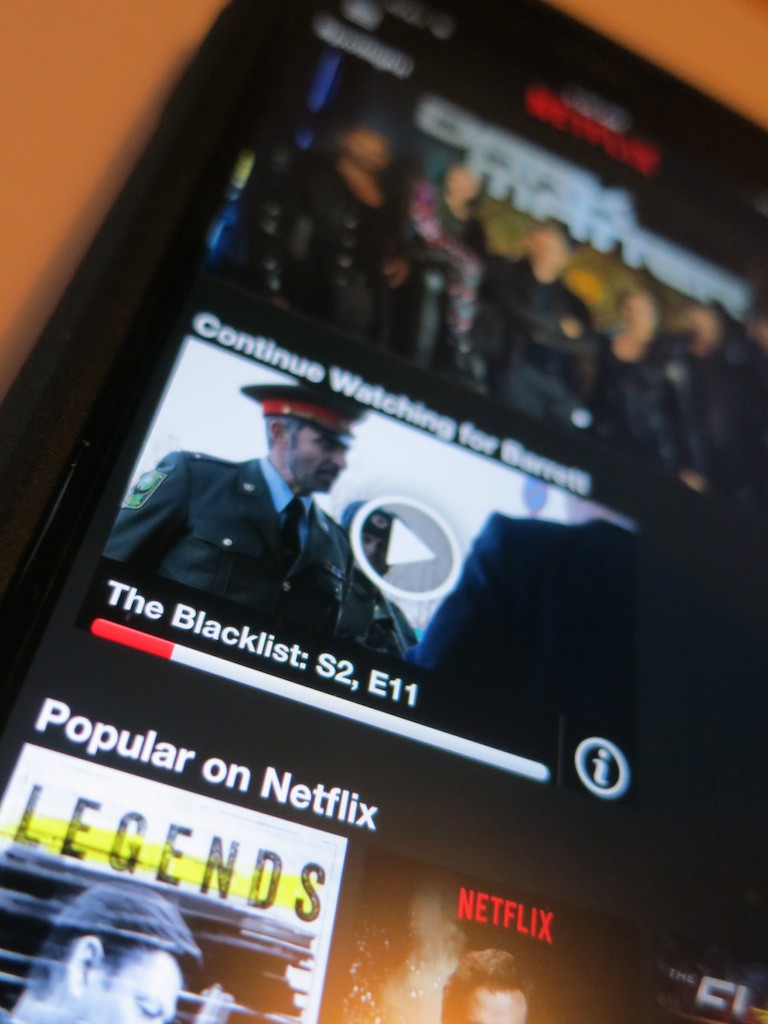
So I had my trusty iPhone 6 Plus tuned into season 2 of “The Blacklist.”
My Apple EarPods were firmly in place…

If you’re a fan of the James Spader TV spy series, you know it’s a pretty noisy show. Lots of loud explosions as our heroes try to capture the bad guy…

Major Audio Malfunction
In the middle of watching a tussle with the evil Luther Braxton, played by the great Ron Perlman, my seatmate tapped me on my shoulder. I paused the stream, extracted my left Apple EarPod, and turned to face this stranger.

“I can hear your show.”

“What?”

“Your TV show is playing too loud.”

I looked down at my iPhone.

“How is that possible? I’m wearing earphones.”

“I can still hear it.” It’s really loud.”

I paused in ongoing disbelief.

Then, the commuter on the other side of my offended seatmate leaned forward and joined the conversation.

“Yes, I think the entire car can hear it. It’s blaring! Everyone can hear it. Really!!”

She nodded.

He nodded.

I began to nod… in disbelief.
I had become ‘that guy.’ How embarrassing…

So of course I apologized and promised to lower the audio level, which I did. But several times during the rest of my commute, I pulled out one or both of the EarPods to listen for any escaping audio.

I heard nothing. My earphones weren’t projecting anything, contrary to crowd consensus.

Confused as to where the leak was coming from, I cranked the level back to ‘eleven.’

Nada.

Hmmm… Then I realized for the sound level to be that offensive, the EarPods couldn’t possibly have been the culprit. Somehow, the iPhone’s onboard speaker must have been activated.

Then, it hit me… ‘Lint-gate!’

Pocket Lint is Evil
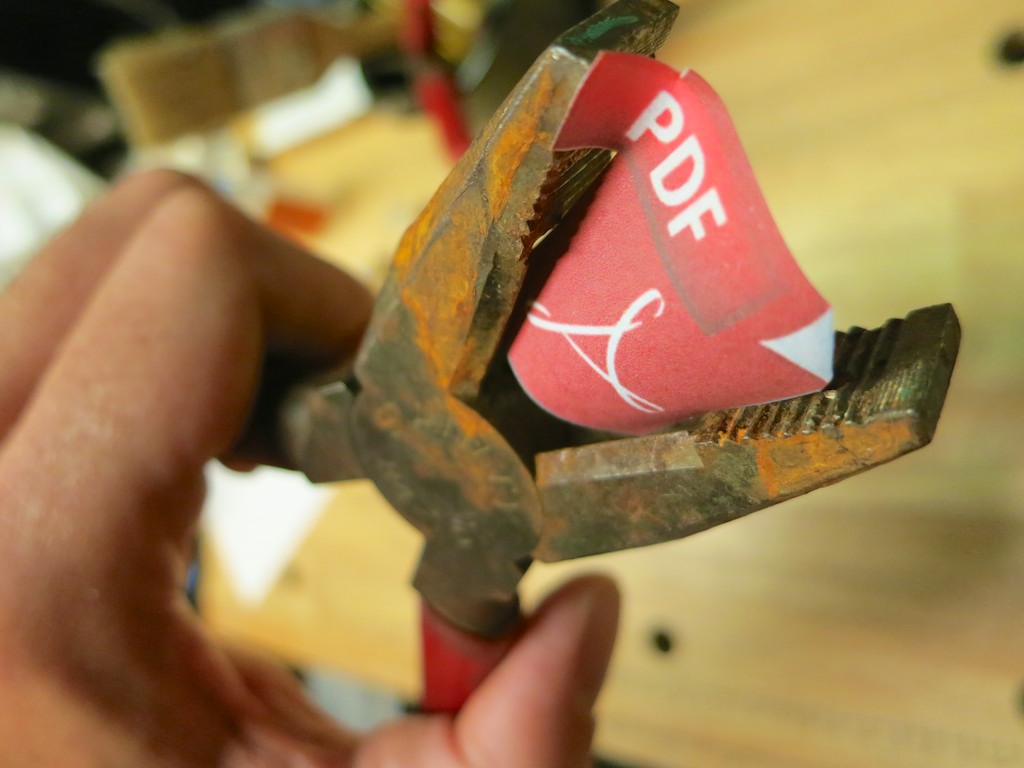
A few weeks back, I realized the exposed holes in the bottom my iPhone were slowly being filled up by pocket lint through normal wear and tear.

The tell was I couldn’t get a secure lightning connection to charge my iPhone anymore. That’s when I realized I had the lint problem. So I took matters into my own hands, grabbed a pin and started scooping out pocket lint from both the lightning port and the earphone jack.

Problem solved…. Or so I thought.

I assume you know the phrase, “Don’t try this at home.”

Clearly, I hadn’t extracted enough of the lint from the audio jack and the 3.5mm plug was being blocked from making a secure fit. And as a result, the iPhone’s speaker took over… even though my earphones were still operating.

While that scenario suggested the possibility of a technical glitch I couldn’t confirm, I figured where there’s smoke, there’s usually fire.

Then I remembered a friend had mentioned after reading my original pocket lint post that the same problem had happened to him. His solution was to take his iPhone to the Apple Store. The Genius he spoke with used a tiny ‘vacuum-cleaner-like’ tool to do the fix.

Huh.

iPhone to Surgery… Stat!
So when my train arrived at Grand Central Terminal, I hoofed it to the Apple Store, which was conveniently located only a few steps away from Track 18.

I checked in… told my sad tale of how “The Blacklist” had disrupted an entire train car filled with annoyed commuters… and I was quickly scheduled to see an Apple Genius.

When my Genius arrived, I repeated my story, handed over my iPhone, and then she rushed it away to the back room.

Five minutes later, she reappeared and confirmed that my iPhone had still been clogged with plenty of pocket lint.

But no more.

She handed back my iPhone with a big smile.
(No charge)

I asked if there was a better way to take care of this nuisance at home. She suggested using a paper clip instead of a pin, because the larger circumference of the point could grab more lint.

But really… I knew my solution moving forward.

Cleared for Duty
Can you think of any personal tech you regularly rely on more than your smartphone?

Exactly.

I say everyone should schedule an annual ‘De-linting’ iPhone Check Up with the Apple Store.

Your fellow train commuters will thank you, and you won’t end up on anyone’s Blacklist!

Why Do PCs Display iPhone Photos Upside Down?

If this is how your PC displays a photo snapped with your iPhone, you know it’s time to determine the culprit. And you may be surprised what you find….

If this is how your PC displays a photo snapped with your iPhone, you know it’s time to determine the culprit. And you may be surprised what you find….

At work, I often snap an iPhone photo or two at video shoots. It takes two seconds, and then I quickly email them to an offsite colleague or client for immediate feedback on the set or background.
(I often forget that the smartphone is such an incredible work collaboration tool that didn’t exist so long ago.)

Unfortunately, a problem I often run into is my pictures inexplicably show up upside down on computer screens. More specifically… PCs.

They always display correctly on Macs… just not PCs running Windows.

Your World is Topsy-Turvy
So you’ve got to imagine the response I sometimes get when my pictures play their little dance.
(How easy would it be to evaluate an image if you had to stand on your head?!)

I’ve always taken the privileged position that the problem is somehow caused by the evil PC.
(It couldn’t possibly be the fault of the perfect iPhone!)

The reality is most folks are going to also assume that you’re somehow the culprit. That you’ve made a mistake and you don’t know how to use your own iPhone.

Guess what…
Up until now, I didn’t!

Which Way is Up?
What I didn’t know is there is actually a right side up to the iPhone when you hold it horizontally.
(I assume we all understand how to hold it vertically, since the ‘home’ button is always there on the bottom to orient you.)

Horizontally, I’ve always gripped my iPhone 6 Plus with the two side volume buttons facing up. That’s because I often like to press either of the two volume buttons to take the photo instead of the white circle on the screen.
(If I’m holding my iPhone with only one hand, it’s more effective to press down on a button.)

As it turns out, positioning your iPhone that way is upside down!

It seems counter intuitive to grasp your iPhone the other way when snapping a pic… and then ‘squeeze’ the button from underneath…. But that’s the correct orientation according to Apple’s engineers.

Clever Apple
But even if you’re accidentally documenting your life upside down, how do Macs know to correctly display your picture?

That’s because your iPhone includes an EXIF tag with each photo that says which way is up. According to iPhone Photography School, every Apple device that displays your photo is going to know how to read that metadata.

The problem is lots of software in PCs can’t.

That’s the huge rub.
It’s simply a compatibility problem.

Well, technically, it’s still your fault if you’re holding your iPhone incorrectly. Apple just fixes the problem for you, and many PCs won’t.

How to Correctly Hold Your iPhone
So what’s the fix?

Well, first off… this problem has actually been around since the iPhone 5.
(Wake up, Rip Van Lester!)

There are various PC methods to manually adjust the orientation of pictures, but do you seriously expect anyone to take additional steps to flip around your mistake after experiencing the annoyance of trying to view your inverted photo?

Own the problem!
When you want to snap and send a photo to a PC, just turn your iPhone so the buttons are on the bottom… and then proceed.

Yogi Barrett?
Yes, I could blame Apple for a design flaw.
(It’s more natural to push the button down like with any camera in the known universe!)

But the truth is, I didn’t know which way was up.
(An important lesson that Apple has been so considerate to remind me of.)

I am not the center of my known universe.

Maybe I’ve begun a journey to a higher plane…
…or the story of my gaff has no place other than perhaps a fortune cookie:

“Wise man holds iPhone with volume buttons down.”

No?

The Best Way to Compress a PDF

Have you had the time to figure out how to squeeze your PDF to the perfect size in OS X? Here’s the good news… Now, you can check this nagging challenge off your ‘boring-tech-fix’ to-do list!

Have you had the time to figure out how to squeeze your PDF to the perfect size in OS X? Here’s the good news… Now, you can check this nagging challenge off your ‘boring-tech-fix’ to-do list!

Pop quiz: When was the last time you scanned a multipage document into a PDF on your home printer/scanner and then realized the file size was too large to use? It happens to me at least once a month… I find it’s often a problem when you want to upload the PDF online, and there are upload file limits.

Okay… so you just have to compress the file. No problem… right?
Right…..
(Please note touch of sarcasm.)

How to Compress a PDF in ‘Preview’

In the Apple ecosystem, I’ve found the native PDF compression solution remarkably… unintuitive.

That said, here’s how you do it:

Typically, when you click on your PDF, it opens up in ‘Preview.’ From there, you’ve got two choices:

Export
Go to ‘File’ on the top menu bar and look for ‘Export.’

  • Click on ‘Export.’
  • Make sure ‘Format’ is set to ‘PDF.’
  • Then under ‘Quartz Filter,’ choose ‘Reduce File Size.’
  • And then save as you normally would.

Easy… right?
Yes… but the new file that gets created looks… terrible… barely readable. Sure the file is certainly compressed, but if there’s any small text to read, it’s mostly unrecognizable.

The good news is Apple offers a second method…

Print
That’s right… you’re going to ‘print’ your PDF into a compressed file.
(Don’t ask questions!)

Go to ‘File’ on the top bar and look for ‘Print.’

  • Click on ‘Print.’
  • On the bottom left of the ‘Print’ menu, you’ll see a PDF drop-down box.
  • Click on ‘Compress PDF.’
  • Then save as you normally would.

This method creates a larger compressed file than the ‘Export’ route, and as it turns out… the resulting file looks really good.

So if the new PDF is small enough for your needs… you’re done.

For the record, this ‘Print’ method took a 5.7MB five-page PDF down to 1.5MB.
(The ‘Export’ method crunched my file all the way down to a mushy 451KB.)

But what if you want something in between the massive compression of ‘Export/Reduce File Size’ and the heftier PDFs created by ‘Print/Compress PDF?’

Use Adobe Only as a Paid Solution
If you think using Adobe Reader can help you, don’t bother. You’ve got to pay Adobe to help you with compression.
(Adobe Acrobat)

As it turns out, there are other third-party solutions… and some are free. But I’m not interested in MacGyvering this problem. I’m intentionally limiting today’s exercise to the native software that’s already living on my otherwise wonderful Mac.
(There’s got to be a way!)

ColorSync Utility to the Rescue
And, in fact, there is…

The trick is to create a new compression profile using your native ‘ColorSync’ utility. You can duplicate Apple’s standard ‘Reduce File Size’ filter there and easily tinker with the settings of your new filter.

Here’s how:

  • Open ‘ColorSync Utility,’ which typically lives in Applications/Utilities.
  • Click on ‘Reduce File Size.’
  • When you open up ‘Image Sampling’ and ‘Image Compression,’ you’ll see the main profile is all locked up.
  • So click on little upside-down triangle to the right and then click on ‘Duplicate Filter.’
  • This is the step that creates your own personal filter copy. Now you can monkey around to your heart’s content!

Here are the tweaks I added:
(Although there are an almost infinite number of variations you can apply)

  • I increased ‘Scale’ from 50% to 75%.
  • Then, I increased ‘Max Pixels’ from 512 to 1280.
    (I borrowed these setting suggestions from meyerweb.com.)

Voilà… you’ve just created your own custom Quartz filter!

  • Next, simply open up your original PDF with ColorSync.
    (Use the ‘Open With’ drop down.)
  • Go to the bottom left drop-down ‘Filter’ menu.
  • Select your new custom filter.
  • Click ‘Apply.’
  • Save as you normally would.

Bam!

This new ‘Barrett Compression Setting’ got my 5.7MB PDF down to 900KB…right in the sweet spot between the other two. And the compressed file looked almost as good as the 1.5MB compression…

And that’s all I really needed!

Don’t Forget
So there you have it… two prefab methods and a hidden path to cook up your own compression settings in the OS X environment.

It’s worth noting that much of the online chatter on this topic is years old… so I’m a little late to the party… But on the other hand, what average person is supposed to have this kind of detail readily accessible at their fingertips?
(I hope this post helps.)

In an age where your computer is getting smarter by the minute, shouldn’t a simple compress command with several size settings be readily accessible?

…Just saying.