At Home with Tech

Unlock the power of all your technology and learn how to master your photography, computers and smartphone.

Tag: Canon PowerShot S100

I Dropped My Camera. Now What?

Your pocket camera is on the floor and now a useless brick. In our disposable society, do you just buy another? Or do you navigate a repair?

Your pocket camera is on the floor and now a useless brick. In our disposable society, do you just buy another? Or do you navigate a repair?

My little boy was so delighted to be in the caboose!
The mini choo-choo train was about to begin its ‘extensive’ journey
around Mathews Park.
He was so excited!
And there I was, squeezed into the caboose, sitting right next to him.

A father and son moment.
My three year old beamed at me.
I had to have a picture.

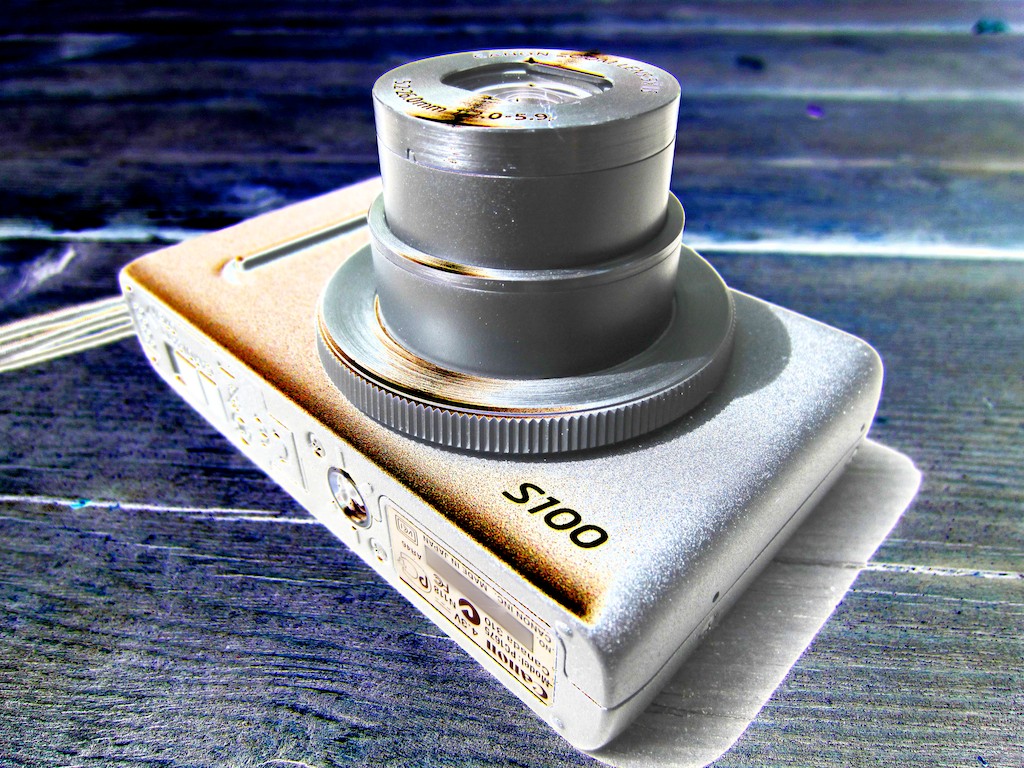
So I carefully pulled out my Canon PowerShot S100 camera, just like I had done a hundred times before.
I turned it on and placed it on my lap.
And then I inexplicably lost my focus…
…for a millisecond.

Maybe my adventurer whispered, “Wow!”
Maybe the sun was a distraction.
Maybe aliens were trying to contact me.

But my little camera…
It just slid off my lap.

In the blink of an eye, it was on the wooden floor!

The fall couldn’t have been more than two feet.
But it fell… lens first.

I picked up my camera quickly, as if to erase the last ten seconds.

It seemed fine.
Intact.

No battery and chip guts spewed all over the floor like many a dropped BlackBerry…
(Don’t deny it…I know that’s happened to you at least once!)

My camera’s screen was still illuminated and seemingly ready for action.
I turned the device off to ensure it was still fully operational.

It was not.

The lens began to slowly recede into its body.
(It usually whisks shut.)
And then the lens just… stopped.

Frozen in its ‘on’ position.
I looked at the screen.

The dreaded “Lens Error” displayed.
And then the camera shut itself down.

I rebooted my precious machine several times, hoping to breath some life into its injured extension.

No such luck.

The power came on, but the camera just freaked out as soon as it realized the lens was immovable.

My camera was officially broken.

The train began to pull away, and my three year old squealed with glee.
Chugga-chugga, choo-choo!

I put the camera away and turned my full attention to enjoying the train ride.
Self-recriminations would have to wait till later.

Looking for the Easy Fix
That night, I went online and Googled how to repair a Canon S100, hoping to find some magic ‘reset’ solution.

The first page was filled with a recall notice from Canon.

What?!

Apparently there was a problem with the lens motor, and Canon had offered to repair the problem for free…

Yes!

…on a specific batch of the cameras identified through a range of serial numbers.
My serial number was not included.

No!!!

The Choice
So I was faced with ‘the choice.’

  • Was it worth paying to have my camera fixed?
  • Or should I walk away from my hockey puck and buy a new camera?
    (I’m sure ‘The Fall’ would void any warrantee.)

Today, the economics of repairing your gadgets can get really confusing.

They’re often cheap to buy.
And relatively expensive to repair!

I bought my S100 on Amazon last Black Friday.
So it’s only six months old.

It was a sweet deal at $229 (including an 8 GB memory card), partially because its newer cousin, the S110 had already been released.
(The S110 usually runs $399, although it’s now on sale for $349.)

How much would you pay to repair a $229 item?
It was time to find out…

I went online to find an old-school camera store that also does repairs.
Yes, they’re still out there. Just not on every corner, like Starbucks.

I decided to pay a visit to Camera Land in New York City.
(relatively close to my daily commuting route)

Entering Camera Land
I pushed open the door like it was the Wild West and sauntered over to the counter to see Reggie, the repair manager.
He looked up, barely interested.

I wanted to say, “Give me a shot of whiskey.”
Instead, I slid my metallic carcass over to him.

He picked it up and tried to turn it on.
He looked liked he’d been doing this kind of thing for a hundred years.

He spent a little more time with my dead camera and then leaned forward.

Some deactivated DNA popped on and I suddenly wanted to reach for an imaginary holster in a ‘fight or flight’ response.

The rest of me told these cranky genes to simmer down…

Reggie proclaimed if they could fix my camera in the store,
it would cost me $80.
(Okay… that seemed reasonable.)

But if the in-house repair attempt failed, he would need to send the camera to Canon’s repair center…in Canada.

Canada?!

Now we were talking $109… at least.
Maybe more…

Crossing into three digits, not to mention another country?!
That’s almost 50% of what I paid for the camera!
Those pesky genes urged me to walk out while I still had my hat on.

But buying a replacement camera was no more attractive.

The deal on the S100 was long gone.
(and now officially discontinued by Canon)
And the current sale on the S110 isn’t that compelling.

The math boiled down to this:
Buying a replacement camera would cost me at least three times the $109 repair price.
So trying for the mend seemed relatively clear.

I left my camera behind, uncertain of its future.
(Remember, Canada wouldn’t commit to a $109 lock, sight unseen.)

Later that day, Reggie called. It was bad news.
The operation was a success, but the patient died.
(His camera doctor managed to get my lens to retract.
But then it wouldn’t open!)

My camera’s only hope was to seek treatment out of country.
I gave my consent and prayed the Canucks to be kind!

Two Weeks Later…
I called Camera Land and spoke to someone new.
The guy shouted over to Reggie, who yelled back…
“It’s not ready yet!!”

I asked the big question: “How much is it going to be?”

“$109!”
(Phew)

So I gave it another week.

Eight days later Reggie called.

“Hello?”

“Your camera is ready!”

“What?”

“I said your camera is ready!!”

“I’ll be right down!!!”
(I realized I was yelling as loudly as he was.)

Two hours later I walked in.
Reggie proudly handed me the camera.

“They replaced the whole lens.”

I pressed the power button, and the lens popped to attention.
Looked good to me.

And yes, it was only $109.
(plus tax)

I asked, “What kind of warrantee do I get with this?

“Come see me…
…just don’t drop it.”
(The ‘again’ was left out, but understood.)

I walked out.

For the record, Reggie was a really nice guy.
If you decide to revive your own broken camera, and you frequent Midtown Manhattan, I recommend you pay him a visit…

Buy the Service Contract?
So you might have been asking why didn’t Barrett just buy himself a protection plan with the camera?

Well, I usually don’t buy service plans for my tech, with the major exception of my Apple gear.

I figure most service plans are overpriced, and I won’t need them…
But maybe with my evolving life as a parent, it’s time to take another look.

It’s easy to by a protection plan if you buy your tech at a big-box store. In fact, it’s hard not to. Someone from the Geek Squad usually approaches you at the cash register and tries to beat you into submission.
You have to say no about five times before your transaction is done.

But what do you do if you buy your tech online?

SquareTrade to the Rescue
Ever hear of SquareTrade.com?

You mail them your injured tech, and they claim they’ll repair or replace your item in five business days or less.
And it doesn’t matter what you did to it.
They say, “ Drop it? Spill on it? Run over it? No worries.”

Sounds pretty compelling.

And the cost?

For a camera in the $300-399 price range, the plan costs:

  • $59.99 for two years
  • $79.99 for three years

B&H Photo offers its own discount if you buy the SquareTrade plan through them:

  • $44.99 for two years
  • $62.99 for three years

That’s not bad!
You’ve just got to sign up your tech within 30 days of purchase.

The Cost of Documenting your Life
Now to the guilt factor…

I broke my camera in the line of duty as a father and amateur photographer.
(and a clumsy one, at that)

Guilt says I should have kept my camera in my pocket and avoided the risk altogether…

A couple years back, I wouldn’t take a camera to the beach,
because I feared the sand would destroy my gear.
(A gust of wind and a few grains of sand wedged into a camera lens can kill your camera faster than you can say, “Can’t wait till Cyber Monday!”)

But recently, I’ve come to embrace a different philosophy.

You’ve got to make a choice:

  • Do you take some risk and bring your camera to live your life with you?
  • Or do you play it safe and do your best to protect your camera?
    (Translation- Leave it home when the going gets tough.)

I say… Go live your life!
Enjoy it.
Document it.

Yes, that means you might break a camera or two along the way.
So be prepared.

Note to self:
My next new camera will come with its own protection plan.

And remember, whether you intentionally put your camera in harms way or not, Fate still has its own way of messing with you.

Chugga-chugga, choo-choo can happen to anyone!

My conscience is clear.

But Fate… if you can, please be kind to my Canon S100.
It’s only got two lives!

The Beginner’s Guide to Editing Your Camera’s Video Clips

This memory card holds your precious family videos.  Now what?   Make a finished home movie in 8 steps in one day.  Impossible?  I took the challenge.

This memory card holds your precious family videos. Now what? Make a finished home movie in 8 steps in 1 day. Impossible? I took the challenge.

Recently, I attended a party with my wife.
There were balloons. Streamers. Mac and cheese. And lots of juice boxes.
Yes, it was a party for toddlers.

And my son was having a blast.
The only problem was his swift consumption of three juice boxes right before lunch.

When I later commented to a few mothers that he was strangely not hungry during lunch, I let the juice box statistic slip.
They looked knowingly to each other at my obvious parental gaff.
My wife was unable to rescue me, as she was on the other side of the room with our son.
I was on my own.

I immediately redirected the conversation…
One of the mothers was holding a Nikon DSLR camera. I commented on all the pictures she must be taking.
The diversion worked.

She acknowledged the massive volume of pictures that she’d been shooting of her three children. She confessed she’d snapped 1,800 photos the month before.

She sighed and admitted all she could do was to stuff the photos into a basic organizational structure on her computer.
She had not found the time to implement a more advanced plan,
like my photo organization 101 tips.

Then she said, “And I’ve been shooting a lot of videos too.”
I started nodding.
Suddenly I felt like a doctor, doing an initial consult.
(My mother would have been so proud.)

Much like my wife and me, this mom shoots short video clips along with the photos on her Nikon. Today, all digital cameras perform this trick… in HD no less.

I actually don’t own a standalone camcorder.
Since my son was born, the simplicity of shooting short clips with the same camera that handles my photos has been a no brainer.
(My iPhone does the same trick, but the quality isn’t nearly as good.)

So the mom said she’s been shooting dozens of these short video clips for the past three years.

“What am I supposed to do with them?!” she asked.
Her frustration was clear.

THE BEGINNER’S GUIDE TO MAKING YOUR HOME VIDEOS:

For some, the rest of this post may be intuitive.
For the rest of you, keeping reading!

Here are 8 steps to easily create short family movies and then share them-

Step 1
Shoot Your Video Clips in Short 1-3 Minute Segments

Unless you’re recording a longer event, you can usually capture the moment or activity in just a few minutes.
Much like the problem of shooting too many photos, you’ll quickly get overwhelmed with hours of unnecessary footage.

Step 2
Organize Your Clips or Else

The next step, of course, is to get those video clips off your camera’s memory card and downloaded onto your computer, much like your photos.
I prefer to organize the movie files into monthly folders.

But if you wait too long and allow these video clips to pile up unwatched,
you’ll soon realize your videos have an expiration date.

No, they won’t self-destruct.
(as long as you keep them on a working hard drive or use a reliable back up solution)
And sure, they theoretically have an unending archival value for your family or until your grandchildren convert them into holographic copies at CVS or Walgreens in 2043.

But if you have a toddler, and you don’t share his/her videos in a couple months or within the year at the latest, these videos will simply become… outdated.
Why?

Your toddler looks different from month to month.
Everyone wants to see your current videos!
What does he look like now?!
What is she doing NOW?!

Not last month, let alone last year.

Step 3
Label Each Video Clip and Rate It

Next, you’ve got to sit down and watch each clip and label it.
I use a three star rating system.

  • 3 stars mean it’s great.
    You’ll definitely want to include them in your final edit.
  • 2 stars say it’s good.
    These files might just cut it.
  • 1 star is just okay.
    They will definitely end up on the cutting room floor.
    (But I can’t bring myself to delete them yet.)
  • And then there are the ‘0’ star clips.
    Delete. Delete. Delete.
    You’re already wasting enough hard drive space.

Step 4
Accept the Inevitable: You’re the Family News Editor

Today, everyone is spoiled with the deluge of instant digital communication and 24/7 news updates from around the world.
Your family and friends expect you to come up with something a little more current than last year’s video clip.
It may still be cute, but it’s yesterday’s news.

Like it or not, if you’re the Family IT Guy, you’re also now expected to manage your own micro family news outlet.

And the eternal news challenge has always been getting the news out on time.
Success relies on a little word called a “deadline.”
With deadlines, things get done.

So it’s time to edit your clips and start sharing!
Here are a few different strategies and self-imposed deadlines you can use to eliminate the log jam.

Step 5
Create Videos on a Schedule

Make One Video a Month
This concept worked pretty well for me during my son’s first year.
I quickly determined a 3-4 minute collage of 15-20 second clips was the longest people could reasonably be expected to watch.

But as he got older and became mobile, I found myself taking lots more video.
One month I tried to cram everything in, and that video ended up at 8 minutes. When I proudly sat down to show it to my wife, even I didn’t have the attention span to stick through it all.
I realized my monthly video distribution schedule would need to be updated with a series of more targeted approaches.

Group Event-Connected Clips
Simply organize your videos based on his activities and events. That’s the ticket!

  • Trip to the beach
  • Playground fun
  • Strawberry picking
  • Halloween trick or treating

Your videos will almost edit themselves!

Sure, you’re going to be creating a lot more videos this way, but in the long run you’ll find it easier working through your clips this way.

This strategy doesn’t cover the quiet but precious à la carte ‘first words’ moment, but it puts the vast majority of your clips into content buckets you can use.

Celebrate One-Clip Wonders
So what do you do with that one amazing 15-second clip that doesn’t fit with anything else?
It’s too short to make for a final video.
Or is it?

If it’s really good, it doesn’t matter how short it is.
People love watching short videos.
(trust me)

Follow the Passage of Time
Everyone tells me how quickly my son will grow up.
(I know. I’m seeing it already!)
This is also a theme that’s made for the movies.
You’ll have fun editing clips together spanning months and years.
(And you’ll probably also shed a few tears as you travel down memory lane.)

Step 6
Remember – Keep it Simple

If you follow any or all of the above strategies, you’ll have a ‘script’ pointing to how your little movies will play out.

But if you try to cover too much content, each opus will never see the light of day.

Shoot for creating 2-4 simple videos per month.
With this schedule, you should be able to move a lot of your clips off your plate.

Now you know how to structure your videos.
Congratulations.

Step 7
Put on Your Editor’s Hat and Get to Work

There’s one little detail left to discuss.
Just do it!

So how do you actually make and distribute your finished movies?
There are a few consumer-friendly editing tools out there that can assist you through your gauntlet without forcing you into a filmmaker’s apocalypse.

In the Apple world, the usual suspects are iMovie and Final Cut Pro X.

iMovie ‘11
iMovie ’11 comes bundled with new Macs as part of iLife.
Or you can download iMovie ’11 for $14.99 at Apple’s App Store.
It’s an easy program to learn, and you’re up and running with little or no investment.

Final Cut Pro X
I use Final Cut Pro X, which you can download for $299 in Apple’s App Store.
Yes, it’s expensive. (though it’s a lot less than it used to be)
But it’s more powerful than iMovie, and was the standard for many professional editors for years.
Today, a lot of FCP editors scoff at this newer/consumer friendly/
iMovie ‘On Steroids’ version, which came out last year.

But my experience with FCP X hasn’t been that bad.
So don’t worry. I think you’ll do just fine with it, especially if you’re just looking for a more advanced tool than iMovie.

Adobe Premiere and Avid
Speaking of advanced editing, Adobe Premiere Pro CS6 and Avid are the other major editing platform Apple editors use, but they’re’ even more pricey than FCP X.

That said, there’s also a consumer version called Adobe Premiere Elements 11 for just $99.
As the price suggests, its functionality falls between iMovie and FCP X.

Adobe Premiere is also available on the PC platform.

Step 8
Time to Share

Once you’ve finished editing, it’s time for others to take a look!
There are numerous ways to share your cinema verite, ranging from Facebook, YouTube and Vimeo, to simply emailing out your finished videos.

The only problem with using email is the large size of video files, especially if they’re HD.
Nobody wants to download a 300 MB file.
(You should try to stick to something under 15 MB.)

So you’ll need to compress your final videos into a smaller frame size and frame rate, which will compromise quality.
The good news is most people will be pretty flexible when watching your masterpieces online.
(Remember what other videos on YouTube look like.)

High Standards vs. Output
Many people simply shoot their video clips and quickly upload them, untouched for the world to see.
No fuss. No muss.

I certainly wouldn’t do that, but the advantage to this strategy is the clips quickly see the light of day. And there’s a certain raw freshness to this approach.
You may scoff at sharing something that may not be ready for prime time.
But if a more advanced workflow weighs you down, what good is it?

No one will appreciate your high standards if your slicker-looking videos never get finished.

The goal is to move your content through your production process to your viewers.
Do whatever works for you!

Deadlines Work!
As I mentioned earlier, there’s nothing like a deadline to get you motivated.

I happened to shoot a few video clips this morning of my son while we were having some fun visiting Stepping Stones Museum for Children.
(using my new Canon PowerShot S100 camera)

To validate my 8 steps and take a little bit of my own medicine, I decided to create my own video-editing deadline.

I would create a little video from my father-and-son outing this morning and send it out with this post tonight.

Go!

And here it is!


Believe me, I know this quiet 1:15 exercise isn’t going viral any time soon.

But I shot some video.
Edited it.
And distributed it.
All in one day.
Success!

And as my son likes to say when he shows me how to use a straw to blow bubbles in his milk,
“Now, that’s how we do it!”

Happy editing…