
How to Help an Aging Parent Overwhelmed by 53,000 Unread Emails
The only reasonable way to help my father remove this unthinkable number of accumulated unread emails was to try using a mass-delete method. But I ran into problems. So, here’s what I did…
Clearly, the family IT Guy hasn’t been paying attention to his job. I realized this when I was having dinner with my father the other day at his favorite New York City diner. He asked me to take a look at his iPhone to track down the origins of a warning message he had been ‘seeing.’
Be Careful What You Look For
Everything looked fine, although the issue might have had to do with his iCloud account. So, I went to Settings and logged in. While I was doing that, I noticed that his old AOL email account wasn’t showing up on his iPhone. I might have originally forgotten to add it some years ago.
(1st warning sign)
I’ve always emailed my dad via his iCloud email. So I really haven’t been thinking about the health of his AOL account.
(2nd warning sign)
His AOL Mail had originally served as his main email on his iMac. However, over the past few years, as his iPhone has sufficiently taken on all of his online needs, he’s used his iMac progressively less.
But the family IT Guy didn’t realize how much less until I added his AOL Mail to his iPhone and saw that he had 53,000 unread emails!
Years of Abandoned Emails
No, that’s not a typo. Yes, there were over 53,000 unread messages. And that number probably reflects a few years of my dad not accessing that account.
(Clearly, I haven’t been paying close enough attention to how my 86-year-old father has been using email.)
Now, please don’t get concerned that my father’s life has been significantly impacted by ignoring all of those AOL messages. At a glance, they all seemed to be marketing-related. It’s possible there was something important buried, but I quickly decided that even if that were true, those emails would be nearly impossible to find.
How to Mass Delete Emails on an iPhone
So over our after-dinner tea, I decided that it was time to mass delete all of those messages for my dad.
(Manually deleting each message would take another couple of years!)
I’ve never needed to do this before, and after giving it a couple of tries, there didn’t seem to be an obvious way to accomplish it on his iPhone.
So, I pulled out my own iPhone to do some quick research and came across one extremely non-intuitive method for mass iOS email deletion…
- Go to your Mail app’s Inbox
- Tap ‘Edit’ on the top right
- Select one email on top
- Press ‘Move’ on the bottom, but don’t release your finger from the screen
- Deselect the one selected email with another finger
- Then remove your finger from ‘Move’
After that unconventional sequence, you’ll be presented with the choice of where to move (all of) your emails…
- Select Trash
- Then go to Trash and Delete!
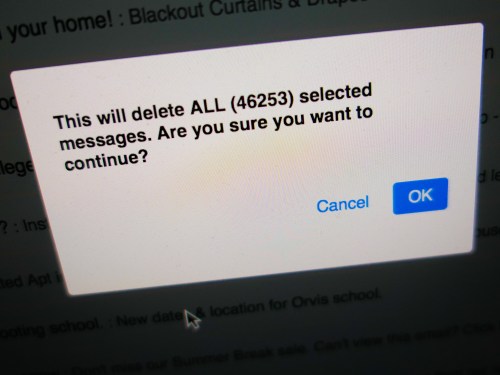
“An Error Occurred…”
While the hack did work, it only allowed me to delete around 250 AOL emails at a time. This kept popping up… “An error occurred while attempting to delete the message(s).”
But in fact, some few hundred were being sliced away after each of my attempts. Yes, that’s much faster than deleting emails one at a time, but certainly not a solution for deleting tens of thousands of emails on your iPhone.
So I decided to attack the problem separately on my own iMac. While my mass deletion exercise went faster by just clicking the select-all box and then Trash, I came across similar AOL Mail deletion limits using my Safari browser.
Each time, I receive the error message. But then, 200-800 emails were happily gone.
Eventually, I ran across a different challenge… 16,000 of my father’s emails lived his New Emails folder, while the other 37,000 were in his Old Emails folder.
(Don’t know why since all of his emails were unread.)
When I began attacking his Old Emails folder, my modified delete-all strategy stopped working. The error message finally reflected reality.
Then, all that I could do was select some 100 emails at a time to delete. Attempting to include more by scrolling down the screen and shift-selecting just didn’t work.
Do the math.
Cautionary Email Tale
I’ve now got 36,000 emails to go.
Clearly, I’m not going to be done any time soon…
Yes, I know the other option is to just cancel his AOL Mail account and walk away. It’s not like he’s been using it lately…
I always try to end my blog posts with a helpful solution.
Sadly, that’s not the case today.
If anything, simply consider this a cautionary tale of what happens when you don’t clear out your email regularly.
Now, the family IT Guy doesn’t want to talk about this anymore…


