Why Do PCs Display iPhone Photos Upside Down?
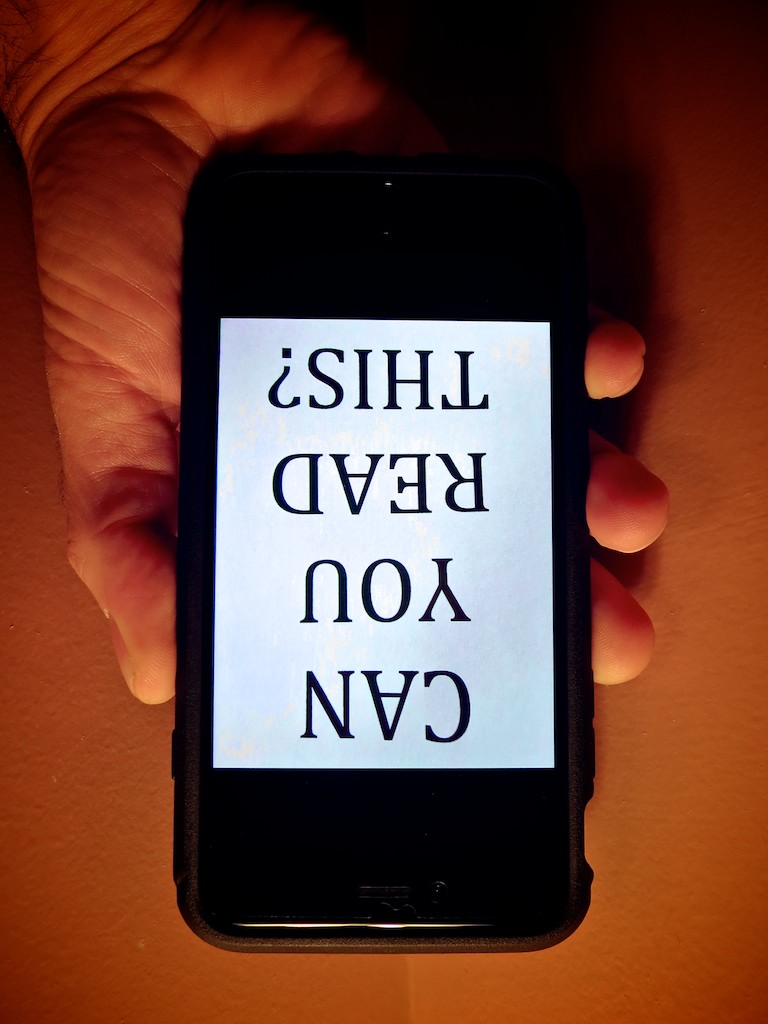
If this is how your PC displays a photo snapped with your iPhone, you know it’s time to determine the culprit. And you may be surprised what you find….
At work, I often snap an iPhone photo or two at video shoots. It takes two seconds, and then I quickly email them to an offsite colleague or client for immediate feedback on the set or background.
(I often forget that the smartphone is such an incredible work collaboration tool that didn’t exist so long ago.)
Unfortunately, a problem I often run into is my pictures inexplicably show up upside down on computer screens. More specifically… PCs.
They always display correctly on Macs… just not PCs running Windows.
Your World is Topsy-Turvy
So you’ve got to imagine the response I sometimes get when my pictures play their little dance.
(How easy would it be to evaluate an image if you had to stand on your head?!)
I’ve always taken the privileged position that the problem is somehow caused by the evil PC.
(It couldn’t possibly be the fault of the perfect iPhone!)
The reality is most folks are going to also assume that you’re somehow the culprit. That you’ve made a mistake and you don’t know how to use your own iPhone.
Guess what…
Up until now, I didn’t!
Which Way is Up?
What I didn’t know is there is actually a right side up to the iPhone when you hold it horizontally.
(I assume we all understand how to hold it vertically, since the ‘home’ button is always there on the bottom to orient you.)
Horizontally, I’ve always gripped my iPhone 6 Plus with the two side volume buttons facing up. That’s because I often like to press either of the two volume buttons to take the photo instead of the white circle on the screen.
(If I’m holding my iPhone with only one hand, it’s more effective to press down on a button.)
As it turns out, positioning your iPhone that way is upside down!
It seems counter intuitive to grasp your iPhone the other way when snapping a pic… and then ‘squeeze’ the button from underneath…. But that’s the correct orientation according to Apple’s engineers.
Clever Apple
But even if you’re accidentally documenting your life upside down, how do Macs know to correctly display your picture?
That’s because your iPhone includes an EXIF tag with each photo that says which way is up. According to iPhone Photography School, every Apple device that displays your photo is going to know how to read that metadata.
The problem is lots of software in PCs can’t.
That’s the huge rub.
It’s simply a compatibility problem.
Well, technically, it’s still your fault if you’re holding your iPhone incorrectly. Apple just fixes the problem for you, and many PCs won’t.
How to Correctly Hold Your iPhone
So what’s the fix?
Well, first off… this problem has actually been around since the iPhone 5.
(Wake up, Rip Van Lester!)
There are various PC methods to manually adjust the orientation of pictures, but do you seriously expect anyone to take additional steps to flip around your mistake after experiencing the annoyance of trying to view your inverted photo?
Own the problem!
When you want to snap and send a photo to a PC, just turn your iPhone so the buttons are on the bottom… and then proceed.
Yogi Barrett?
Yes, I could blame Apple for a design flaw.
(It’s more natural to push the button down like with any camera in the known universe!)
But the truth is, I didn’t know which way was up.
(An important lesson that Apple has been so considerate to remind me of.)
I am not the center of my known universe.
Maybe I’ve begun a journey to a higher plane…
…or the story of my gaff has no place other than perhaps a fortune cookie:
“Wise man holds iPhone with volume buttons down.”
No?