At Home with Tech

Unlock the power of all your technology and learn how to master your photography, computers and smartphone.

Tag: vacation itinerary

How We Scheduled our Alaskan Vacation out of Anchorage

When you’re trying to figure out how to vacation in Alaska, be realistic on how much you can see. Here’s our 10-day itinerary.

When I first told my friends that my family and I were going to Alaska, they usually asked, “Are you taking a cruise?” If you’ve checked out my past few posts on our Alaskan adventure, you know that we followed a different vacation path. We took a Backroads’ family tour out of Anchorage that transported us throughout the Kenai Peninsula. Though we spent a day cruising through parts of Prince William Sound exploring glaciers and sea kayaked on Kachemak Bay, we spent the rest of our time on land, hiking and biking. It was all simply spectacular.

The Need to Narrow our Itinerary’s Scope
When we first thought about taking an Alaskan vacation, the big challenge was figuring out where to go and how to maximize our geographical coverage during our 10-day trip.

That was the wrong question to ask, and we quickly realized that, because Alaska is so huge. Any attempt to drive between the key sections would take up too many days and doom the trip to endless road time.

Even taking a train to Mount Denali was a complete day right there, and then that choice would set up extended travel days from point to point in that part of Alaska.

It’s ridiculous to even try to cover Alaska in one trip, unless you’re hopping on a plane every other day.

The only solution to our itinerary, of course, was to pick one ‘small’ area, and then stick to it. (And that’s what Backroads provided us.) Even doing that required two to four hours of driving on almost every day. (Fortunately, we were comfortably driven around in our Backroads’ van.)

Hello, Kenai Peninsula!
So, we explored the Kenai Peninsula south of Anchorage, and believe me, it felt like just that small sliver of the state was a separate massive planet. We covered plenty of miles, even though it’s just a fraction of Alaska.
If you’re planning for your own Alaskan vacation, and you’re trying to figure out your own itinerary, here’s what we did:

Our Alaskan Vacation Itinerary

Day 1
Fly to Anchorage
Settle into your hotel. Unless you’re starting from the west coast of the United States, it’ll be a full travel day.

Day 2
Unscheduled
Go through your jet lag (as needed).
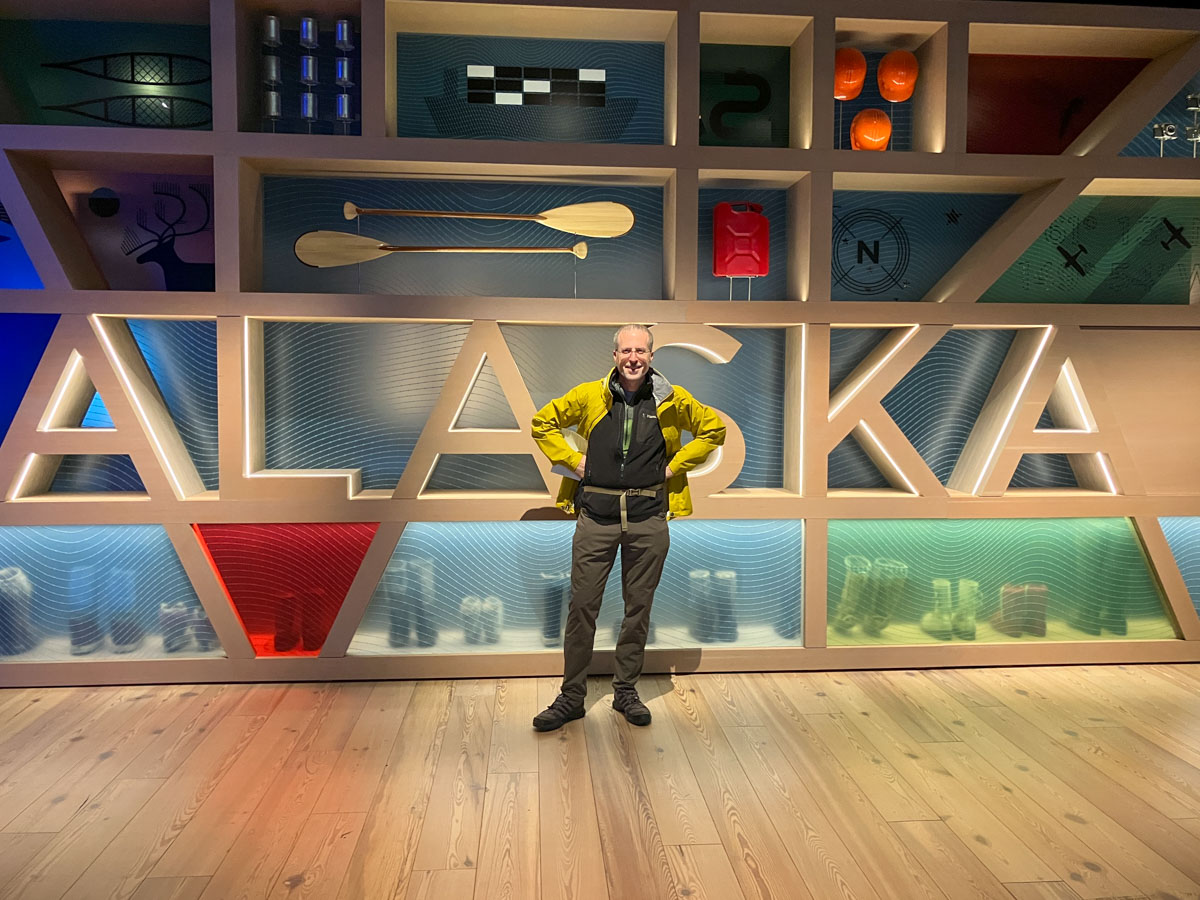
We visited the Anchorage Museum and took a trolly tour (very touristy but fun). The key to this day is to make it a buffer day. There would have been no way for us to easily turn it around and begin our Backroads’ tour that morning. Not as a family.

Plus, what if your fight gets delayed or canceled the day before? (It actually took three hours for our plane to get out of Newark, New Jersey due to weather restrictions and the need to find a new flight plan!)

Day 3
Travel to Girdwood
Stay at the Alyeska Resort
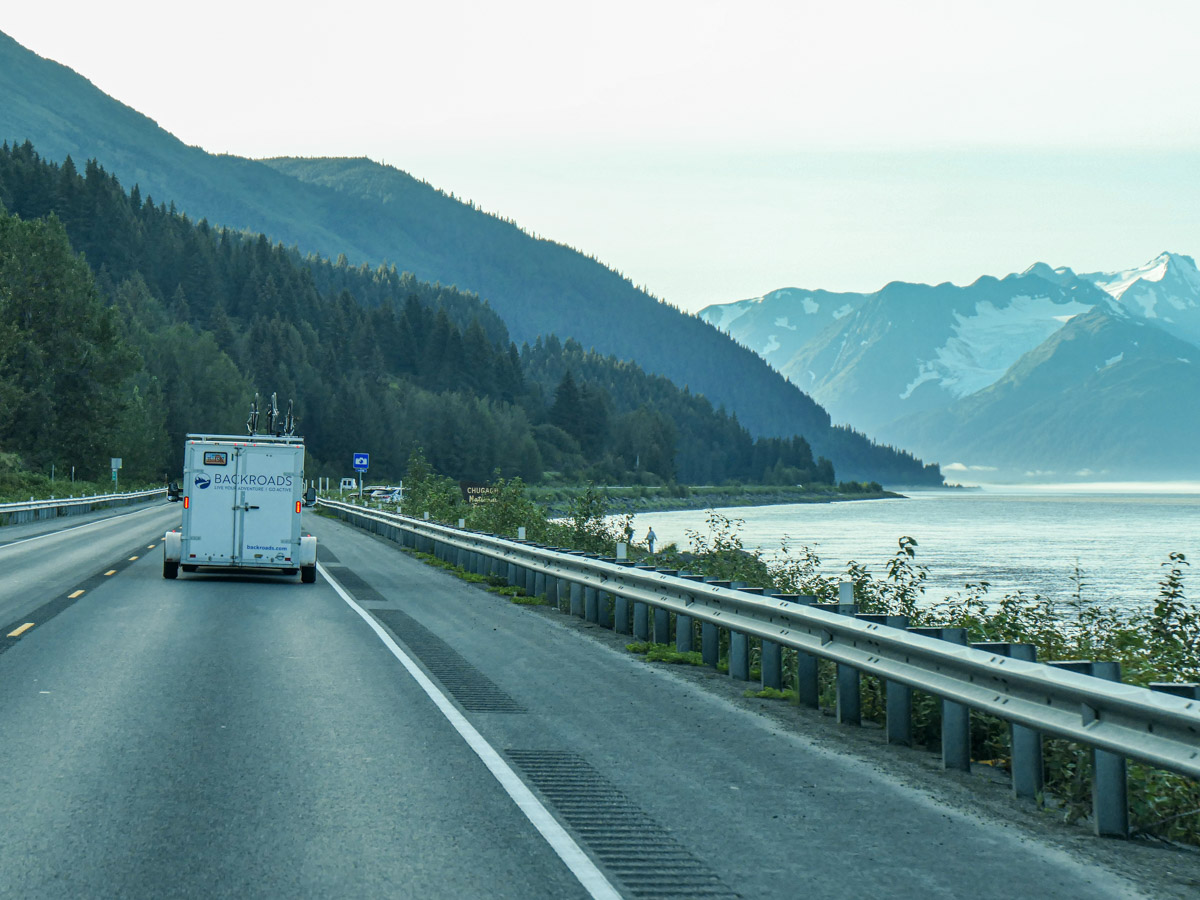
This was our first Backroads’ day, and it began big with a cycling adventure. We biked along the amazing Turnagain Arm.

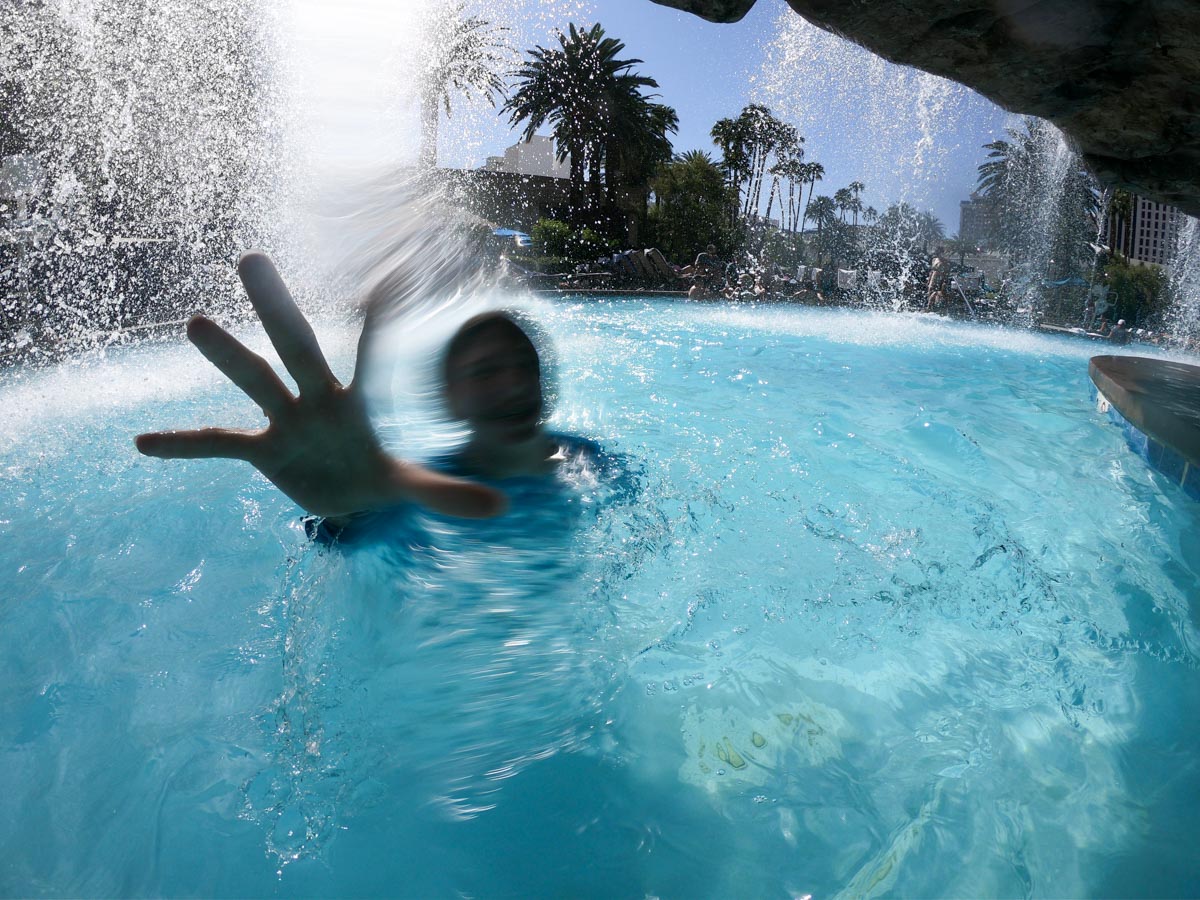
We eventually ended up at the Alyeska Resort midafternoon. We didn’t have a whole lot of time to enjoy its immersive salt-water pool, but we did squeeze in a late-afternoon dip. (If you can spend an extra day here, I’d recommend it.)

Day 4
Travel to Whittier
Take Prince William Sound Glacier Cruise
Getting to Whittier required driving through the 2.5 mile portage tunnel through a mountain. That, by itself, was an experience. As for our glacier cruise, it was as dazzling as it sounds.

After our cruise, we jumped back in our van and headed to Seward.

Day 5
In Seward, Drive into Kenai Fjords National Park
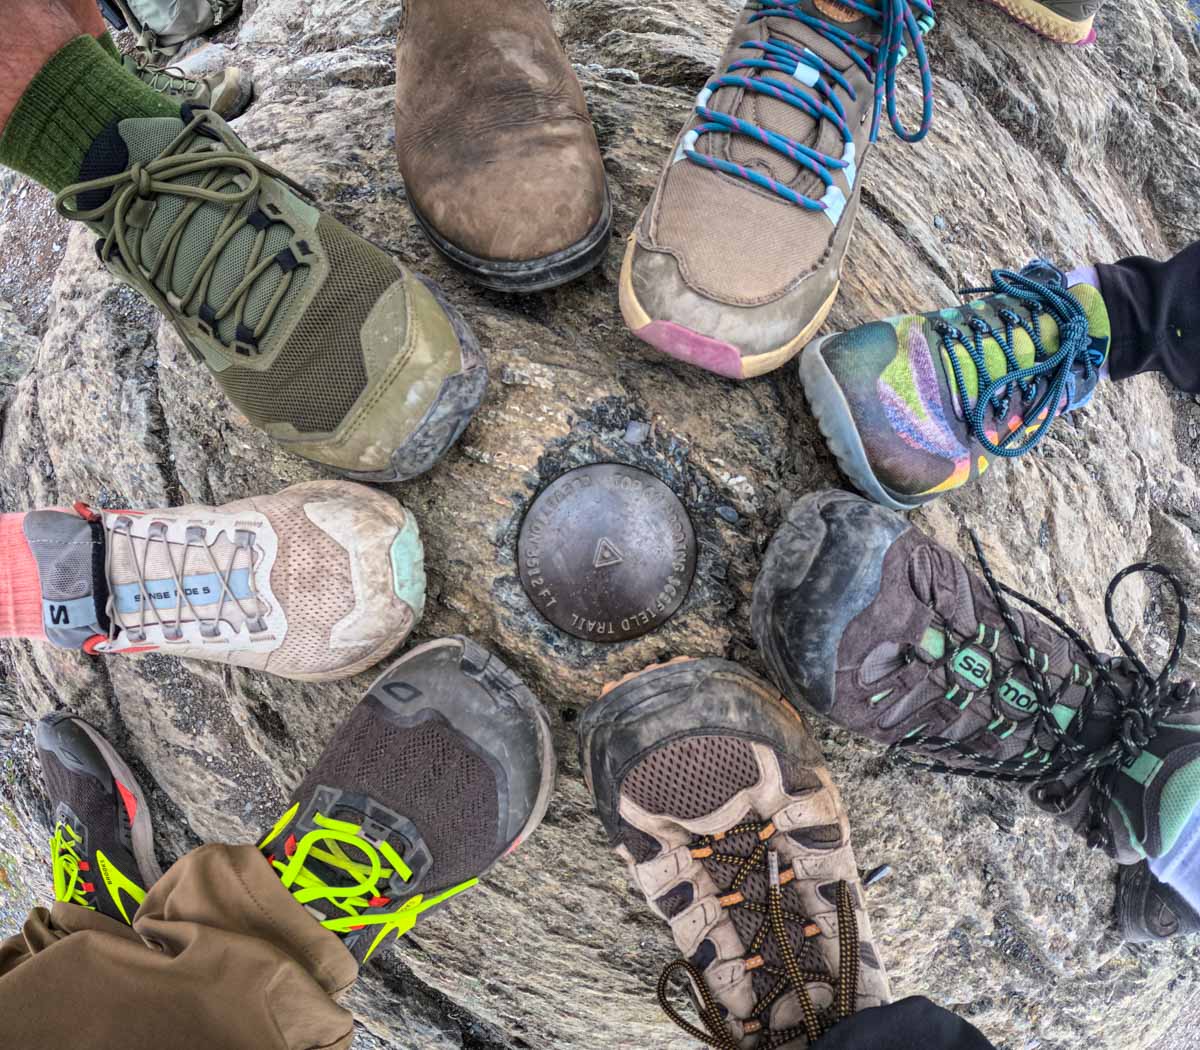
Hike the 8-Mile Harding Icefield Trail next to Exit Glacier
We hiked up this trail right next to the glacier. (We were on solid earth the entire way.) The summit of the trail is 3,512 feet.
Yes, it was a wicked-challenging hike with a steep incline, which reminded me of my family’s New Hampshire mountain hikes that topped 4,000 feet.

For the record, I was the last one up and the last one down the Harding Icefield Trail. Yes, I was slow, but I did it!

Day 6
Drive to Homer
Bike the Spit
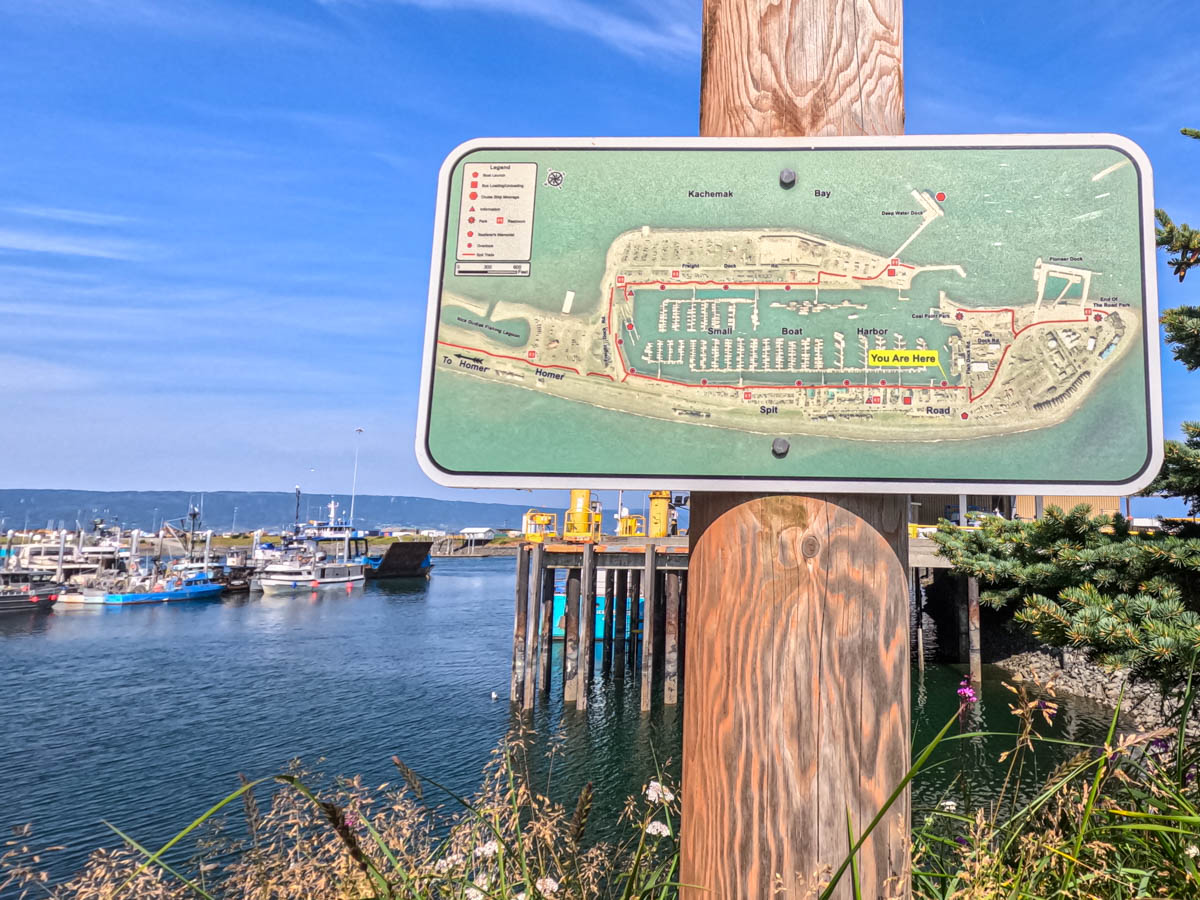
This was our second cycling day, and we biked into Homer (after our van took us most of the way from Seward) and through the Homer “Spit” that extends out into Kachemak Bay. Our hotel (Land’s End Resort) was perfectly located at the end of the Spit. You could also reverse engineer this idea and bike the spit after you settle into Homer.

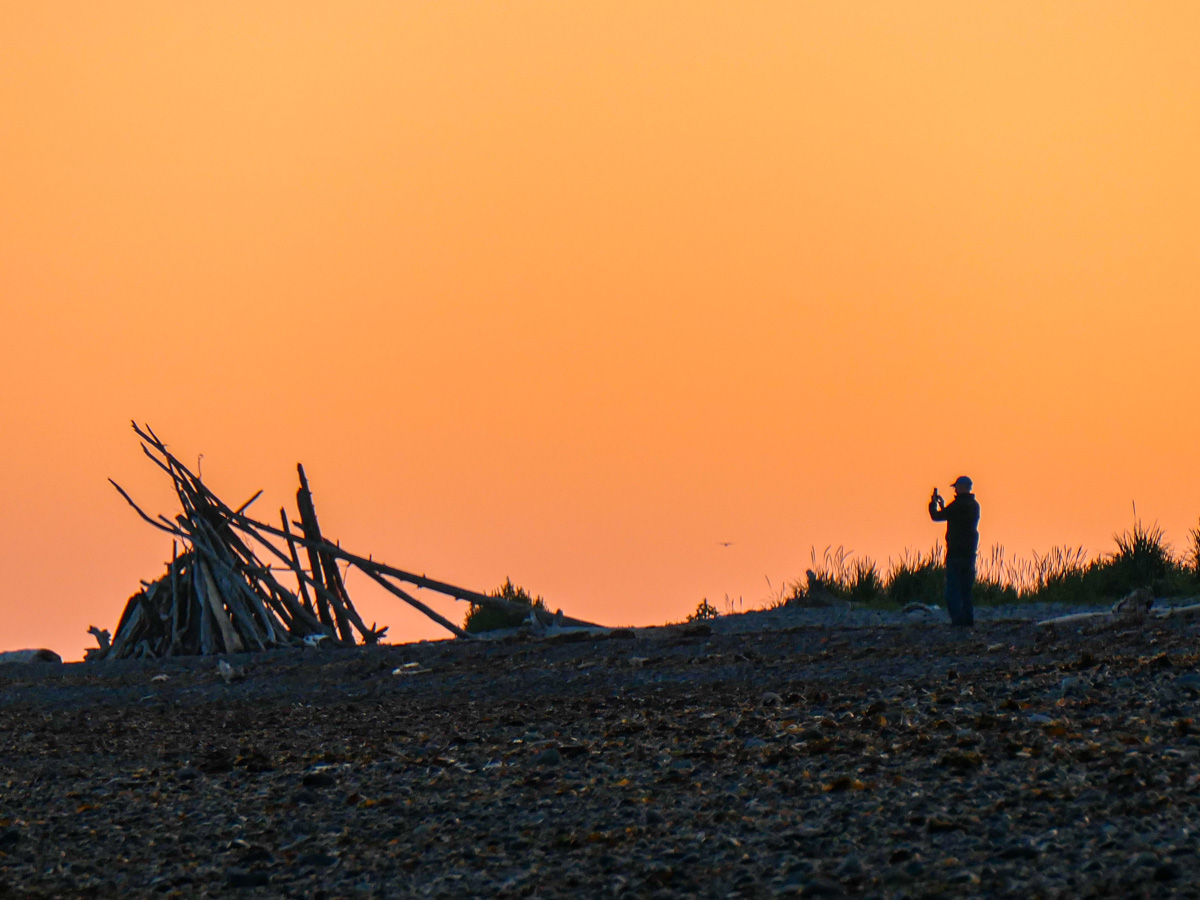
After dinner, we enjoyed a brilliant sunset over Kachemak Bay. (In the summer, the sun doesn’t go down until around 10pm.)

Day 7

Stay in Homer
Go Sea Kayaking in Kachemak Bay
As soon as I woke up and got dressed to get my morning cup of Joe, I took a peek outside and saw the opportunity to capture a striking sunrise over the water. So, I stumbled out of our room with my DJI Osmo Pocket and GoPro to begin some timelapse recordings as dawn was breaking.

After breakfast, we took a water taxi to Yukon Island and suited up for our all-day kayaking exploration.

Again… stunning. Even our time on Yukon Island offered breathtaking views of Kachemak Bay.

Day 8
Explore Homer
Drive back to Anchorage
In the morning, we visited the inspirational Dean family farm and art studios. After lunch, our group headed back to Anchorage. This last leg of our Backroads’ tour took five hours, the longest driving stretch of our vacation.

And that was the end of our exceptional Backroads’ tour. But our Alaskan vacation wasn’t over quite yet!

Day 9
Stay in Anchorage
Take a Glacier Flightseeing Tour in a Cessna
We started our day with a little more bike riding, this time around Anchorage. (We rented from Downtown Bicycle.) Along the way on the Tony Knowles Coastal Trail, we ran into a few moose. (Well, they almost ran into us!)

In the afternoon, we took our Knik and Colony Glacier Flightseeing Tour (by Regal Air) from Lake Hood. This two-hour roundtrip flight through Chugach State Park in a tiny Cessna was the perfect way to wrap up what was already an unforgettable vacation.

And as if our flying over glaciers wasn’t thrilling enough, we also landed on a strip of dirt in the middle of it all to ‘stretch our legs’ before embarking on the second half of the flight. (Cessnas are amazing little planes.)

Day 10
Hang Out in Anchorage
Fly Home
Our flight back to Newark wasn’t until 8pm (a red eye and the only non-stop). So, we had much of the day to still spend in Anchorage. As it was raining, we focused on indoor activities. We visited Alaska Escape Rooms and then headed to the Alaska Aviation Museum before taking a free shuttle to Ted Stevens Anchorage International Airport, only ten minutes away.

A Few Final Travel Tips
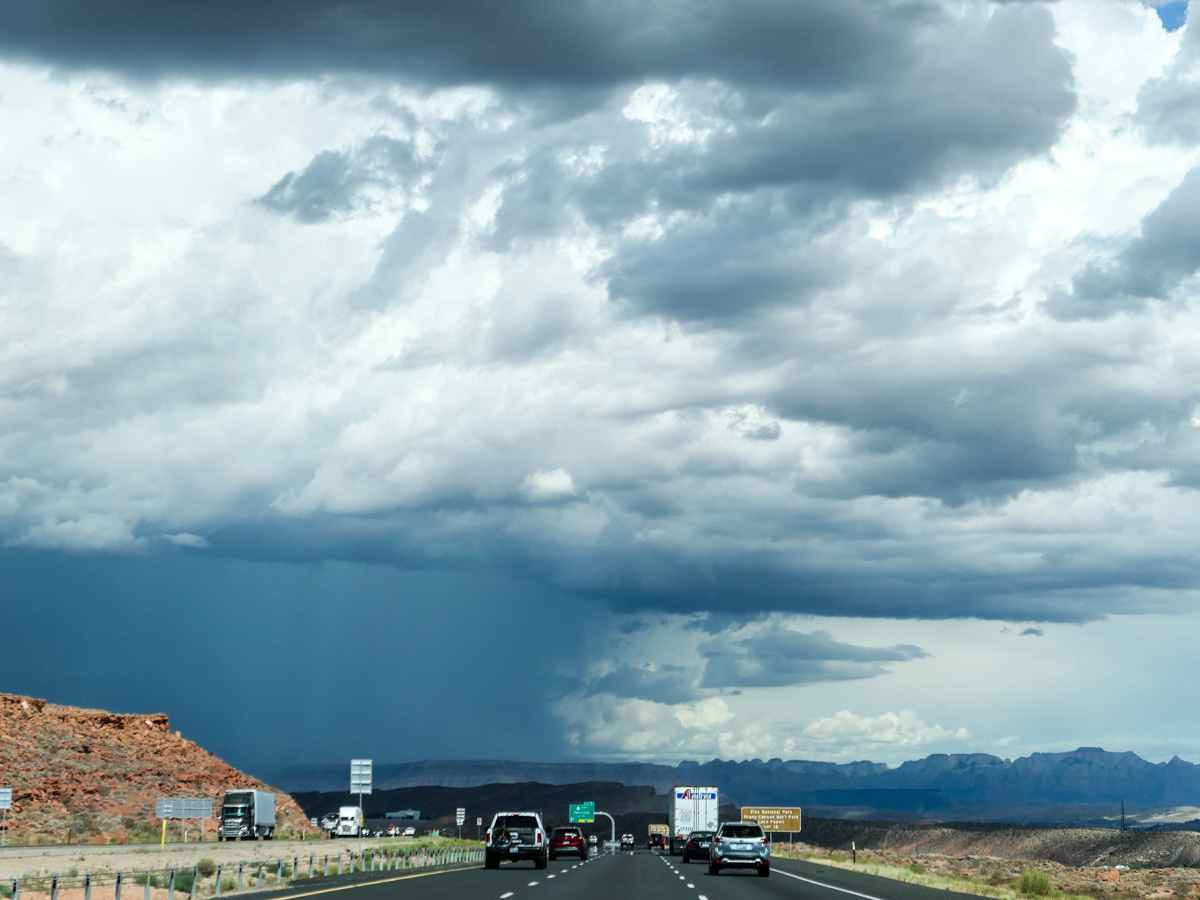
Bring your Raincoat
It rains a fair amount in this part of Alaska during August. So, you should expect some. The fact that we experienced perfect weather throughout our entire Backroads’ tour was unusual (and certainly enhanced our overall experience).

Make Dinner Reservations in Anchorage
Yes, Alaska has a total population of only 732,000 people, and Anchorage feels accordingly empty by comparison to other cities. But there are tons of tourists moving through to take their cruises. And the restaurants totally fill up by 6pm. So, plan ahead for your evening meals.

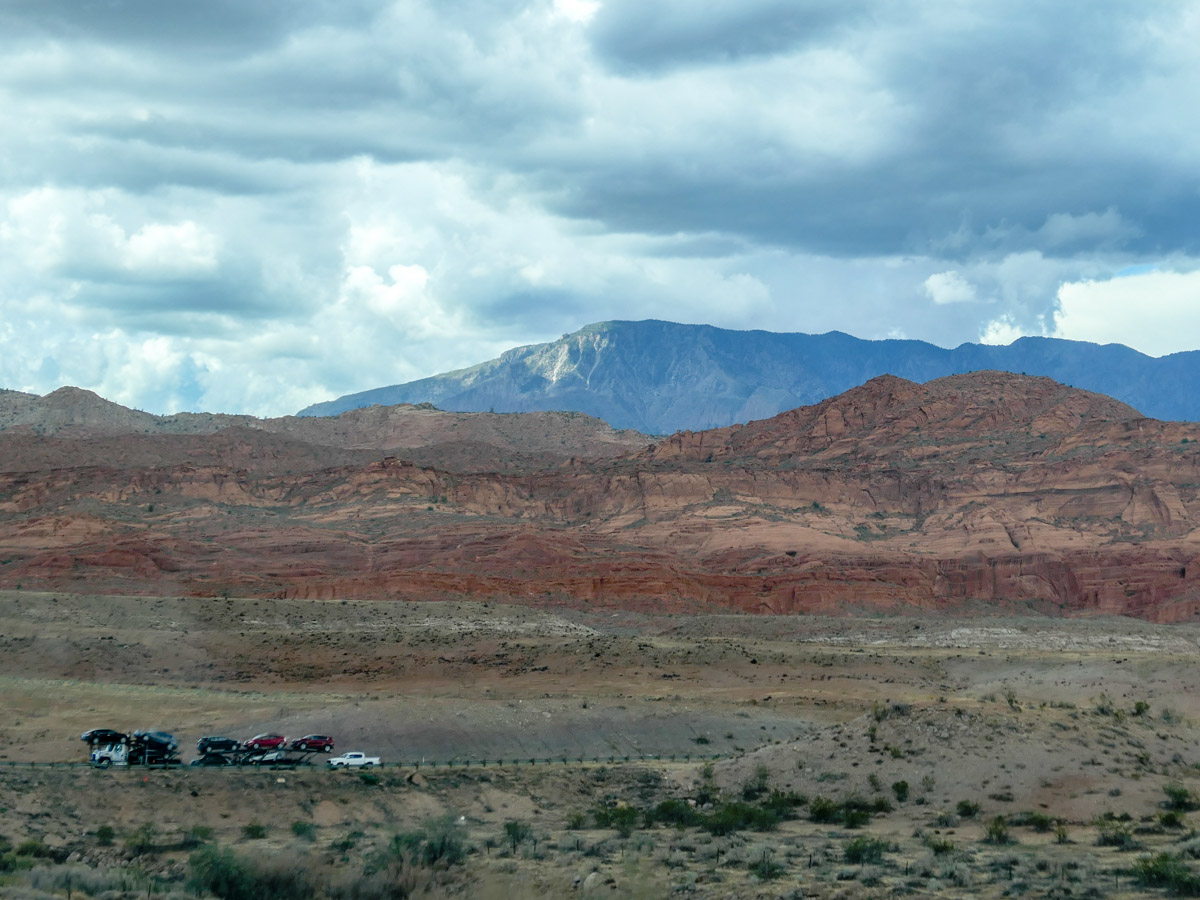
Focus your Photography Wide
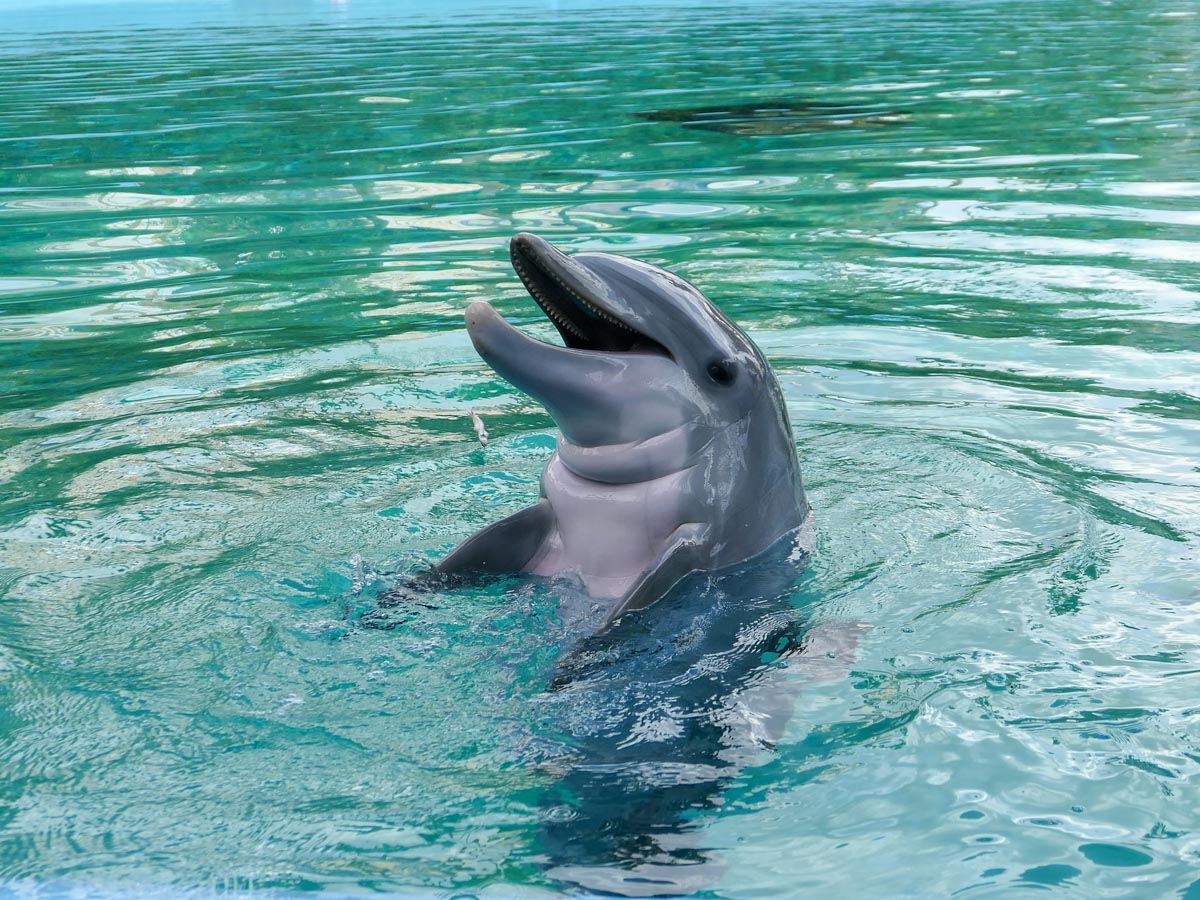
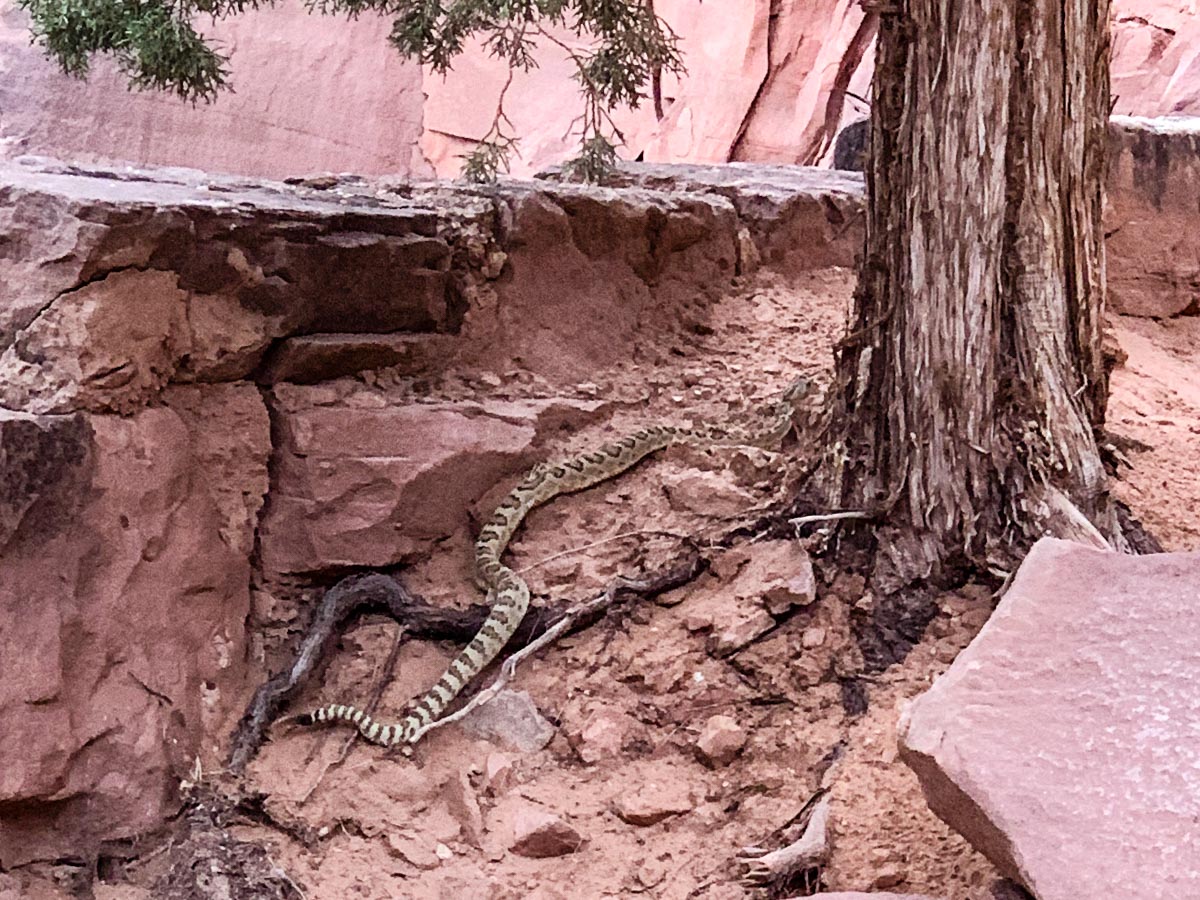
Of course, everyone wants to spot some wildlife, and yes, we ran across our fair share: some moose, black bears, mountain goats, seals, sea otters and one giant sea lion. And I got off a few good tight shots. But the majority of photo opportunities on this kind of trip is to capture the vast and incredible landscape. That’s where you’ll find your visual magic moments.

Go!
Visiting Alaska was certainly a bucket-list trip. And to fully experience our 49th state, you really need to see it from both the water and land. And if you can swing it, get in some flightseeing time in too!

It all makes for a trip of a lifetime.

Here’s How We Scheduled our Family Road Trip to Grand Canyon from Las Vegas

If you’re planning your own road adventure beginning in Vegas, and you want to include a few worthwhile stops with overnights along the way to Grand Canyon, here’s our packed itinerary.

They say it’s the journey, not the destination. And while my family’s ten-day trip to three amazing national parks in the Southwest was all about Zion Canyon, Bryce Canyon and ultimately Grand Canyon, our time driving from place to place included its own series of adventures.

My wife, 12-year-old son and I first flew to Las Vegas and spent a couple days there before heading out on our three-state road trip.

Why Vegas?
Okay… so a few words about Las Vegas. Why start there? It was originally just an airfare choice, but that location eventually enabled our decision to expand our road trip to include Zion and Bryce Canyon on the way over to Grand Canyon.

Of course Vegas could not be a less appropriate way to match the Zen of three great national parks. That said, we still enjoyed the Vegas spectacle. We stayed at The Mirage on the Vegas strip. And if you’re already there, how can you say no to a little pool time at The Mirage’s massive pool, complete with thunderous waterfall. We also took in a fantastic show – The Beatles LOVE by Cirque de Soleil.

We also had way too much fun consuming massive amounts of frozen yogurt complete with every imaginable topping. We walked down the Vegas strip to visit the fountains at the Bellagio. (We’d recently streamed “Ocean’s 11.”) And we endured the hottest temperatures of our trip. It almost hit 100 degrees. (And I know that’s not hot for Vegas.)

Yeah, it was time to get out of Dodge…

Here’s our complete itinerary and how we maximized our vacation time to enhance our total experience.

Our Southwest Vacation Itinerary

Day 1:

  • Fly into Las Vegas. Settle in at The Mirage.

Day 2:

  • Spend full day in Las Vegas.
  • Enjoy pool time.
  • Visit Siegfried and Roy’s Secret Garden and Dolphin Habitat.
  • Walk to the Bellagio’s fountains.
  • Go to The Beatles LOVE by Cirque du Soleil (simply stunning).

Day 3:

  • Get your lounge chair early for more Las Vegas pool time.
  • Check out of The Mirage.
  • Drive to Zion National Park in southern Utah. Check into the hotel in Springdale.
  • Do late afternoon hike on Watchman Trail at Zion.
  • Say hello to the rattlesnake that you gingerly walk by.

Day 4:

  • Get up wicked early and do Zion sunrise hike to the Canyon Overlook.
  • Don’t forget to bring a flashlight as you’ll be starting your 30-minute hike up to the overlook in darkness.
  • Check out of the hotel. Then drive to Bryce Canyon City, Utah.
  • Take quick afternoon trip to Bryce Canyon National Park and see first views of the Hoodoos.
    (Then a thunderstorm chased us away.)
  • Have dinner in Ruby’s Restaurant.

Day 5:

  • Do morning hike among the amazing Hoodoos. Check out of the hotel.
  • Have lunch at Bryce Canyon Pines Restaurant and order a slice of pie for dessert. (You will not be disappointed.)
  • Drive to Page in northern Arizona.
  • Visit overlook at the impressive Horseshoe Bend of the Colorado River.
    (We were also going to do the Antelope Lower Slot Canyon tour the next morning, but our tour was cancelled due to flooding from the previous day’s storm. Thankfully, we were not otherwise affected.)

Day 6:

  • Check out of the hotel.
  • Before leaving Page, stop by the overlook at the Glen Canyon Dam and Colorado River.
  • Drive to Grand Canyon National Park.
  • On the way, stop in the middle of nowhere, get out of the car and take it all in.
  • Jump for joy when you see Grand Canyon for the first time by the Desert View Watchtower!
  • Check into Bright Angel Lodge at Grand Canyon National Park.
  • Walk around the canyon’s rim for half an hour in astonishment.

Day 7:

  • Greet the sunrise.
  • Go on a morning mule ride by the rim.
  • Don’t worry, your mule will not walk too close to the edge of the canyon. It was totally safe.
  • Watch the sunset over the canyon and take photos.

Day 8:

  • Now it’s time to get into Grand Canyon!
  • Go on early morning hike down the Bright Angel Trail. (We started at 6:45am.)
  • Explore different sections of Grand Canyon via free bus system.
  • Visit Hermit’s Rest and hoof it to the next bus stop.

Day 9:

  • Go on one last walk on the rim and check out of Bright Angel Lodge.
  • Drive the southern route back to Las Vegas.
  • Stop for lunch at the Roadkill Cafe on Route 66 in Seligman, Arizona.
  • Continue on Route 66 (not the fastest way back).
  • Stop at the eclectic Antares Point Gift Shop, home of Giganticus Headicus in Kingman, Arizona.
  • Jump on highway 93 North and head to Hoover Dam to catch a late afternoon tour. The last tour leaves at 4:15pm. Believe me, I know. If you happen to hear about some silly guy from Connecticut sprinting down the tour center’s hallway to buy tickets two minutes before the deadline, yeah… that might have been me. (I really wanted our son to see the how the dam and its electricity production was engineered.)
  • The tour was fantastic!
  • Leave Hoover Dam museum at 5pm when it closes and then head over to Las Vegas.
  • Check back into The Mirage. (We thought it would be easier/faster to go back to the same place on our last night.)
  • Have dinner and watch The Mirage’s Volcano explode right in front our hotel room window.
  • Pack and go to sleep.

Day 10:

  • As our flight home wasn’t until 3:30pm, we had plenty opportunity for one last round of morning pool time and a final serving of frozen yogurt à la Mirage.
  • Check out and head to airport.

How to Pack It All In

Yes, our itinerary was full and certainly requires a fair amount of driving from place to place in a rental car, but I’ve got to say our plan ended up being a really efficient strategy when structured family time is important.

Here’s another way to look at our daily routine on our way to Grand Canyon:

  • Get up early. Have breakfast.
  • Go for a morning hike in an unforgettable outdoor space from 9am-11am.
  • Check out of our hotel at noon. (We asked for late check out if needed. That extra hour made a big difference.)
  • Drive for 2-3 hours to the next destination.
  • Check into the new hotel by 4:30pm.
  • Throw our bags in our room.
  • Then quickly turn it around and go on 5pm-7pm hike. (Still light out during the summer.)
  • Come back and have dinner.
  • Exhaustion sets in. Go to bed early.
  • Shower and repeat.

Pack a Raincoat
Driving to the next destination was rarely boring. If we weren’t marveling at the amazing Southwest scenery, we were keeping tabs on some massive afternoon weather systems on the horizon that seemed to chase us. We learned along the way that it was actually ‘monsoon season’ in some of the parts we traveled through.


At times, it felt like we were in a movie, trying to escape the weather. (It was actually more of a fun fantasy to explore during our car chit chat.)

While we avoided most of the rain on our drives and only experienced one thunderstorm when we arrived at Bryce Canyon (forcing us to leave), we needed to be mindful of thunderstorm threats and flash-flood warnings on several afternoons.

Where to Gas up the Car
It goes without saying that our road trip carried high gas costs for our rental car. Filling up our Jeep Grand Cherokee was not cheap. That said, the price of gas was significantly cheaper in Arizona (almost a dollar less per gallon).

So try not to hit the gas stations in Nevada and Utah if you can plan accordingly.

Stop at a Roadside American Indian Jewelry Stand
As we got closer to Grand Canyon on Route 89 South, we passed through a part of the Navajo Nation and noticed several little road-side American Indian jewelry stands seemingly in the middle of nowhere. We stopped by one, purchased a beautiful dreamcatcher and really enjoyed our experience talking with the lovely woman behind the pop-up counter.

Why Visit Zion and Bryce Canyon First?
My wife’s addition of the two other national parks to our original itinerary was really the key to unlocking so many more moments on our road trip to Grand Canyon.

Spending time in these two other magnificent canyons would have been enough for any other trip. Both of those experiences would be their own peak vacation highlights. But the massive size of those canyons could not compete with the 277-mile-long Grand Canyon.

When we drove up to our first Grand Canyon overlook, we had our two-canyon-context to truly understand how massive this special place is.

Only then did I fully realize how important it was to package the three together into one trip to give context to the unbelievably large Grand Canyon.

Take the Road Less Traveled?
Of course, three national parks require more vacation time and more hotel stops. Plus, you need to drive the more indirect northern route through Utah and then into Arizona as opposed to the shorter southern route from Nevada into Arizona to Grand Canyon.

But the extra driving time ended up being an important part of our overall experience. As I’ve mentioned, the scenery was spectacular!

We drove the southern route back to Vegas, and while that trip was faster, the views were not as jaw dropping.

Part of our return path included a stretch of the famous Route 66 in Arizona between Seligman and Kingman. Beyond our pit stop to see Gianticus Headicus, those miles of Route 66 were remarkably barren. We could spot hints of former glory during ‘don’t blink’ moments as we drove by, but the desert dust and weeds have now obscured the closed-up attractions.

Taking Photos in Motion
That said, there are any number of photo-worthy moments when you’re on the road in the passenger seat. The speed complicates the framing, but if you snap away enough times, you’ll eventually find your framing.

Holding Back on our Hikes
We’re a family that likes to hike. We’ve done a few 4,000 footers in New Hampshire, we’ve hiked in Acadia National Park in Maine, and locally, we often join two other families on 5-7 mile hikes on weekends.

That said, none of our Southwest vacation hikes were especially ambitious. They lasted just a couple hours each. Sure, we could have gone longer, but these shorter hikes allowed us to maintain our otherwise aggressive schedule of driving to a new location each day until we reached Grand Canyon.

Stay Inside the Park
It was definitely the right move to stay inside the park at The Bright Angel Lodge right next to the rim of Grand Canyon. There are any number of hotels nearby, but being literally right by Grand Canyon was a truly special experience. (There are also a few other in-park hotels as options to consider.)

I cannot express the joy I felt waking up early each morning with my cup of Joe and sitting by the Canyon and watching the sunrise.

Plus, waking up early at Grand Canyon is critical if you want to hike into it during the summer months. It’s best to get started early during the cooler morning hours if you’re hiking down into the canyon as opposed to hiking by the rim. (Grand Canyon can get really hot as you hike down.)

Get Into the Canyon!
And even if you’re not a hiker, you really should walk a little distance in to truly begin to understand the incredible space. You don’t have to go down very far. We only went 1.5 miles down the 7.8 mile Bright Angel Trail (The harder part is hiking back up as the morning sun warms up the trail.)

Even our abbreviated hike was enough to experience enough of the inside spaces of Grand Canyon and feel like a part of it all.

If you don’t get yourself into Grand Canyon, then you may only perceive it as a distant scene, like a massive painting or a projected 180-degree cyclorama screen in front of you!

You just can’t look at it. You’ve got to be in it to feel it!

Work on your Bucket List
Visiting Grand Canyon has always been a bucket-list trip for me. I’m so happy I’ve finally checked this one off. Plus, adding in Zion and Bryce Canyons really made this vacation a home run for me and my family.

And if there’s one takeaway this trip has taught me (besides don’t bring too much camera gear), it’s remembering that there’s a whole lot of the good stuff to do in life.

Stop waiting for what matters most.

Go!