At Home with Tech

Unlock the power of all your technology and learn how to master your photography, computers and smartphone.

Tag: iPhone

In Search of Power

When going away on a camping trip, don’t forget to pack some portable power. Otherwise, your tech will quickly go dark…

When going away on a camping trip, don’t forget to pack some portable power. Otherwise, your tech will quickly go dark…

If you haven’t figured it out yet, I crave power. Pure power. And sustainable power.
Okay… not absolute power…
I’m just talking about the energy needed to power my lowly, but hungry tech.
(What did you think I meant?)

A big part of my story to date has been figuring out how to keep my iPhone going after it runs through a full charge.

And to be fair, my iPhone 6 Plus can get through a busy day on one charge. But I’m the kind of nervous tech guy who starts to worry once my smartphone dips below 20%.

So I typically want some extra juice nearby…
…just in case.
(My son used to prefer a juice box or two.)

Power Sticks
A couple of years back, I picked up an Innergie PocketCell, which is essentially a power stick the size of a pack of gum. It has 3,000mAh of power, which isn’t bad, because an iPhone 6 Plus requires 2915mAh for a full charge.
Today, I’m partial to Anker, which makes the PowerCore 10,000, packing a really big punch.
($24.99 on Amazon Prime)

Swag Power
And if you’re not into dropping any money on a power stick right now, you might be able to find one for free. They’re popular these days as giveaways… Though usually with less power.
(I came across one recently with 2600mAh.)

iPhone Case with Built-in Battery
Another good idea is to pick up a Mophie Juice Pack Plus, which is a smartphone case with a battery baked into it.
The 2,600 mAh model that wraps around the current iPhone 6 Plus costs $99.95.
(I had a Mophie for my old iPhone 4S, but I’ve held out so far with my 6 Plus due to size concerns.)

Preparing for the Family Camping Trip
All these cool power solutions go a long way towards feeding your smartphone the necessary extra energy it might need.

But then I had a new challenge.
Go where no Barrett has gone before…

  • Two nights of family camping.
    (Which meant three days away with my iPhone, camera, and my wife’s iPhone…and no power)

I needed to bring a more powerful and flexible solution to ensure I would stay on the grid….

Goal Zero Sherpa 50
Goal Zero makes a variety of portable, solar and battery-driven power solutions.
I came across the Sherpa 50 Power Pack at REI, a rare moment of brick and mortar shopping for me.

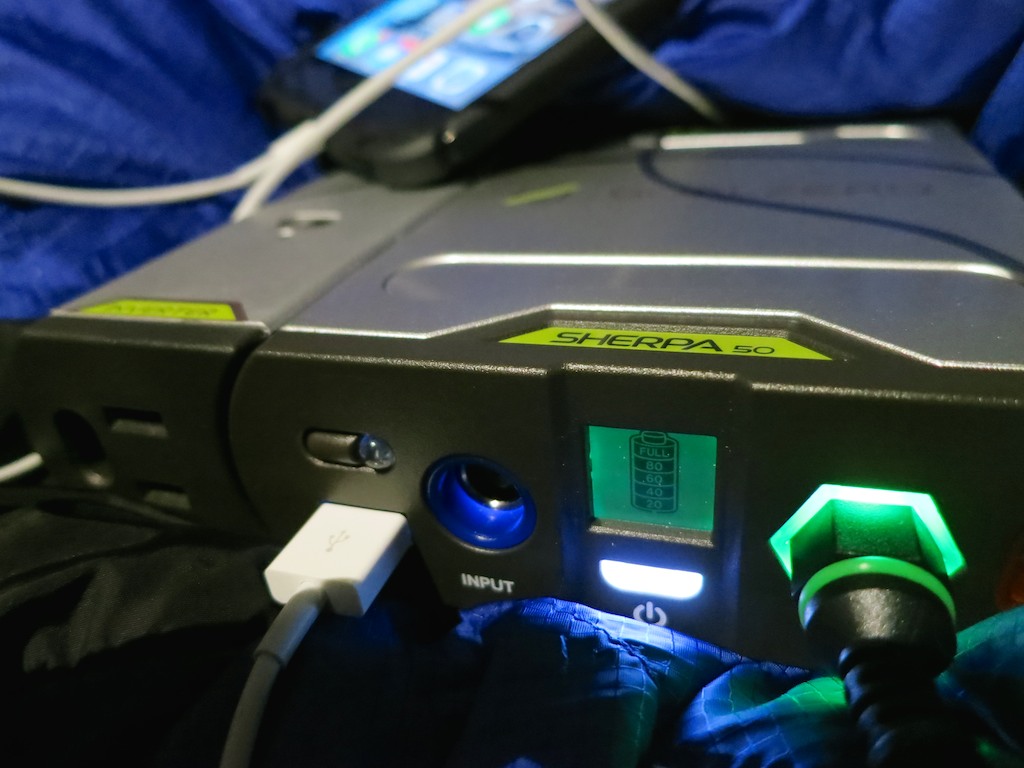
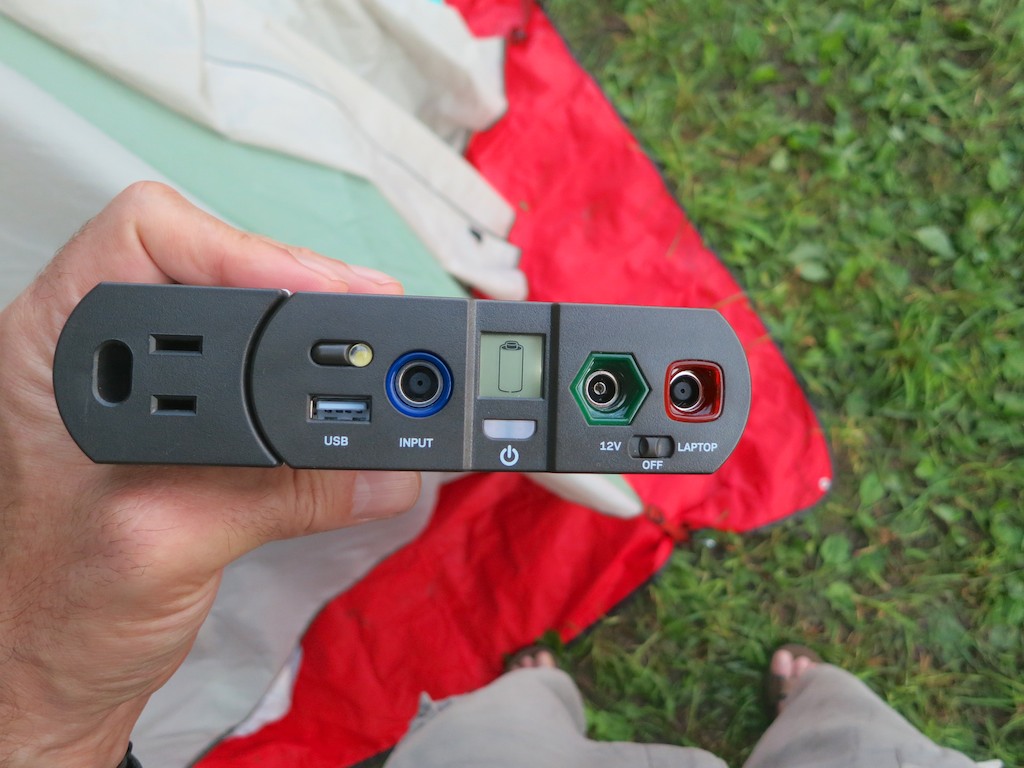
The Sherpa 50 carries 5200mAh of power, which isn’t quite as beefy as the newer Innergie. But the Sherpa is more flexible. And even though it’s not as slim as a stick of gum, it’s only 1.2 lbs and is smaller than your typical paperback book.

  • It’s got a USB port to plug in your iPhone
  • An onboard flashlight
  • A separate output to power laptops… its big selling point
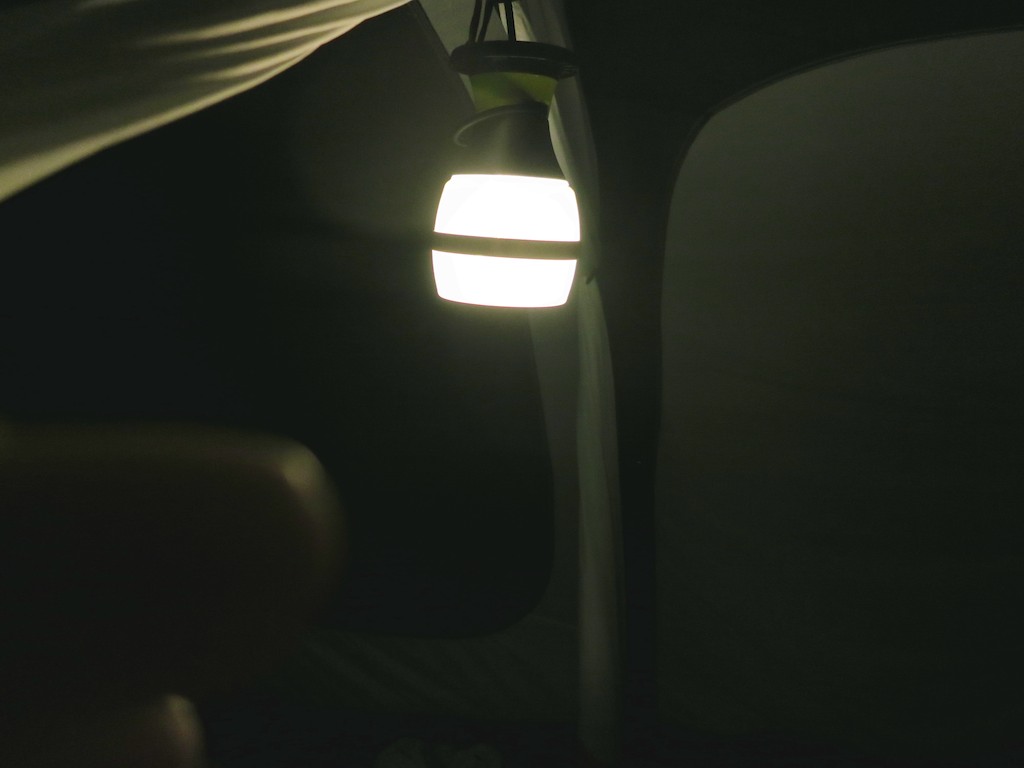
    (Though not for Macs)
  • A 12v cable that powers a tent light… the ‘Light-A-Life 350’
    (Which came bundled in the REI box)
  • And a 100W AC inverter to charge up any other gear you may have
    (Also bundled in the REI box)

It goes for $179.95 on Amazon Prime.

Field Test
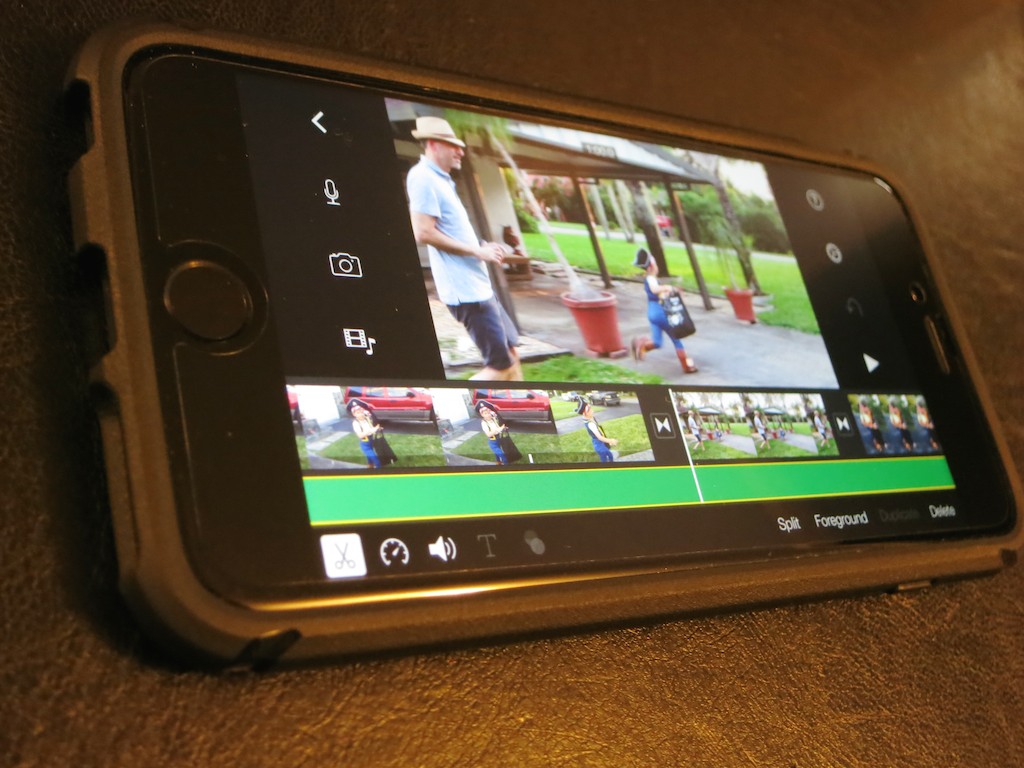
On our camping trip’s second night, I proudly broke out my new Sherpa 50. After sunset, I easily illuminated our tent with the Goal Zero light.

Goal Zero Light-A-Life 350 in Action


And as my family turned in for the night, I plugged in my iPhone to the Sherpa 50 and began charging it up from 36%.

Sherpa 50 in action


I turned off the light and felt ‘Tech Zen’ surge throughout my body.
And then I drifted off to sleep…

The next morning, I awoke and immediately turned to my iPhone.

47%.

What?!

I picked up my Sherpa 50.
(Yes, it had been fully charged.)
Perhaps it had somehow prematurely turned off.

Nope.
It was totally dead.
Well, not entirely. The universal empty-battery signal still blinked momentarily when I pushed the power button.

Dead Sherpa 50 battery


After a couple hours of light and an 11% boost to my iPhone, my new Sherpa 50 had promptly failed me.
(It’s rated to charge a smartphone seven times!)

Innergie to the Rescue
As I realized my ‘dire’ predicament, I took three deep breaths and turned to my back up plan… My old Innergie PowerCell.

Innergie to the rescue


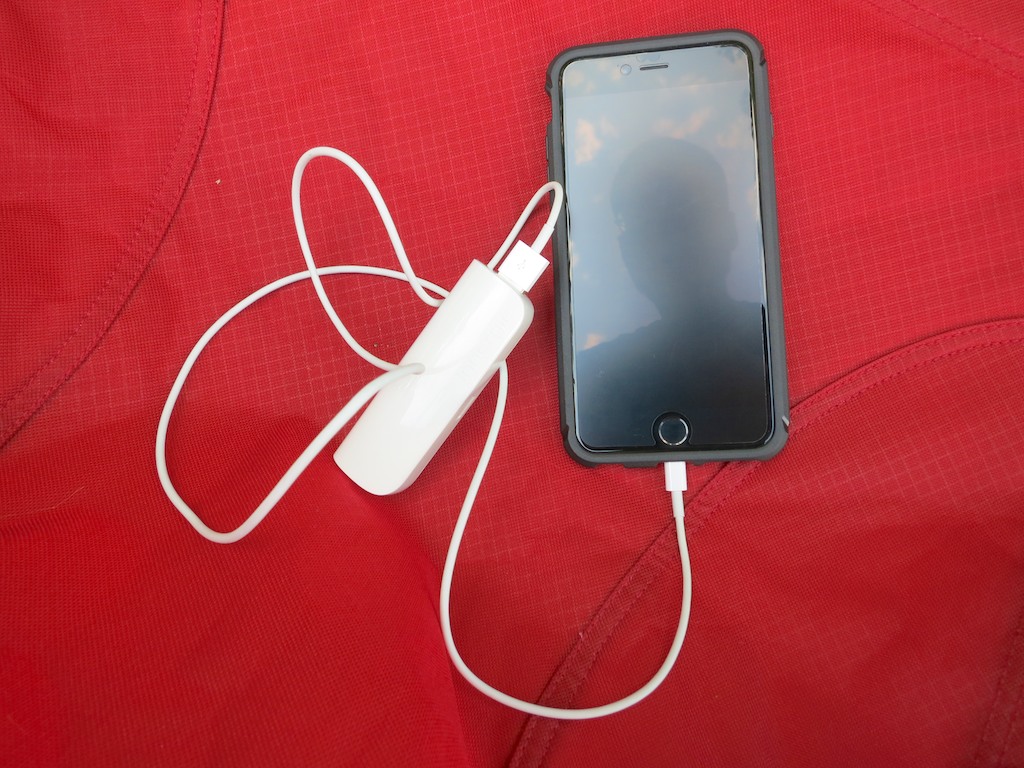
I attached it to my iPhone, and a little over an hour later; I was back to full charge.
(The Innergie was exhausted, but it had done its job.)

Then, I assigned my ‘swag’ power stick to rescue my wife’s limping iPhone battery.

By the time breakfast at the tent was finished, we were prepared to face the day with our tech.
(Good thing I had an extra camera battery… )

REI is Your Friend
REI is well known for standing by its products. That’s important, because I’ll be certainly returning my faulty Sherpa 50.

The good news is my family camping trip was a big success…. Even if I didn’t have all the power I thought I’d need.

Perhaps that’s just Mother Nature reminding me that technology can’t always tame the wild. And also that 47% should be plenty enough to get through your day in the great outdoors…

Message received.

How to Stop Dropping Your iPhone

Have you ever felt your smartphone was a little wobbly while texting? You’re not alone. To stabilize your situation, you might want to consider getting an iRing.

Have you ever felt your smartphone was a little wobbly while texting? You’re not alone. To stabilize your situation, you might want to consider getting an iRing.

Let’s face it. The iPhone 6 Plus is huge. I love mine, because it is so big. But I must admit I have some concern for its safety, because of the size. Simply put, this large and expensive device can easily find its way out of the protection of my right hand onto the unforgiving floor…
(And I’ve got big hands.)

I’d really prefer my iPhone not meet its doom this way, simply because I can’t hold onto the darn thing!  It’s already survived a couple of low-impact drops, but I worry it’s just a matter of time until a more damaging event occurs.

Part of the problem is I find myself walking around holding my iPhone a lot more these days,
(Like it’s some kind of on-board attachment for a robotic arm)

Statistically, there’s a greater chance it can either get knocked away or simply slip out in a careless moment…

So you’d think there’s got to be a few entrepreneurial folks out there who’ve thought about this problem and come up with a clever solution.

And in fact someone has…

Inspiration at 70 MPH
Recently, I was commuting to New York City on the train, wearing
my Road Warrior hat. On this particular day, both the travel and tech gods were smiling on me….

  • I magically found an aisle seat on a very crowded train.
  • Moments later, I ran into a friend of mine, who eventually nabbed a seat right next to mine.
  • And then he had something new attached to his iPhone he wanted to show me…

My friend enjoys fusing ‘helpful’ technology into his daily life as much as I do. And we both get a kick showing off our latest ‘upgrades’ to each other.

And what was this newest invention he had to show me?

The iRing.

My iPhone 6 Plus Needs a Leash
It’s simply a little ring attached to a plastic square that mounts onto the back of your smartphone. Then, you slip your index or middle finger through the iRing and voilà… “Look Ma! No hands!”

More importantly, your precious device stays attached to your hand no matter what your other four fingers are doing…

Sure, if you want, you can carry your phone around without gripping it anymore. But for me, that’s just showing off. It’s more like a belt for your pants. You just want to keep everything where it is…

If you use this mini leash correctly, you’ll eventually forget it’s even there.

Another way to use this useful invention is as a simple kickstand on a flat surface.
(Horizontal use seems most logical.)

And how much does this revolution in smartphone safety cost?

$19.95
For me, twenty bucks is the perfect price point for any kind of tech accessory. Especially if it’s on ‘sale.’ Or appears to be…
In fact, dropping a few fins on a good tech deal feels like getting something for free!
It’s a no brainer…

Perhaps not so coincidentally, the iRing goes for $19.95.
(It comes in a variety of colors.)

So I went to the Amazon app on my iPhone… and tap.
(I bought the black one to match my iPhone’s case.)

Instructions Not Included
The big question now was where exactly to mount my iRing?

This wasn’t as stressful a choice as it could have been, because the makers of the iRing claim you can pull it off and reapply it multiple times… as long as you don’t ‘touch’ its ‘special’ adhesive. You can also ‘re-energize’ the adhesive by placing it under running water, and then allowing it to ‘air dry.’
(You’ve got to wonder what this super-sticky stuff is made out of… but that’s another conversation…)

The other piece of good news here is my iPhone is protected by a ‘Tech 21’ case.
So there’s no chance I’d gum up the actual back of ‘my precious’ with this iRing.
(The makers of the mystery adhesive technology say the iRing’s ‘sticky’ back leaves no ‘excess’ residue. But I still don’t want to see what ‘normal’ residue looks like.)

Logic Doesn’t Apply
All this said, I really didn’t want to embark on a lengthy trial and error process to determine where to position my new iRing. There had to be a simple rule of thumb to follow…

My first impulse was to pop the iRing smack onto the center of my Tech21 case’s back.

But then I decided to take a close look at where all my fingers typically sit while my thumb is typing away. And I immediately realized my entire hand sits noticeably lower on the back of my iPhone than I thought.

So how would I figure out how to get it exactly right?

Scotch Tape to the Rescue
As I pondered this challenge, I took a look at Amazon and landed on one of the iRing’s competitors… the Bunker Ring Essentials.
(This accessory appears to mirror the iRing, except for one little detail. The Bunker is round. The iRing’s structure is flat on the part facing away from the phone.  I prefer the iRing’s flat-edge design, because it creates more stability when used as a kickstand.)

Then, I noticed a video review and decided to observe where this user positioned his ring mount. Yes, he had it placed noticeably lower on the back of his iPhone Plus. But the big “Ah-ha” for me was he first used scotch tape to hold it in place to test it out.

Of course.

So that’s what I did…

iRing Prep with Scotch Tape


After a little scotch-taped experimentation, I found the perfect spot…

I discovered that I not only had to lower my iRing off the case’s vertical center, I also had to pull it in towards the edge closest to my thumb. This asymmetrical positioning would allow my fingers to sit exactly where they otherwise would be while my thumb does its hunting and pecking.

Problem solved…

Happy Fingers
Holding onto a massive smartphone shouldn’t be an ongoing concern as you move about your day. And now, it doesn’t have to!

iRing in Action


And all this peace of mind for $19.95…

Think of the iRing as a twenty-dollar insurance policy to ensure your smartphone’s safety…

…Against all danger?
Not quite… but it’s a useful step in the right direction!

Why iPhone Slow-Motion Videos Need the iMovie App

iMovie on your iPhone can lock in that selected area of slow motion you want to keep from that otherwise boring slo-mo clip you just shot.

iMovie on your iPhone can lock in that selected area of slow motion you want to keep from that otherwise boring slo-mo clip you just shot.

When iMovie came out as an app, I scoffed at what I believed was a preposterous idea that complicated video editing software could successfully be shrunk into an iPhone. I come from a world of multi-core, decked-out computer monsters that often ‘render’ their imagery overnight to crank out their completed videos on deadline.

I viewed the iMove app as little more than a toy.

Then, Apple gave it to me for free as part of my new iPhone 6 Plus purchase.

So I had it.
But I would not open it.

Then, I discovered the wonders of my iPhone’s slow motion video capture capabilities.

And I was especially taken with my iPhone’s ability to isolate a particular portion of a slo-mo clip and then only play that part back in slow motion.
(The rest runs normally.)

Some may consider this little more than a parlor trick, but I really like it…

Now, you can utilize slow motion only when a particular moment needs it.
(Because a long and boring slow motion clip is pretty painful to endure!)

How to Lock In Selected Slo-Mo
But there was a problem…
I couldn’t export the clip to my iMac and retain the selected slow motion.
Yes, my computer accepted the clip recorded at 240 frames per second.
Yes, QuickTime offered me the choice to play the clip either at normal speed or in slow motion on my Mac.
But the ‘selected slo-mo’ clip I had created in my iPhone had vanished.
That metadata didn’t make it through the transfer…

Sure, I could recreate the effect on my computer with editing software, but that’s doing the work all over again!

The question was how to lock in all that work before doing the export…

iMovie is Cooler Than You Think
So I looked again at the iMovie app on my iPhone.
(I think it winked at me…)

I opened it up…did a quick tour…and imported the clip in question.
Yep, it played back just the way I liked it…

Cool.

Then I realized I could simply export the clip out of iMovie in its native resolution to lock in the selected slow-motion moment.
You can save it right back to your Camera Roll or to iTunes. AirDrop is another option…

Using iMovie in this way is indeed an extra step…. But it’s not that arduous.
And it solved my dilemma!

Then, did I lightly touch ‘export’ and chalk up another minor victory for humans co-existing with their tech?

Not quite yet…

Taking iMovie Out for a Halloween Test Drive
I decided to continue my journey down the tech rabbit hole…

The clip in question was one of three I had recorded of my son having fun on Halloween night as a pirate. All three had been shot in slow motion…more as part of an experiment than anything else.

I performed some selected slow-motion tweaks on the other two clips, then brought them into iMovie as well. I quickly drizzled some dissolves between the clips, imported a Halloween night photo for the top of the video and blended in a Ken Burns’ zoom/pan.
Then I typed in an opening title, selected a pre-existing iMovie ditty for a background music track, and faded the ending to black.

Huh.

It was twenty minutes later.
(much of that was looking at the app for the first time)

…And I had easily created this cool little video.

The Evolution of Video Editing
So I am happy to report you can teach an old dog new tricks.

No, I’m not going to forget about using uber-powerful Mac Pros in favor of the iMovie app on your iPhone.
But indeed, I finally recognize there’s a lot you can do on the fly editing short videos on your iPhone or iPad.
(And another reason I’m happy I supersized it to the iPhone 6 Plus.)

If I’m not the last human on earth to have this epiphany… you should know you’re carrying a legitimate video editing station in your pocket right now.
(And it also makes phone calls.)

Unbelievable…